How to correct sliding issues
The Motion Correction feature is basically derived from Reach feature, which can be used when you want to create a motion without hand or feet sliding. This feature will calculate the times for the feet contact the ground, auto-create hand or foot prints and then set reach keys to the feet or hands in order to have them touch these prints.
|
|
|
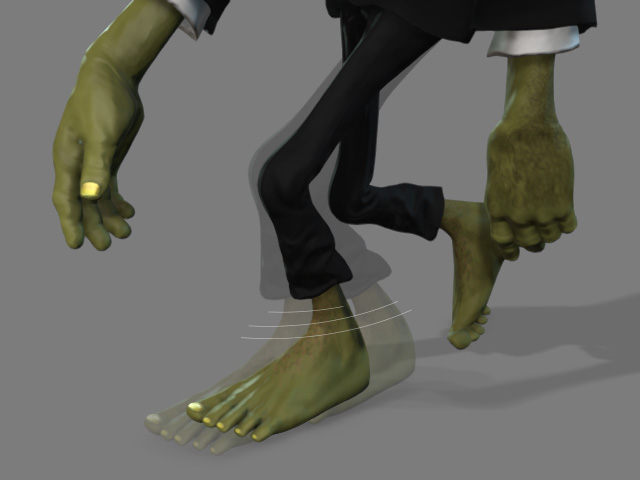
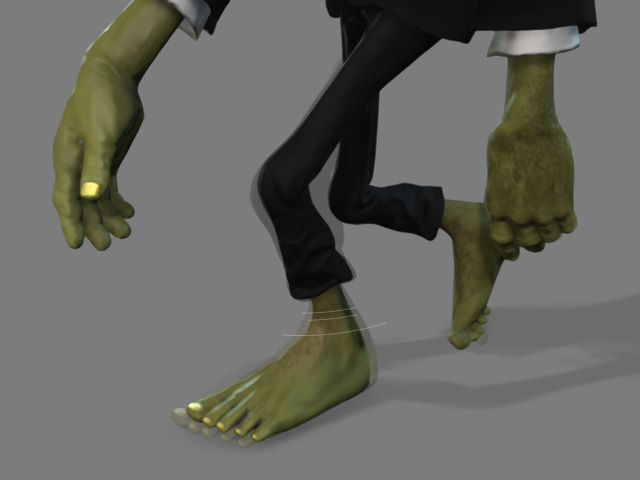
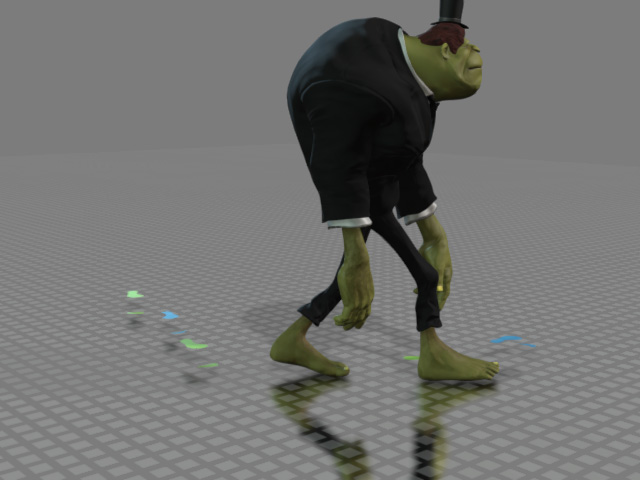
Foot sliding. |
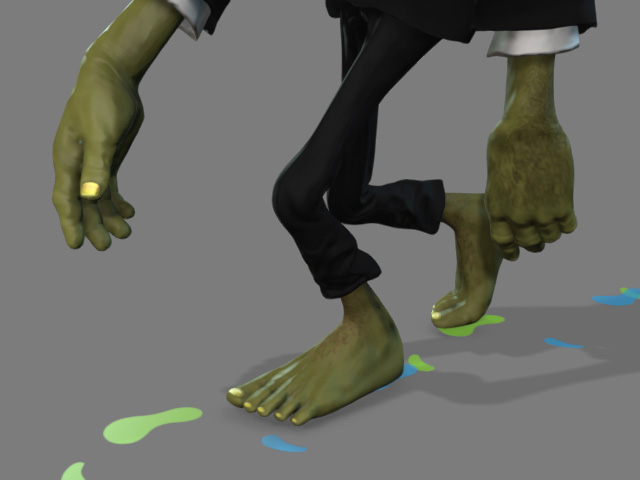
Fixed feet motions
|
- Create a project in which the character is moving with foot-sliding issues, in this case, a character walking along a path.

Both feet slide through out the entire motion.
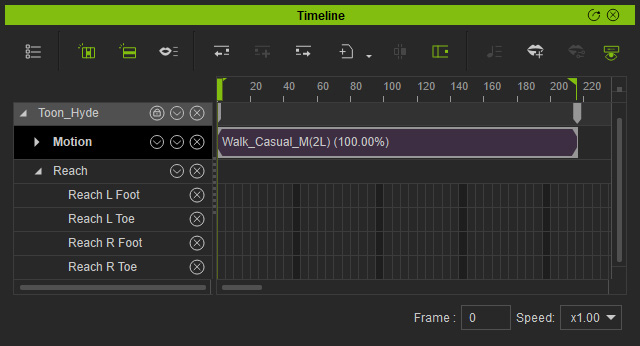
Playback to view the video: - Open the Motion track of the character on the Timeline.
- Right click on the motion clip and choose the Motion Correction from the context menu.
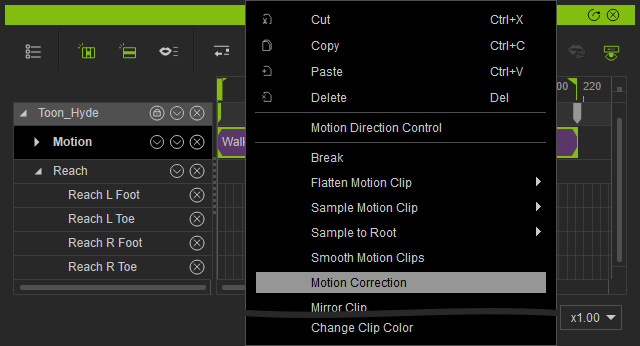
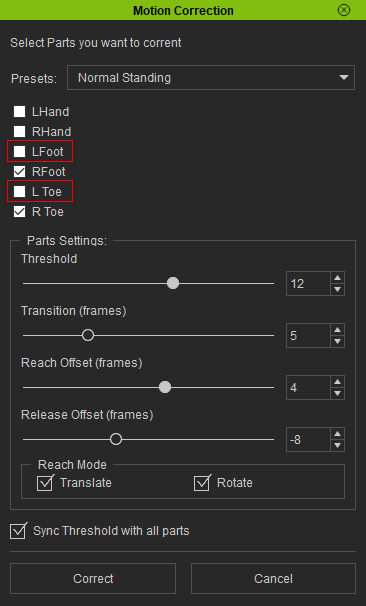
You will see the Motion Correction panel pops up.
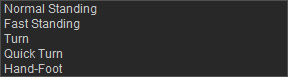
 Presets
In the drop-down list, you can find presets in which the body parts are picked and the Parts Settings are optimized set.
- Body Parts
- You can manually activate the body parts for correcting motions.
- Pick to select one of the body parts to individually see the Parts Settings.
- Parts Settings
These settings determine the Reaching and Releasing behaviors, which corresponding to the keys and transition of the keys.
- Threshold: This value can be used to fix the sliding issues, if the issue is serious, then increase the value, otherwise, decrease the value.
Serious sliding --> set Threshold HIGH
Minor sliding --> set Threshold LOW
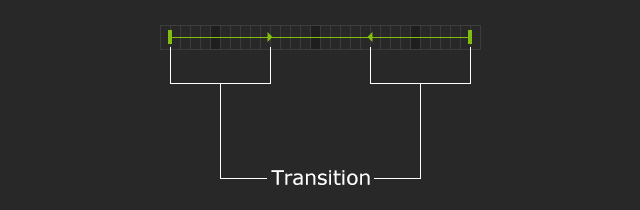
- Transition: This value determines the length of the transition by frames for the Reach and Release keys.
- Reach Offset: This value shifts the Reach key left (negative value) or right (positive value).
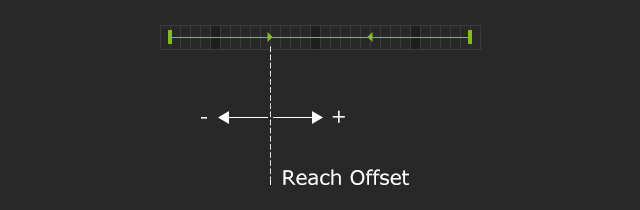
- Release Offset: This value shifts the Release key left (negative value) or right (positive value).

- Reach Mode: Activate the checkboxes to determine if the reaching behavior touches the prints and / or aligns to the prints' directions.
- Threshold: This value can be used to fix the sliding issues, if the issue is serious, then increase the value, otherwise, decrease the value.
- Sync Threshold with all Parts
Activate this checkbox to adjust the part settings to all activated body parts together.
- Adjust the part settings and click the Correct button to remove the sliding issues.
As you can see that system creates footprints automatically.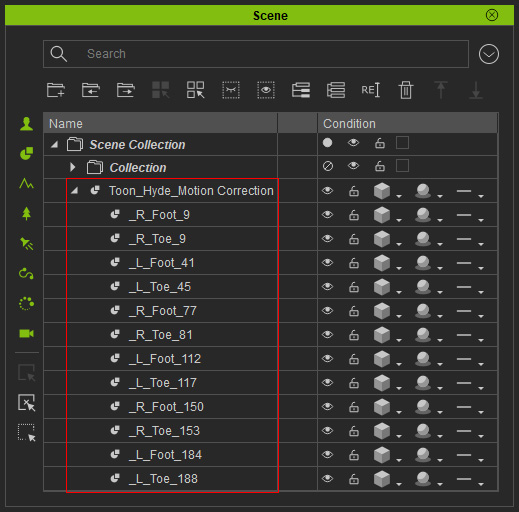
And then the system sets Reach and Release keys to have both feet touching these footprints on specific time frames.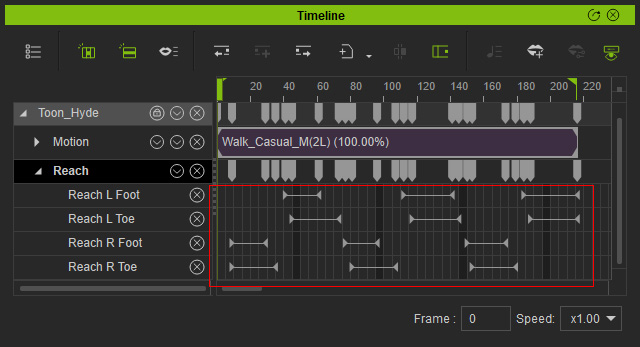
- If the sliding issues remain, then repeatedly adjust the Parts Settings and click the Correct button to fix at least one foot, in this case, the left foot is fixed.
- Right click on the clip and choose Flatten Motion Clip > Flatten All Layers to retain the motion of the fixed foot.

- Open the Motion Correction panel again. Deactivate the fixed foot and toe because they are no need to be corrected.
- Repeatedly adjust the Parts Settings and click the Correct button to obtain the best result for fixing the sliding issues.
- Execute the Flatten Motion Clip > Flatten all Layers command again.
- Playback to view the result repeatedly adjust the Parts Settings and click the Correct button to fix at least one foot, in this case, the left foot is fixed.
