Setting Playback Range
In addition to setting playback range by dragging the mark in and mark out flag manually, you can also click the Setting Playback Range button on the Timeline Toolbar to quickly set the playback range.
Note that this feature is based on the outermost range; and the feature applies to both the Export or Preview modes.
Keys and Clips
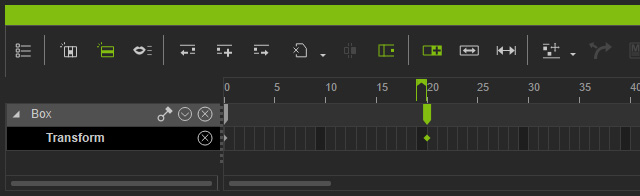
- One Key (or Switch): In only one key or switch are selected, then the playback range will be set to within two time frames.
- Keys (or Switches): If multiple keys or switches are selected, then the playback range will be set between the outermost keys or switches

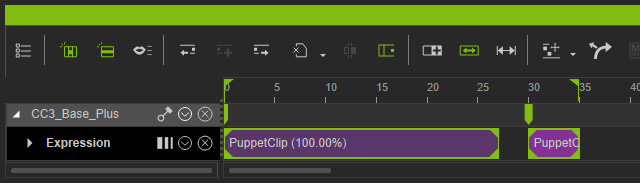
- One Clip: If only one clip is selected, then the playback range is set from the start to the end frames of the clip.

- Clips: If multiple clips are selected, then the range will be set from the start frame of the first clip to the end frame of the last clip.
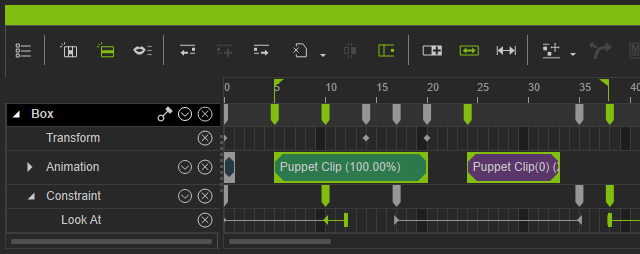
- Keys, Switches and Clips: If several keys, switches and
clips are all selected, then the range will be set to the outermost
keyframes within them.
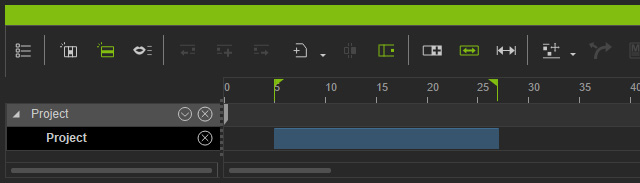
Project
- Project Track: If you make a range on the Project track, then setting the playback range will base on that range as well.
- Span Tracks Selection: If you select data across tracks by holding Ctrl
key, then the range will be set to the selection range, no matter
what data is selected.

However, in the following case, the final frame for the range is set to the last frame of the clip, based on the outermost rule.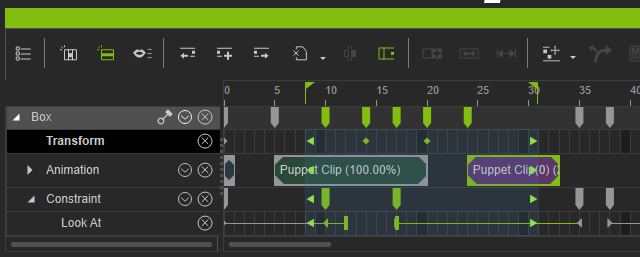
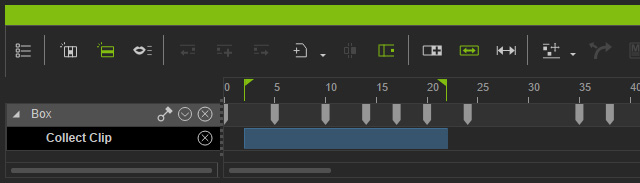
Collect Clip Track
- Collect Clip Track: If you make a range on the Collect Clip track of any object, then setting the playback range will base on that range as well.