Smoothing Mouth Movements
No matter if the visemes are generated automatically or manually, the bumpy movements of the mouth can be solved by reducing the redundant lip keys. However, the transition between two keys can be still be exaggerated, which will look overly dramatic and unrealistic.
Generating Visemes
-
Apply a G6 character from iClone Character Creator.
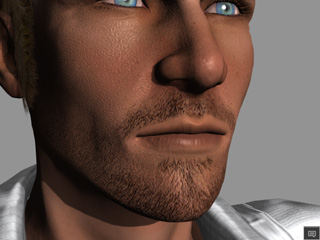
- Apply an audio file to the character for lip-syncing.
-
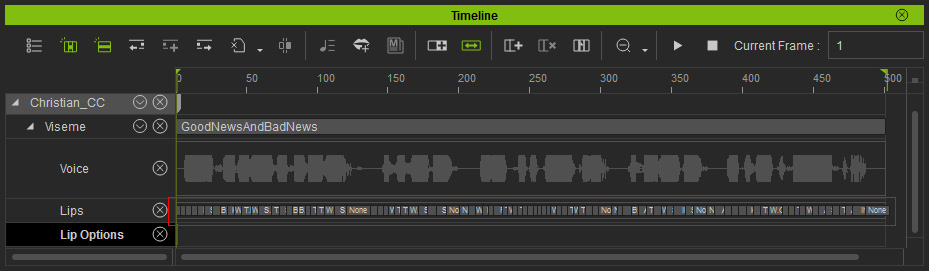
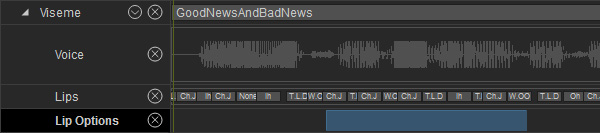
Check out the timeline, find the Viseme track under the character. You will see a lot of visemes are
automatically added into the Lips sub track.
-
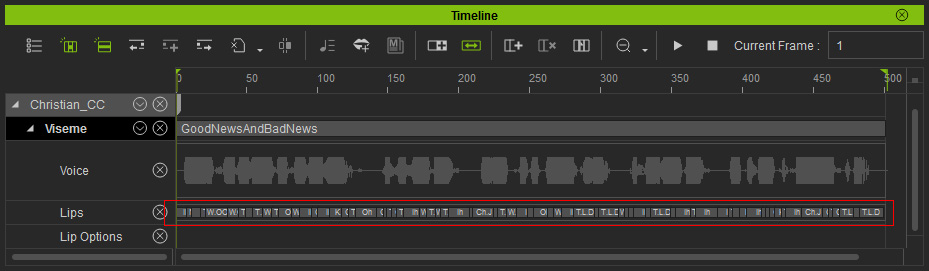
Optimize the visemes by reducing lip keys
feature or by manually adding adequate visemes.
-
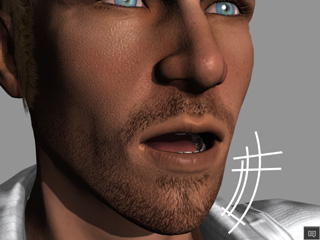
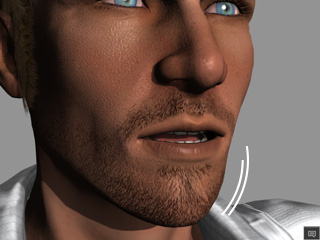
Play back to view the result, you will find the mouth movements, including
the jaw, the lips and the tongue, are too
exaggerated.
Smoothing Mouth Movements
-
On the Lip Options track, drag to make a range to include the area
for smoothing the transitions.
If you want to smooth the entire voice clip, then skip this step. -
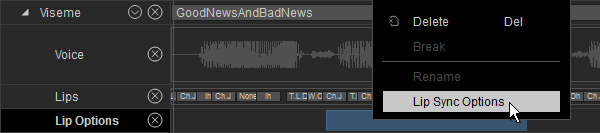
Right click in the range (or elsewhere in the track if the first step was skipped), select the Lip Sync Options
from the right-click menu.
-
Choose the Full Mouth radio button and activate the
Smooth box in order to enable the setting.
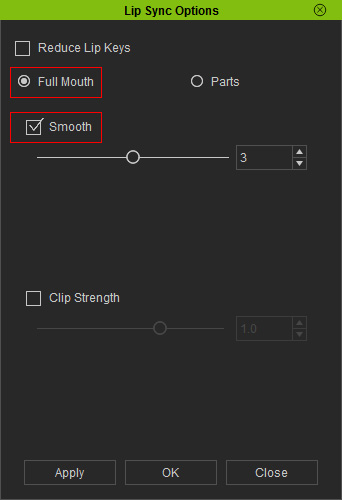
Set the smooth value and click the Apply button. -
Play back and adjust the smooth value to have a better mouth movement
animation.
Smoothing Parts
You can also smooth the movements of mouth parts, including the tongue, the lips and the jaw instead of the overall smoothness.
-
Using the same example above, choose the Parts radio button in the step 3.

-
Adjust the sliders to determine the smooth status for lips, tongue and jaw (in this case, adjust the Jaw
slider because it is the one with the most drastic movements).

-
Play back and you will see a big difference for the jaw while the effect on the lips and tongue are quite mild.
