Link
Link is a very convenient function for you to simultaneously move or rotate one or more objects, such as an actor, accessories or props, without adjusting them one by one. You do this by linking them to a specific parent object.
The linking relationship can be set as a key, therefore, you may set a link key at one time and set an unlink key at another. By using this concept, you may have the object specified to be transformed during different time frames.
We will use props to describe the linking process.
Link
- Drag and drop the desired prop(s) into current project.
-
Click on the prop to pick it.
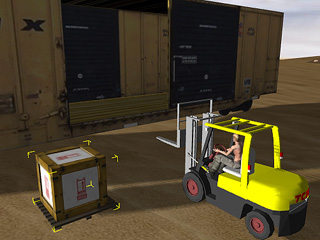
Drag and drop the crate - Scroll to the Linkage section and click Pick Parent button.
-
Navigate on the 3D viewer and click on the target object. The prop may be still at the wrong position.
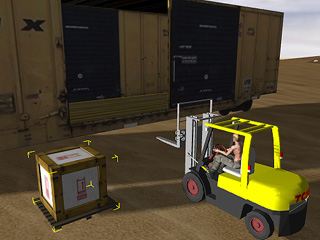
Pick the lifter of the forklift as the parent of the crate -
Adjust the position of the prop for better placement if necessary
then click
the
 button and check the correct sub-node is selected in the Link to Sub-Node panel,
select
the Position
option and click OK. The
prop then will be forced to align to its parent.
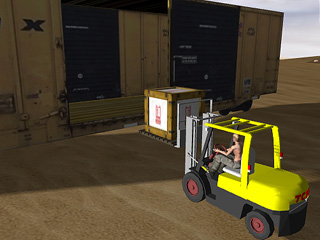
The crater is aligned to the lifter - Move the parent object to test the result.
Change Link Parent
You may link your object in one frame to a target and then link to another target at another frame. The transform data of the object will then be driven by different parents in different frames. Following the example above, we will now describe this feature in more detail.
-
Go to the desired frame when the prop will be linked to another parent.
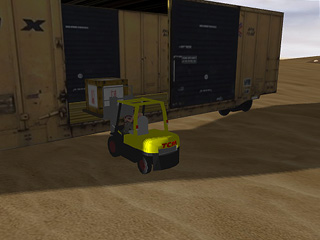
Go to the frame for changing the linking parent - Click the Pick Parent button again.
-
Click on the desired parent on the 3D viewer.
Now the parent is changed.
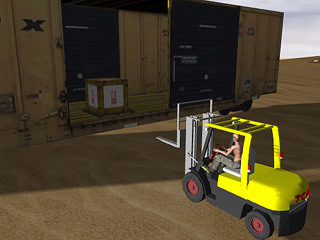
The crater is now linked to the train. -
Move the new parent object. The transform data of the prop will now be
controlled by the new parent.
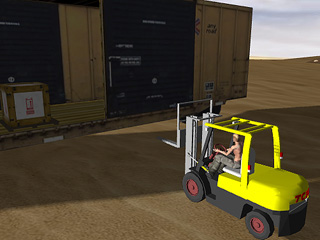
The train moves away with the crate
