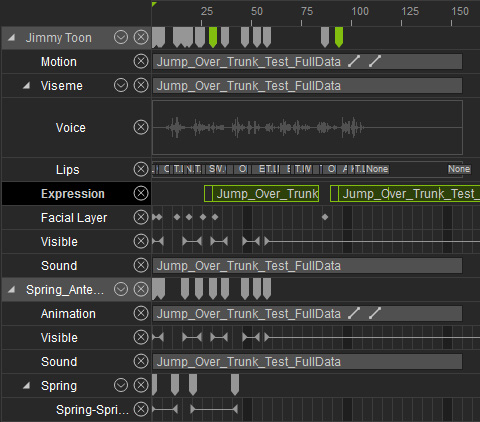
Splitting Motion Groups for Timeline Editing
To make it easier for users, iClone binds some data, such as motion clips, keys or switches, together as a group so that in addition to basic editing such as copy and paste, when you drag, loop, accelerate, decelerate, break or delete one of them, the other motion data will also adjust.
However, if you need to individually modify these clips in detail, such as particular keys or switches, then you need to perform the Split feature to ungroup them before you can make further adjustments.
Ways to Generate Grouped Data
- Character Performs by Attached Accessory
After a character has intelligent accessories attached, it acquires new abilities that come along with the accessories. When you command the character to do these motions, iClone automatically groups up the body motions and the accessory animations.
-
Apply a wing accessory to a standard character.
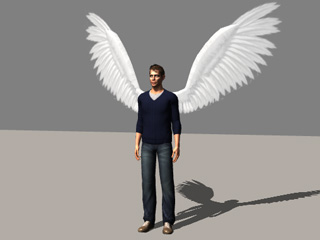
- Right click on the character and select the Move >> Fly Backward command from the right-click menu, and click on the ground to set the destination.
-
The character generates a body motion as it's flying. At the same time, the wings also
generate flapping animations. These two kind of data are automatically grouped in the
Timeline.

-
If you edit the clip (such as looping it), the other clips in the group will
react to the manipulation simultaneously.

-
Apply a wing accessory to a standard character.
- Character Operates an iProp
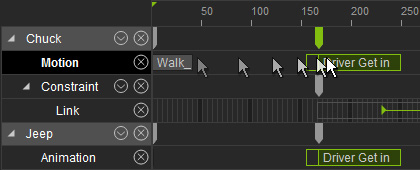
Whenever a character is commanded to operate an iProp, a group of the body motions and the iProp animations will automatically be generated.
-
Select a character.
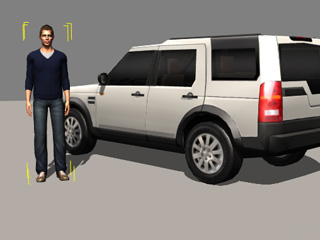
- Right click on an iProp and select one of the Operate commands from the right-click menu to have the character interact with the iprop.
-
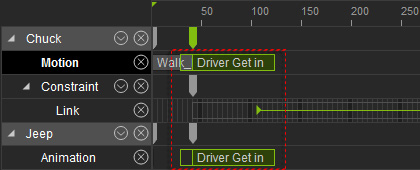
When the operation is done, a group containing body motions, iprop animations and even link
key data will automatically be generated.
-
Edit one of the components in the group (such as dragging).
The other clips in the group will react to the manipulation
simultaneously.
-
Select a character.
- Character Applied with MotionPlus
When you have a character with accessories attached that are identical to another character, then you may exchange animation data between them via theMotionPlus format. After a character is applied with a MotionPlus file, the data that comes from the file will be automatically grouped together.
-
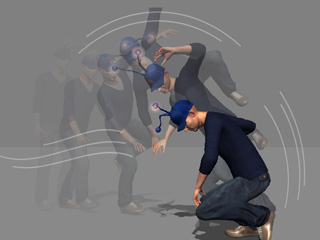
Create a character and attach an accessory, then animate both of them
in any way.
-
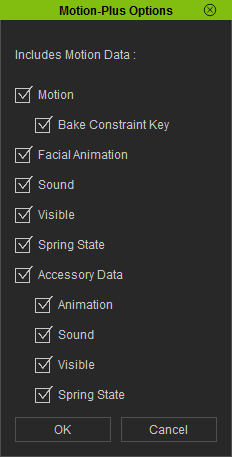
Drag to make a range on the actor's main track and right-click to generate a MotionPlus file.
Select the data that you want to include in the
file (if you are not sure what shall be activated, then activate
them all).
-
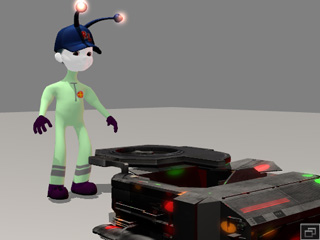
Create another character with an identical attached accessory in the same structure.
-
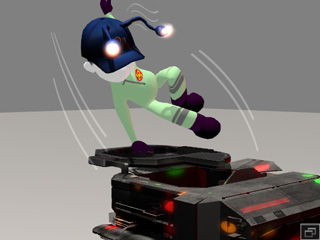
Apply the new character with the generated MotionPlus file.
-
Edit one of the components in the group (such as
decelerate).
The other clips in the group will react to the manipulation
simultaneously.
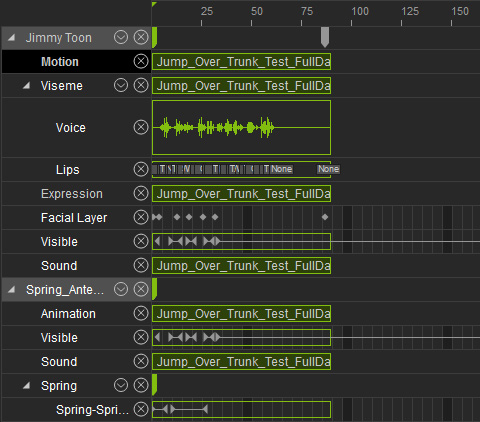
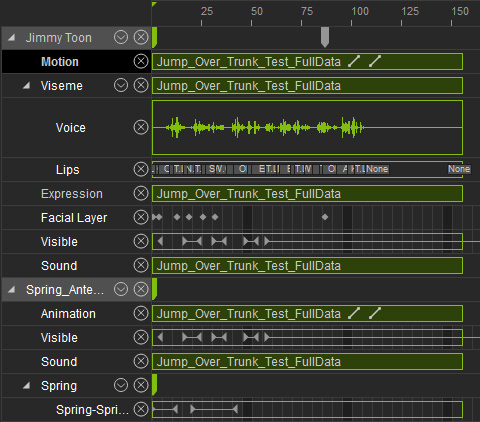
Drag the right edges of one of the clips to decelerate the entire group.
 Note:
Note:Although you can edit the entire motion group across the tracks, the Facial Layer Keys are by default ungrouped. Please note that your further adjustments will not affect the keys in this track.
-
Create a character and attach an accessory, then animate both of them
in any way.
Splitting the Groups for Editing Individual Data
In addition to modifying the data group by group, you are able to break a group into pieces so that you are able to individually edit the data inside of it. A talking-walking character with an animated accessory applied with MotionPlus is taken as an example in this section.
-
After an animated character and accessory is applied with MotionPlus,
the data from the file will be grouped in the Timeline as shown.

-
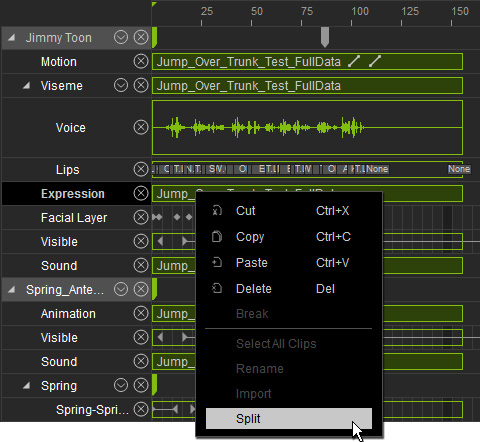
Right click on any clip-type data in this group and select the Split command from the
right-click menu.
-
The data in the group can be edited independently after the Split
command.
