Dual Physics Engines
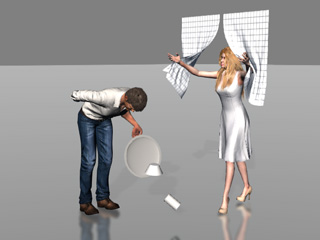
iClone contains two physics engines, one is called Bullet and the other is PhysX from NVIDIA. The Bullet engine is used for playing back and simulating the physics result for the projects with physics objects created by iClone 5, and the PhysX engine is used to generate physics animation within iClone 6.
The Comparison of Bullet and PhysX Engines
The comparison table for these two engines are listed in the following table:
|
|
Bullet |
PhysX |
|
iClone Version |
5 and 6 |
6 or latter version |
|
Applicable Targets |
|
|
|
Objects Generated |
|
|
|
Features Provided |
|
|
|
Simulation Accuracy |
Medium. |
High. |
Switching Physics Engines
In accordance with the projects created by different versions of iClone, you need to switch the modes of the physics engines in order to have accurate simulation results.
Simulating Physics Animations for iClone 5 Projects
-
Create a
project with a physics object in iClone 5.
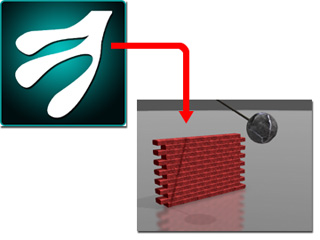
- Load the project into iClone 6.
- By default, the engine will be automatically switched to the Bullet engine mode.
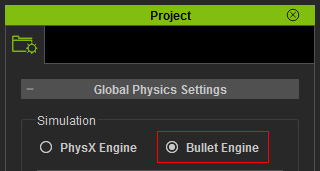
- To make sure the mode is correctly switched, open the Project Settings panel and move to the Global Physics Settings section.
-
Switch to the Bullet Engine mode in the Simulation
group by activating the corresponding radio button.
-
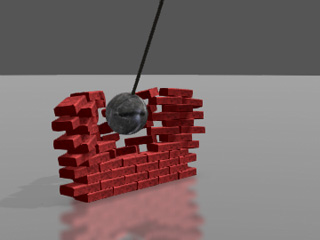
Click on the Play button to simulate the physics animations for the objects in the
project.
Simulating Physics Animations for iClone 6 Projects
-
Create a
new project with objects (characters, props, or accessories).
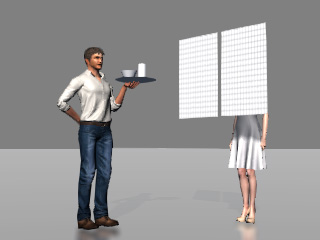
- By default, the engine will be automatically switch to the PhysX mode.
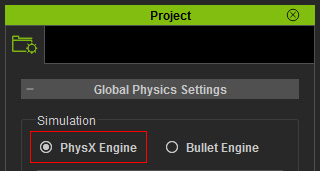
- To make sure the mode is correctly switched, you may open the Project Settings panel and move to the Global Physics Settings section.
- Switch to the PhysX mode in the Simulation
group by activating the corresponding radio button.
-
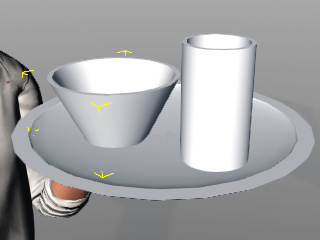
Select one of the objects of which you want to activate the physics settings.
-
In the Modify page, switch to the Physics tab.
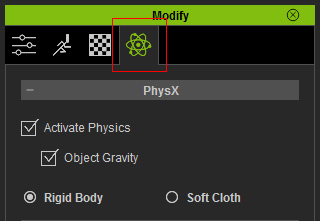
- Activate and edit the physics settings for the selected object via the parameters within this tab.
- Repeat the same steps until every desired object has been animated with the physics settings.
-
Click on the Play button to simulate the physics animations for the objects in the
project.
