Setting Collision Shapes for Characters 
According to the various collision results on different characters, you may need to adjust collision shapes in order to provide accurate material interaction with other objects.
Adjusting Existing Collision Shapes
If you want to change the dimensions of the existing collision shapes or transform them, especially for G3 or G5 characters, follow the steps below:
-
Import a character (in this case, the character is a non-standard one).

-
Make sure it is selected and go to
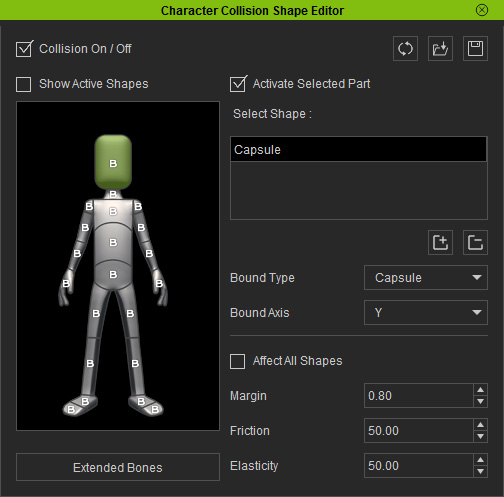
Modify >> Attribute tab. Click on the
Collision Shape button in the Avatar section to show
the Character Collision Shape Editor panel.
-
On the left dummy pane, select one of the body bones.
The collision shape of the bone will show (As you can see the collision shape may not be exactly accurate).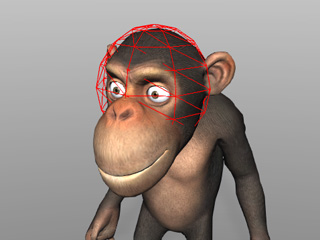
 Note:
Note:- With the Ctrl key pressed, you are able to select multiple bones to adjust the collision shapes simultaneously.
- Right-clicking on the bone part in the dummy pane will quickly deactivate its collision settings.
-
If the collision shape does not fit the meshes of the character, then
when the character is interacting with other physics objects, the meshes
will penetrate into any other physics objects.

-
Use the object transform tools (
 ,
,  ,
,
 ) to adjust the position,
angle and size
of the collision shape to match the meshes of the body part.
) to adjust the position,
angle and size
of the collision shape to match the meshes of the body part.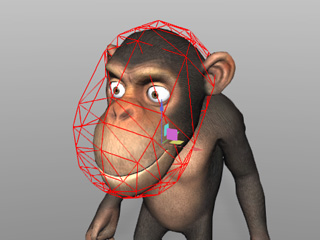
-
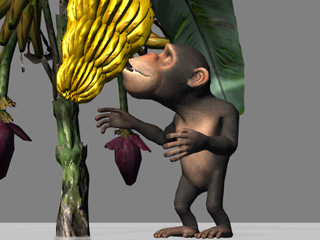
Once you have adjusted the collision shapes for each relevant body part, you will notice a much better physics simulation result.
Adding Collision Shapes for Better Simulation
Because the body parts of a character do not always conform to perfect spherical, capsule, or box shapes, you will need to combine these shapes to cover particular body parts in order to get more accurate simulation.
Basic Transforming
-
Import a character.

-
Make sure it is selected and go to
Modify >> Attribute tab. Click on the
Collision Shape button in the Avatar section to show
the Character Collision Shape Editor panel.
-
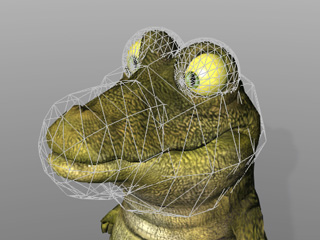
At the left dummy pane, select one of the body bones.
The collision shape of the bone will show. Notice that it doesn't conform accurately to the shape of the head mesh.
-
Use the same method to transform the existing collision shape.

Adding More Collision Shapes
Because the mesh of the body part can not completely fit into the collision shape, you need to add more shapes to cover the entire mesh.
- Make sure the body part is selected in the left dummy pane.
-
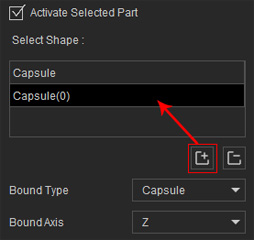
Click the Add Shape button to add a new collision shape (capsule by default).
 Note:
Note:- iClone automatically generates the same shape as the currently selected one.
- Please note that you may change the name of the collision shape by double-clicking on the name in the Select Shape list
-
If you want to delete any collision shapes, then select the target
shape in the Select Shape list and click the Delete Shape
 button to remove it.
-
Transform the newly added shape to a proper position to cover the mesh of the body part.
 Note:
Note:-
Use the Bound Type drop down list to
determine the type of the currently selected shape. The
default types are Box, Sphere and Capsule.

- The Bound Axis drop down list only works when the shape is a Capsule. You may use it to align the long axis to the long side of the body part.
-
Use the Bound Type drop down list to
determine the type of the currently selected shape. The
default types are Box, Sphere and Capsule.
-
Follow the same steps to add as many shapes as you need to cover the body part.
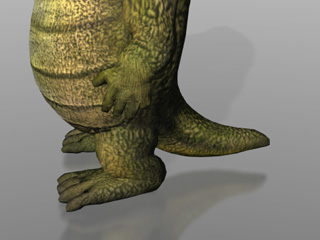
Adding Collision Shapes for Extend Bones
If the character contains meshes skinned to extended bones, you are able to add collision shapes for these extended bones as well. This method is suitable for long ears or tails with spring effects caused by extended bones.
Let's try this on the same character:
-
Make sure the character is selected.
-
Show
the Character Collision Shape Editor panel.
-
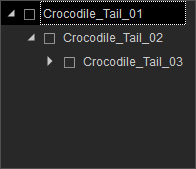
Click on the Extended Bones button at the bottom left of this panel.
The dummy pane will change to a tree view in which all the extended bones the character
has will be displayed.
-
Select one of the extended bone in the tree view and activate the
Activate Selected Part box at the right side of the panel.
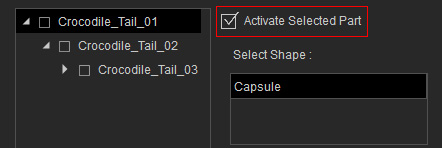
A default capsule will be attached to the selected extended bone.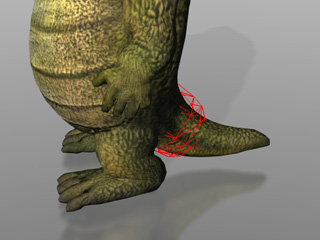
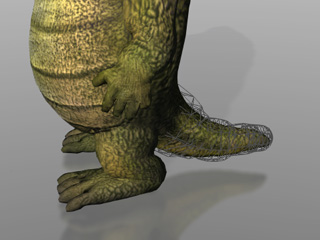
-
Follow the same method shown in the previous section until each
extended bone has been given a collision shape.
 Note:
Note:For more information about the physics parameter settings of each collision shape, please refer to the sections below:
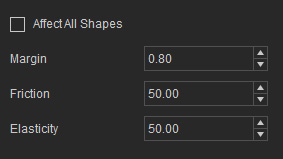
- Margin: The Bounding of Rigid Body
- Friction and Elasticity: The Properties of a Rigid Body
