How to create Preset actor group (New for v. 8.4)
The Base actor group is composed of fixed motions and actors. If you want to randomized the actors in the Base actor group, integrate the templates of Base actor group via the Preset actor group creation procedure.
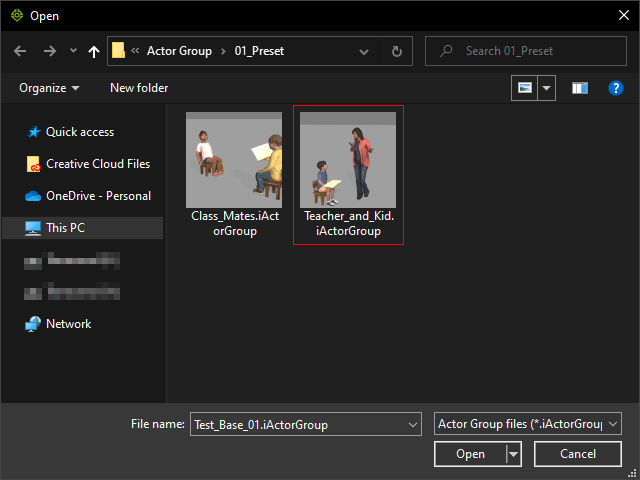
- Make sure you have created at least one Base actor group, in this case, two of the Base Actor Group templates are created.
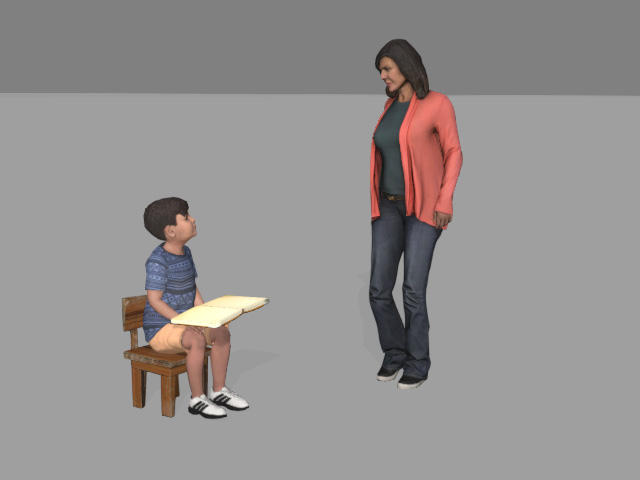
Teach_and_Kid.iAvatarGroup
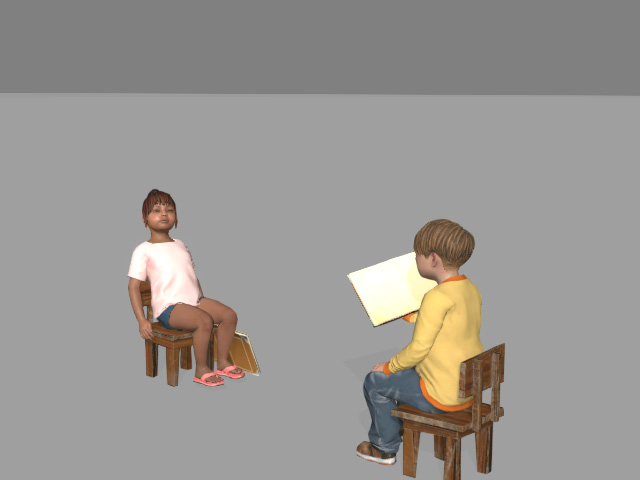
Class_Mates.iActorGroup
- Execute the Create > Create Actor Group command.

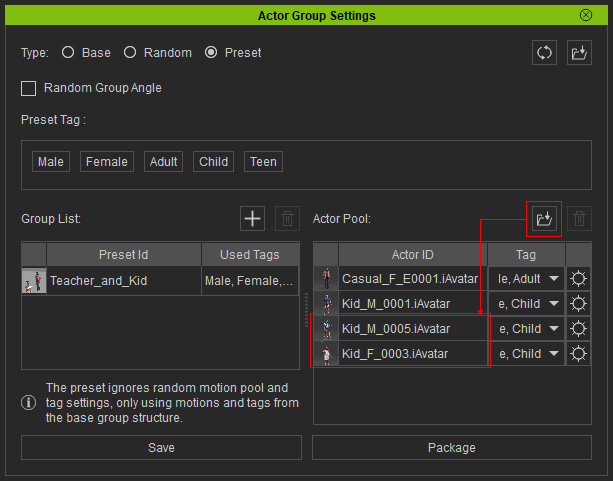
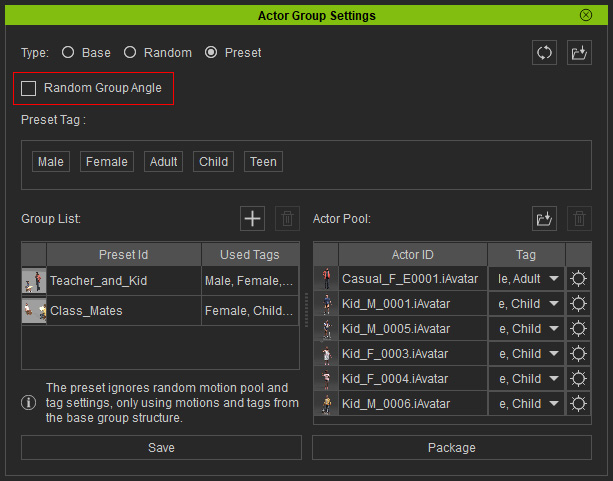
- The Actor Group Settings panel will appear. Choose the Preset radio button.
- Click the Add asset button of the Group List.
- Select one or more Base Actor Group, in this case, one of the files listed in step 1.
As you can see the file is loaded into the Group List, and the actors in the file are added into the actor pool, while the used tags are added into the Preset Tag list as well.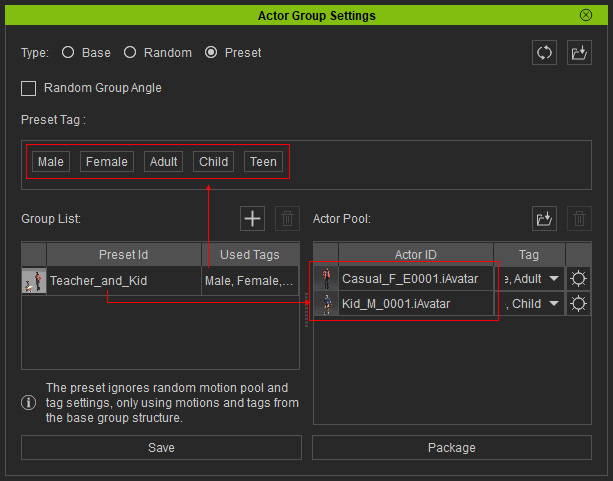
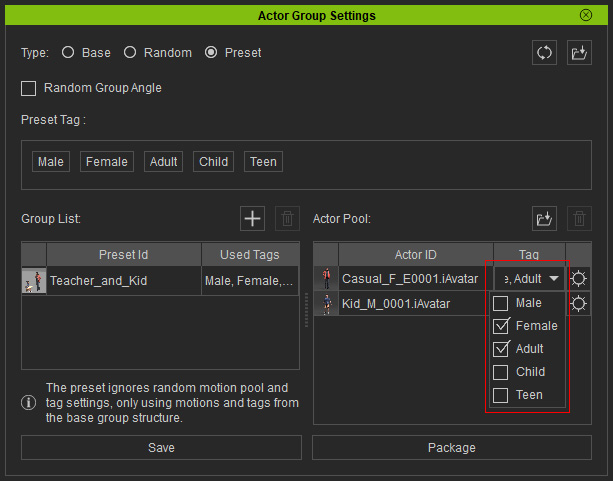
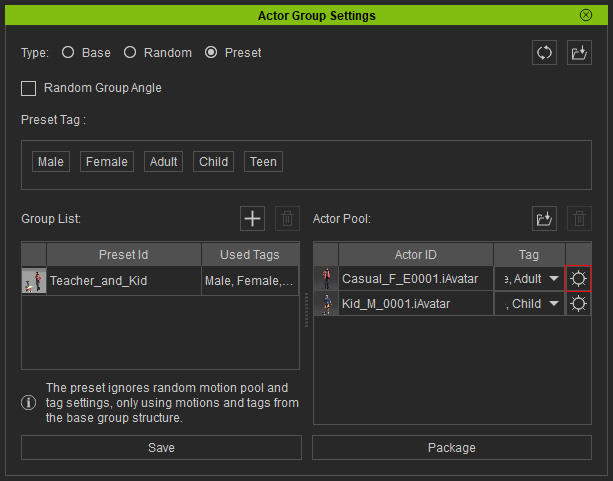
- You can enable or disable each actor tag using the Tag column.
- Click one of the gear buttons for the actors.
The MaterialPlus Settings panel will show. You can then add one or more variant materials of the actor into this panel by clicking the Add MaterialPlus button.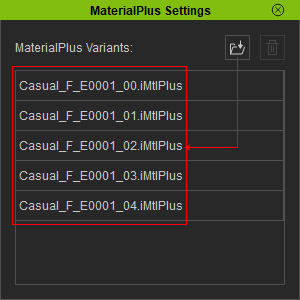
These variant materials are installed with ActorCore pack. You can find them in the Media > MaterialPlus > Actorcore > [actor name] library.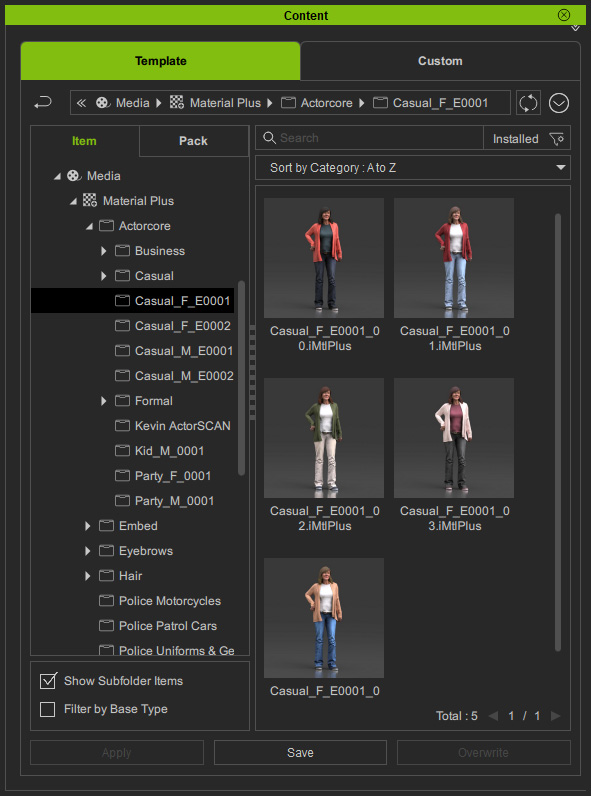
If you want to acquire actor packs with variant materials, visit the ActorCore official website, purchase and install the packs with color swatch logos.
- Close the MaterialPlus Settings panel to integrate the materials to the actor.
- You can add more actors into the pool by clicking the Add Actor to Pool button or drag and drop from the Content Manager.
- Repeat the same step to add more Base Actor Group files.
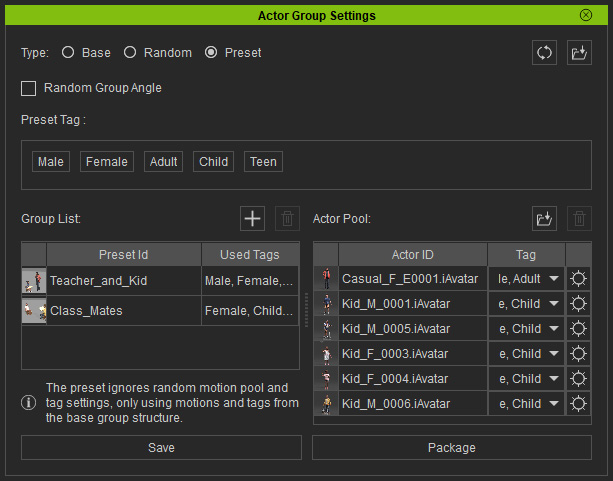
Notice that the actors from the groups will be all added into the pool to be shared with other group lists. - You can also activate/deactivate the Random Group Angle checkbox to place the preset content in different angles with each deployment.
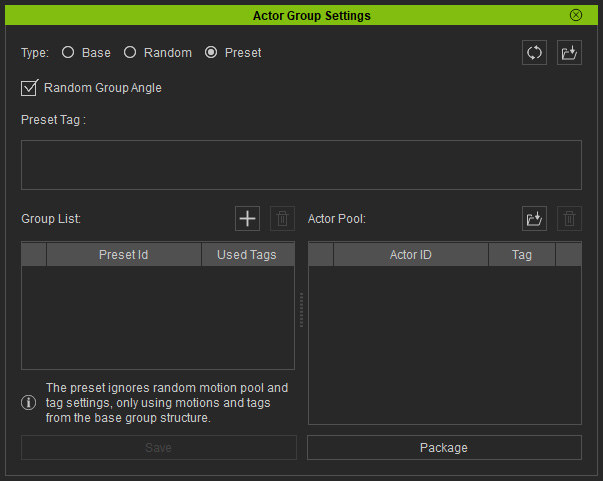
Preset Actor Group applied with Random Group Angle disabled.
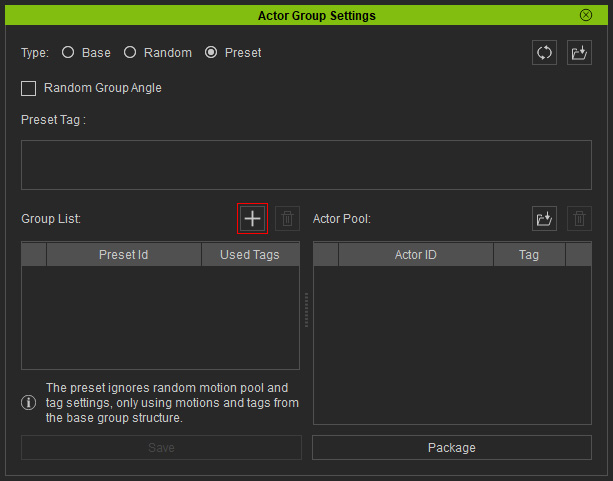
Preset Actor Group applied with Random Group Angle enabled.
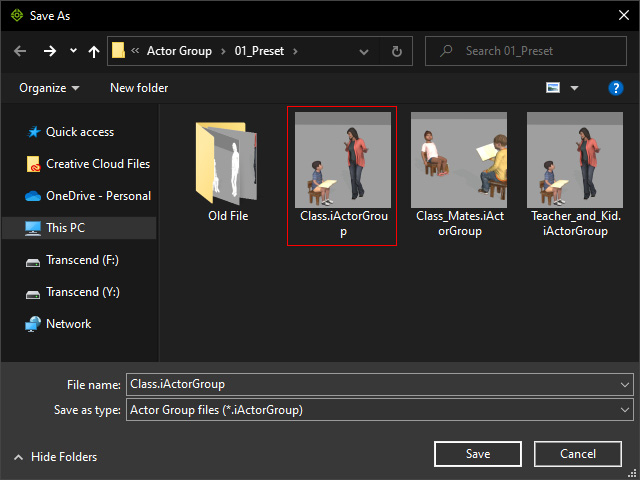
- Click the Save button to integrate these Base Actor Groups into a Preset Actor Group template.
Applying Preset Actor Group
- Create a new project.

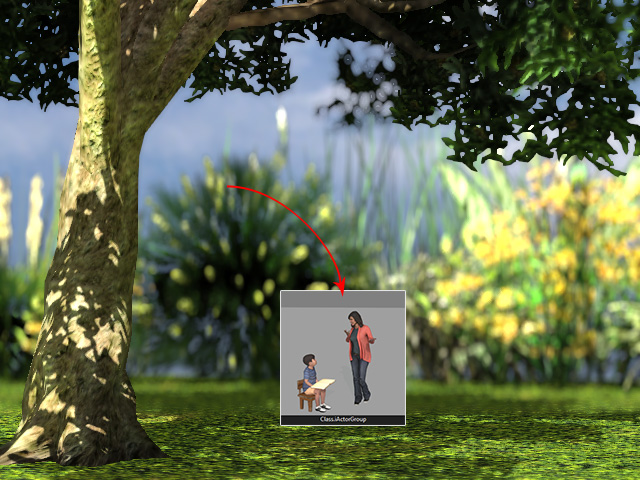
- Drag and drop the Preset Actor Group.
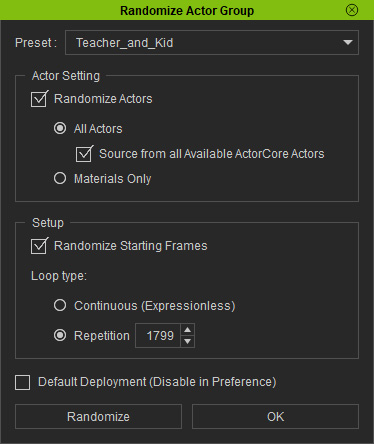
- The Randomize Actor Group panel will appear. Adjust the settings including the Preset, Actor settings, and so on.
- The props, actors, accessories, and motions will be re-created in the new project.

- Repeat steps 2 and 3, using another preset from the list.

- Playback to view the results.
