Setting Multiple Parents for Accessories (New in version 8.5)
Before version 8.5, accessories can only be attached to specific parent bones; and these parent bones must be manually swapped if they are to be changed.
After the release of version 8.5, target bones can be set before the accessories are saved; and each time they are applied, the parent bone can be chosen.
Setting Multiple Parent for Accessories
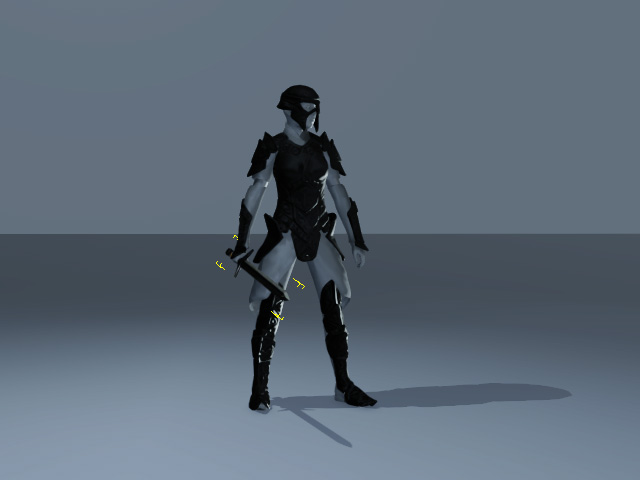
- Create a project with a character and attached accessory.

- Select the accessory.
- Use the drop-down list in the Modify panel to view the available parent bones.
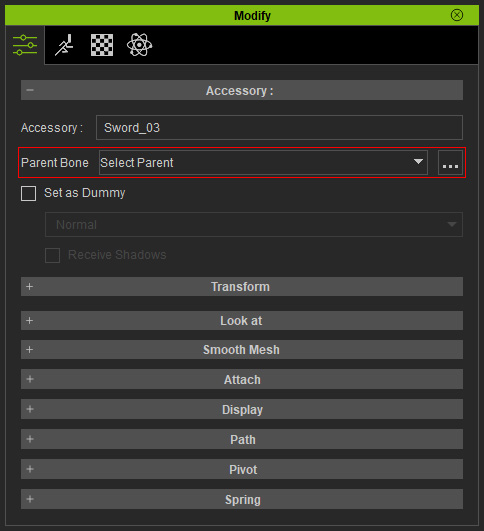
Select a parent for the accessory to snap to.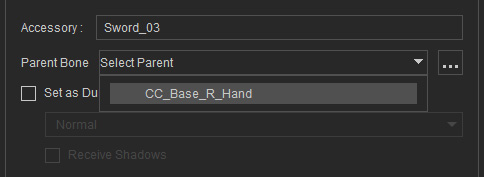
- Click the ... button next to the drop-down list to launch the Parent Bone Settings panel.
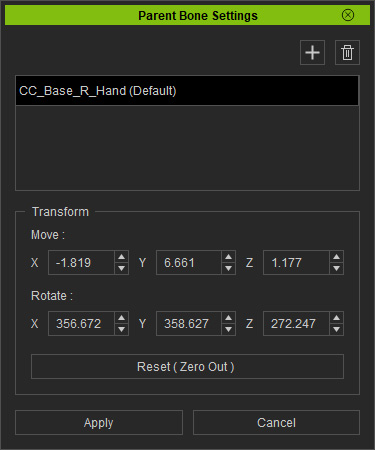
- Click the + button to display the bone list.
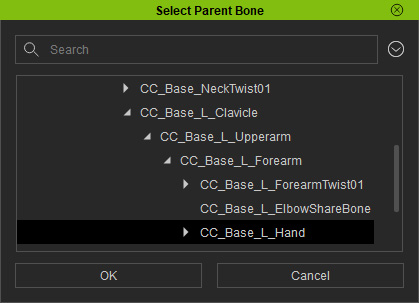
Choose a parent bone and click the OK button (in this case, "CC_Base_L_Hand" was chosen. - The picked bone will be added into the list. You can click the trash can button to remove the selected bones.

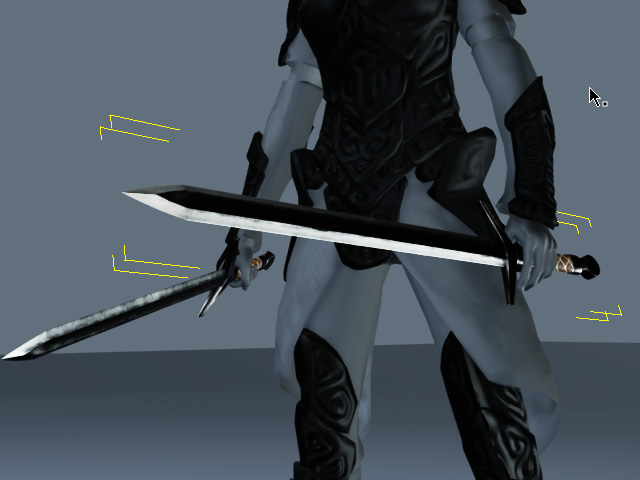
However, an accessory attached in this manner without proper offsets can veer away from its proper position.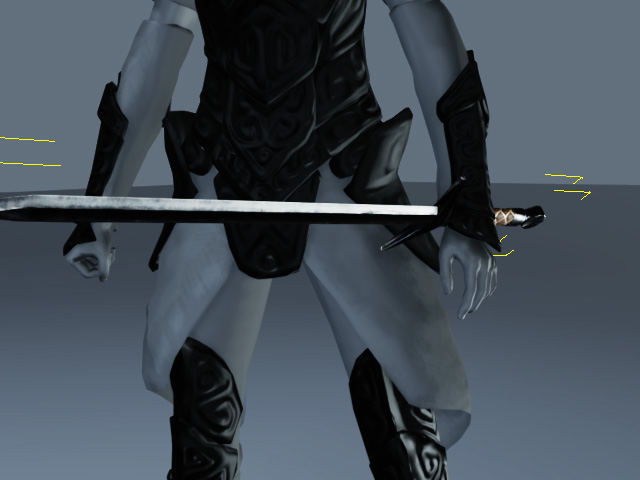
- Using the Transform section, reposition the accessory by using inputting the offset values.

The offset values will be kept in the selected item in the list.
You can click the Reset button to zero out the Move and Rotate parameters. - Click the Apply button to store the offset values onto the accessory.
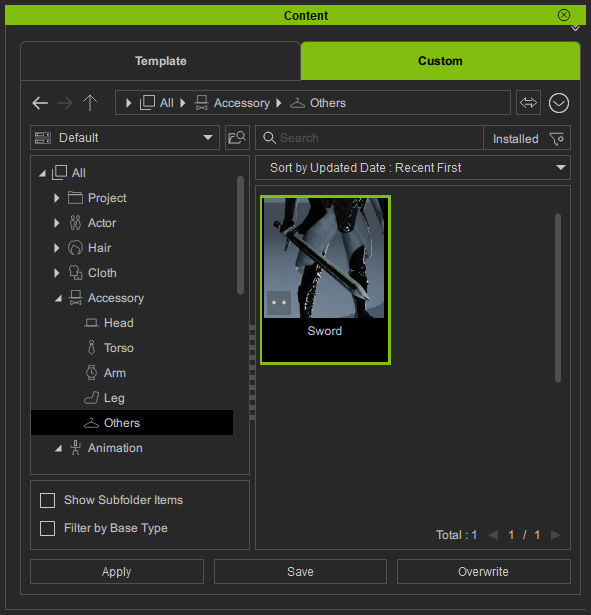
- Save the item inside the Accessory library.
Applying Accessory with Multiple Parent Settings
- Drag and drop the newly saved accessory to the character with the right-mouse button.
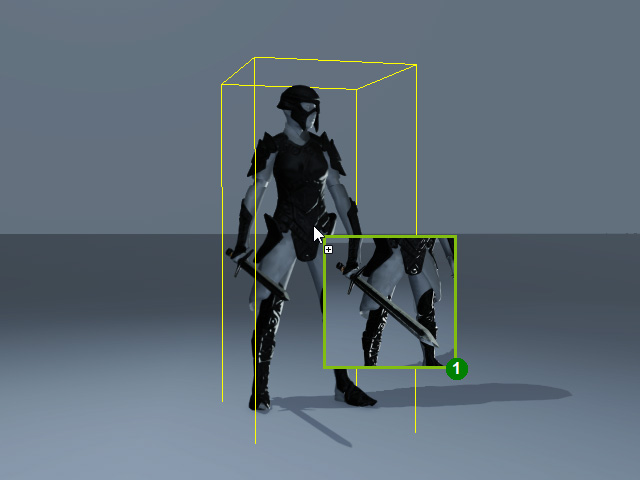
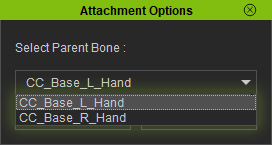
- The Attachment Options panel will appear. Pick the desired parent bone from the drop-down list and click the Apply button.
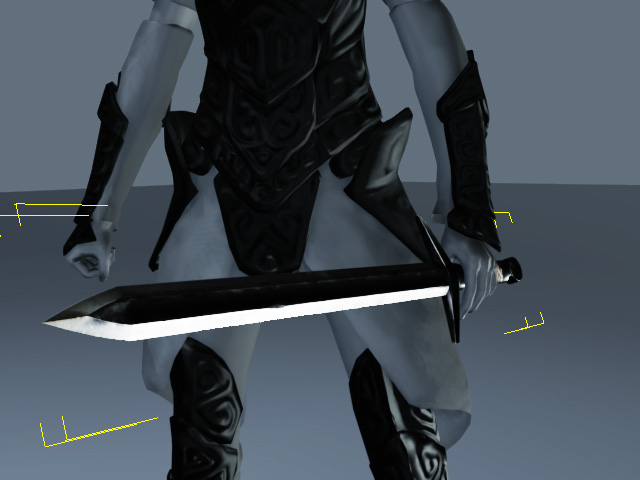
Notice how the items have been adjusted by the prior steps. - The accessory will be applied to the picked bone with proper offsets.