For each G5 or earlier standard character, you are able to
adjust its initial facial features to form a favorite face of it before any
facial animations are applied.
Basic Adjustments
Make sure the character is selected.
Note:
You may press the F key to quickly snap the camera to
focus on the head of the character.
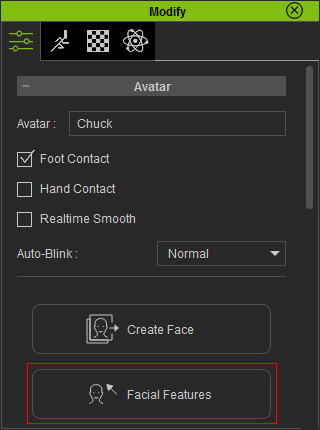
In the Modify panel, click the Facial Features in the
Avatar section.
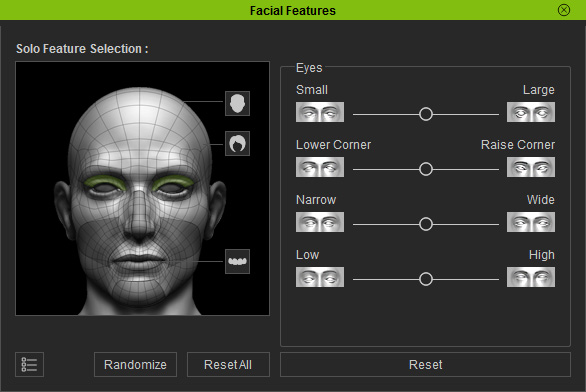
The Facial Features panel will show up.
Pick one of the facial features by clicking its respective area on the selection dummy.
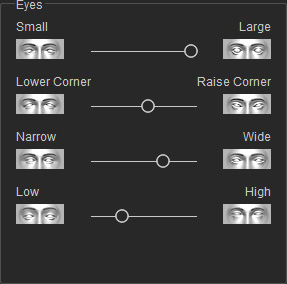
Drag the related sliders at the right pane to determine the look of the selected facial feature.
Repeat the same step to change the basic look of the facial features.
Note:
The functions of the buttons in the panel are:
Randomize: Click this button to randomly set the sliders of each
facial feature to create a new look of the face.
Reset All: Click this button to reset all sliders of each
facial feature to its initial status.
Reset: Click this button reset all sliders of the current
facial feature to its initial status.
Detailing Overall Facial Features
After the basic adjustments are done, you are able to modify in further detail by adjusting various vertices.
Follow the example described above to do the basic facial feature
adjustments.
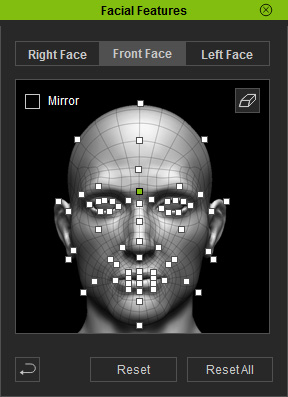
Click the Detail Settings button
at the bottom-left corner of the Facial Features panel.
The panel will change to the detail mode.
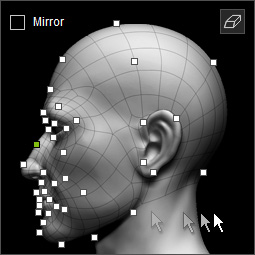
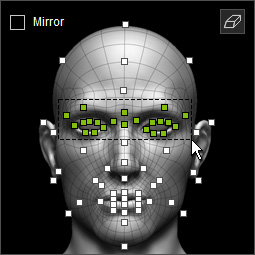
Switch to the desired tab (Right Face, Front
Face and Left Face) to change the perspective of the face at the top of the panel for further adjustments.
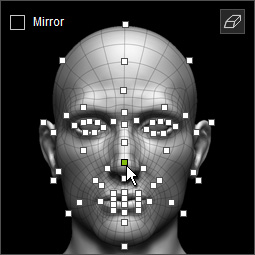
Select the green points for adjustments.
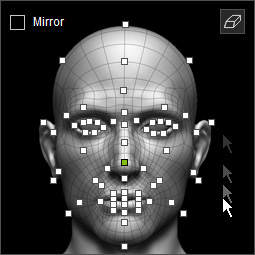
Drag within the pane to move its corresponding vertex on the face.
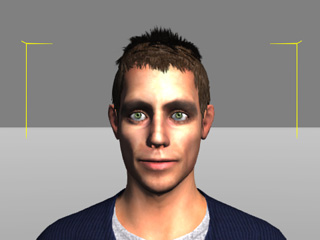
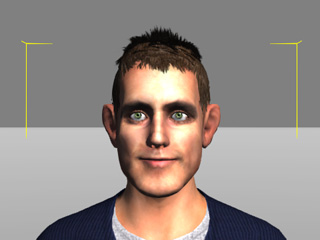
Front Face
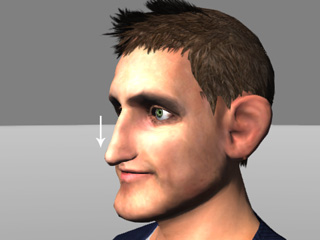
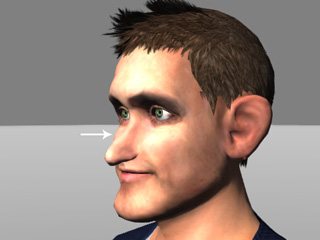
Result
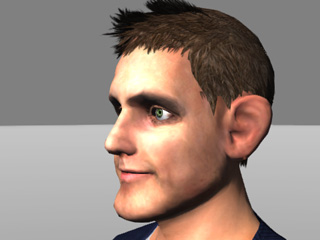
Left Face
Result
Note:
If you want to select multiple points, then press down Ctrl key
and click on the point you want to adjust.
Alternatively, hold the Ctrl key and drag a rectangular to form a region to
select multiple points.
Activate the Mirror box to enable symmetry for both sides of the face.
You may click the Clear All
button to deselect the vertices.
 button to deselect the vertices.