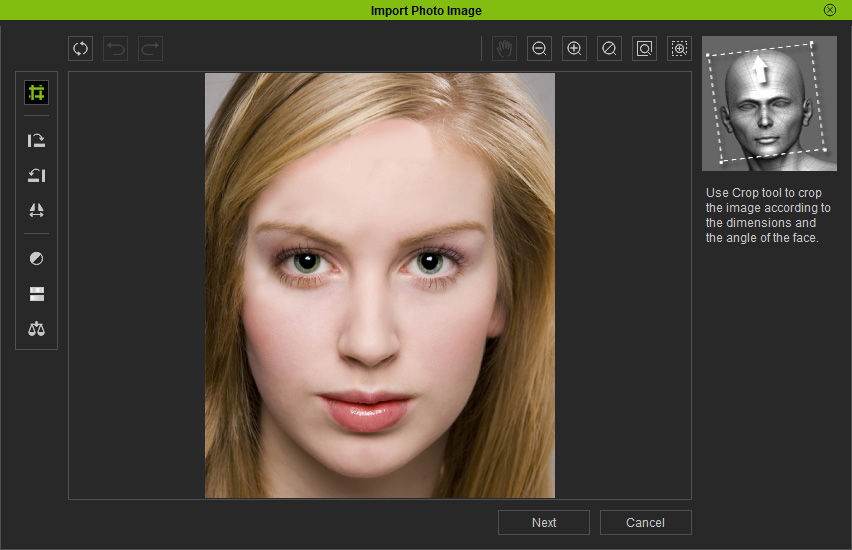
The Import Photo Image Window opens.
For more details about photo enhancement, see Photo enhancement.
Creating a face for your actor is simple. To begin the procedure, you can select one of the pre-made face styles from the selection in the file manager pane, or you can create one from a photo of your own. If you decide to use a photo, be sure to use a clear, front-view photo with no hair hanging or blocking the view of the face. The mouth of the face in the picture should be closed and with a normal emotionless expression. You may crop and adjust the image using a photo editing application before you attempt to use it with iClone.
To import a face photo: