An Animation Helper helps you to pre-define some specific animations and embed the animations in the helper itself. The helper then can be re-used unlimited times and add the same animations to a different prop. Please read Creating Animation Helper first before you start this section to get a better understanding of the principles involved.
Creating Animation Helper at the origin.
One level attaching only.
Merging models and helpers before assembling them as one composite prop.
Apply the helper created in Creating Animation Helper section.
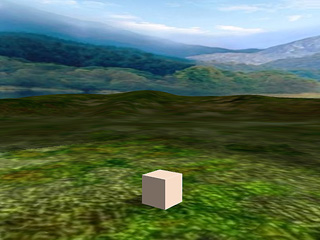
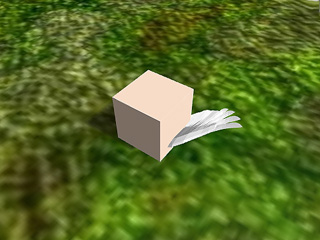
Apply a desired model into the project. Overlapping the pivots of them.
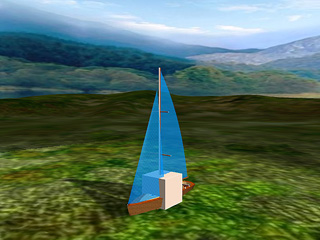
Pick the model and go to its attribute tab in the Modify panel. Scroll to the Attach section, click on the Pick Parent button and click the helper.
The hierarchy before attaching |
The hierarchy after attaching |
Select the helper again. Switch to its material tab in the Modify panel and set the Opacity value to 0.
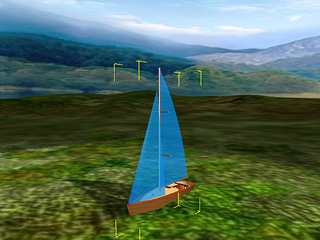
Click the Edit >> Merge command on the menu bar.
Please follow the same steps to create more parts to be combined later:
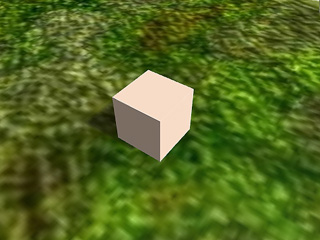
Apply the helper. |
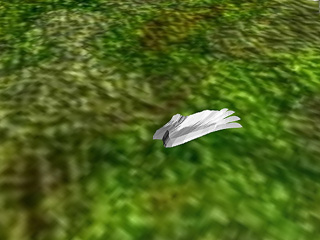
Apply a wing model and attach it to the helper. |
Set the helper's Opacity to 0. |
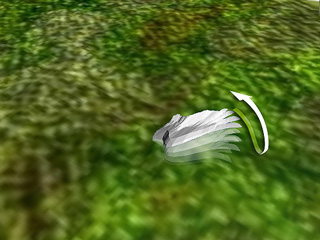
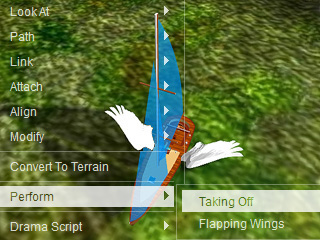
You may right-click on the merged object and apply the animation clip from the Perform list.
Examine the perform clip for each part:
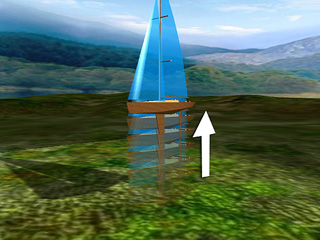
The "Taking Off" is applied to the sailing ship. The "Flapping Wings" is applied to the wing.
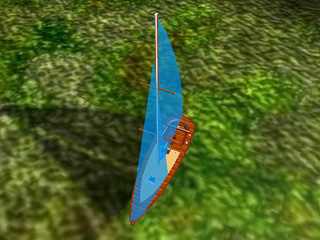
Once you have merged several models and helpers as parts, you may then start to assemble them as one composite object.
Decide a part to be the Parent Node.
The sailing boat is assigned to be the parent.
Pick other parts and then click Pick Parent in the Attach section.
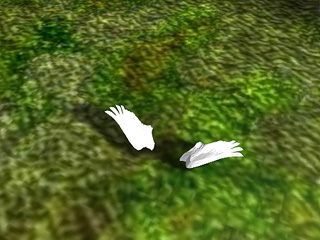
Attach the two pieces of parts to the parent.
Repeat last step till all the parts are attached to the parent node.
The model now can take off with flapping wings.
You may then control the composite object and command each helper individually to act its animation at different times via the Animation track.