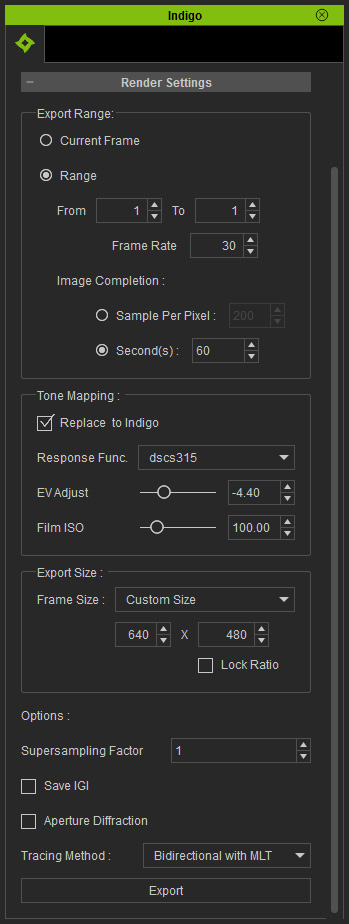
In the Render Settings section, you may determine if you want to export and render only the current frame or a specified range of frames; the resolution for the image or images to be rendered.
Since Indigo will render your scene infinitely, you may also want to set a render time limit for each frame you render.
You are allowed to optionally save the rendering Indigo Scene
into an IGI file for pause-and-continue rendering, enable aperture diffraction for bloom effects, or choose your preferred tracing method.

The basic exporting method is to export the current frame to Indigo and render. You can use this method to generate a single image (creating a poster, for example) or take it as the preview before rendering sequential images for building an animation.

|
Note: |
|
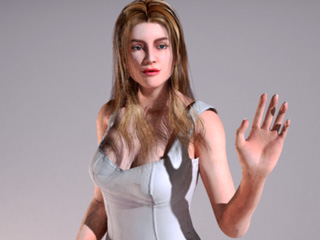
Please note that there are only a plane, a character, a directional light, and a point light in this project. |
|
Note: |
|
For previewing, choose a small size; as for product media, choose a larger size. |


|
Note: |
|
You may check out the rendering result in Indigo and then perform further adjustments in iClone. |
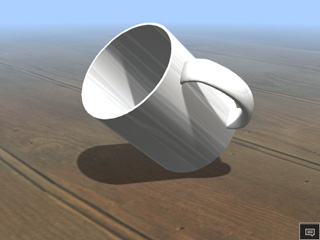
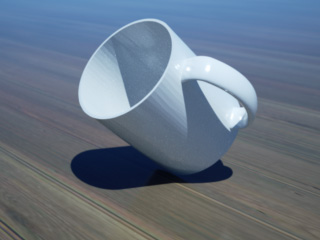
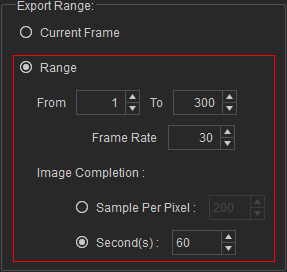
If you want to create an animation with an iClone project rendered via Indigo, you need to export the project frame by frame into a queue file (*.igq), individually render the frames in Indigo, and then combine the rendered image into an animation video.
|
|
Note: |
|
You may then adjust the iClone project in accordance with the rendered result. |
|
Note: |
|
How to Determine the Value of Sampling per Pixel (SPP)
As you use Indigo to preview the rendering result, please
check out the information line at the bottom of the 3D view in
Indigo. The sample per pixel number
is on it.
When the rendering quality is visually
optimized, you will know the 'sweet spot' for your SPP value range. |
|
Note: |
|
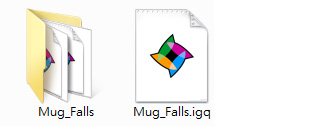
The folder exported along with the Indigo queue file (*.igq) contains Indigo scene files (*.igs), folders of meshes, and folders of texture images. You are not supposed to remove this folder or any files, subfolders within it. |
|
Note: |
|
To observe the process of rendering, open the
Render Settings panel in Indigo,
select the Render Queue in the drop-down list. |
|
Note: |
|
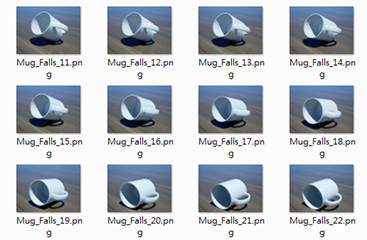
These images, by default, will be stored in the folder exported
along with the Indigo queue file (*.igq). |

|
|
Note: |
|
Please refer to the More Options of Render Settings section for more information. |