Following Control Points
Every control point has its own arrow pointer. These points refer to the direction that the prop or the character will be facing when it reaches the control point.
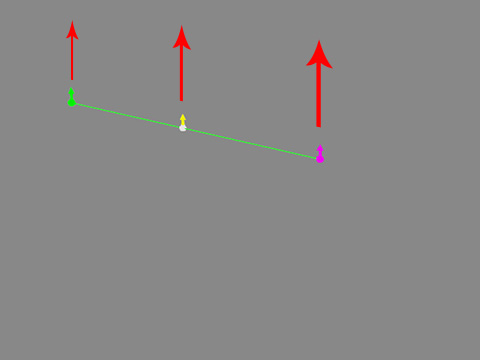
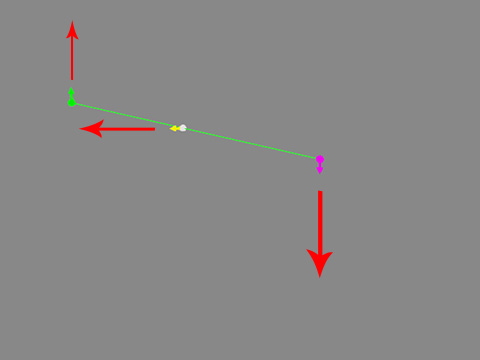
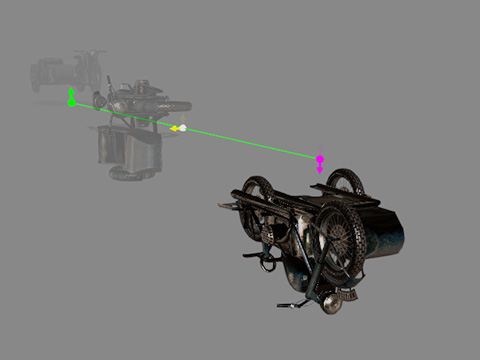
Control Points Direction
If you have all the Control Points facing one direction, you may get the following result after setting the Path Position keys for the object.
|
|
|
Control Points Direction |
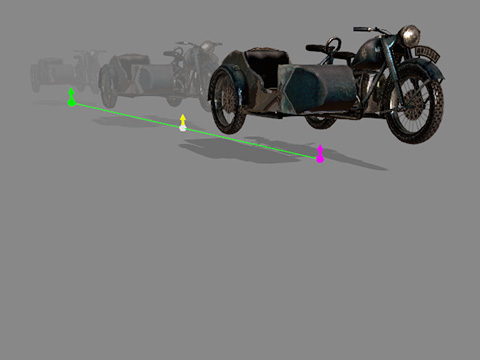
Result |
Turning Control Points
By modifying every control point you can make a prop turn on a selected path. Enable the Edit Path button to select the control points and turn its direction.
- Create a path and have the path in selection.
-
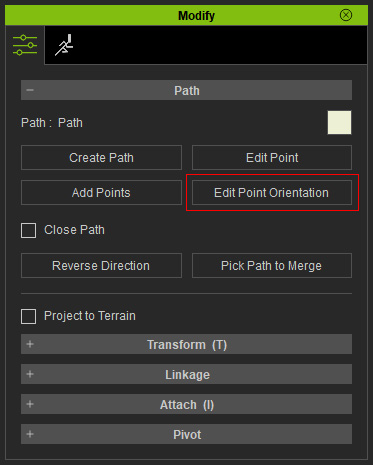
Select the path and click the Edit Point Orientation button on the Modify panel to go into path editing mode.
Alternatively, you can right-click on the path and choose Path >> Edit Orientation to enter the orientation-editing mode.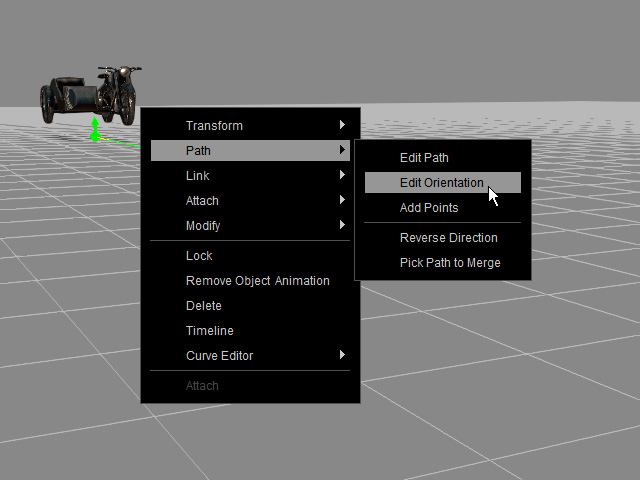
- Click on the desired control point. You will see a green orientation gizmo shows.
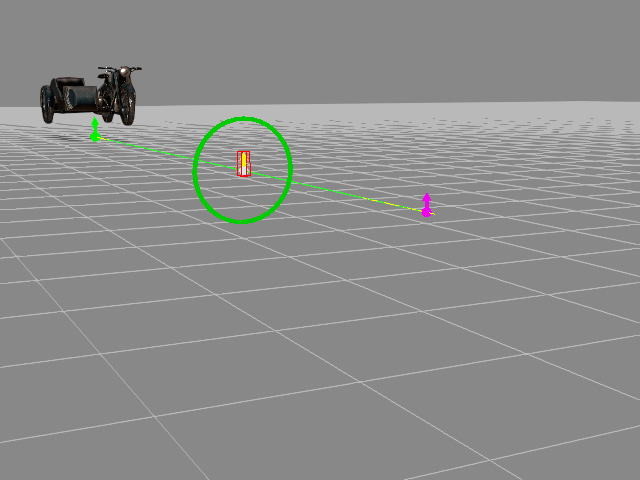
- Drag the green gizmo and the orientation of the control point will be re-directed.

- Press down the Ctrl key and select any other desired control points.
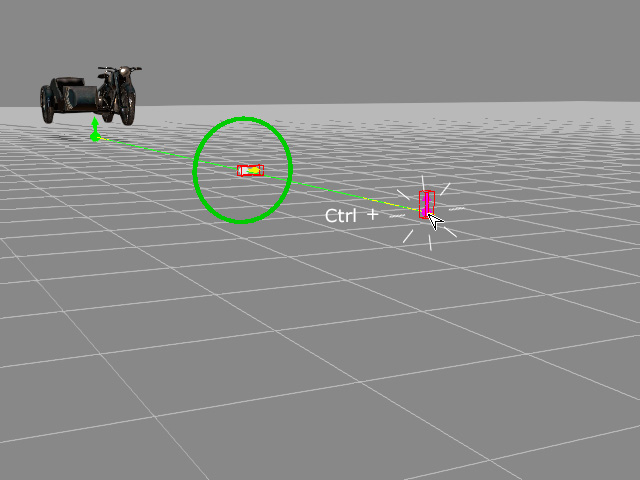
- Drag the green orientation gizmo again. You can then adjust multiple control points at once.

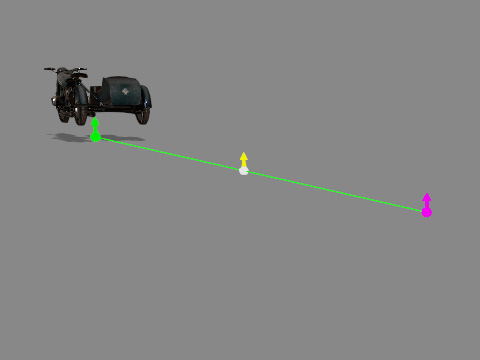
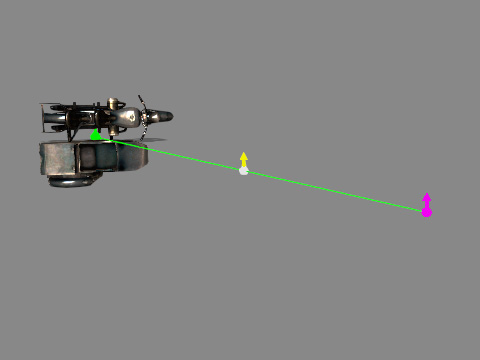
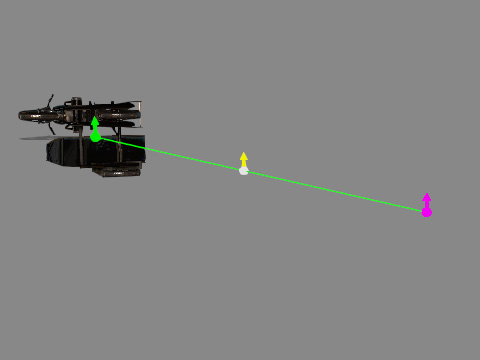
Having Object Following Directions of Control Points
-
If you set Path Position keys for the object, the result is still the same.
-
Make sure the object is selected and activate the Follow Path in the Modify panel.
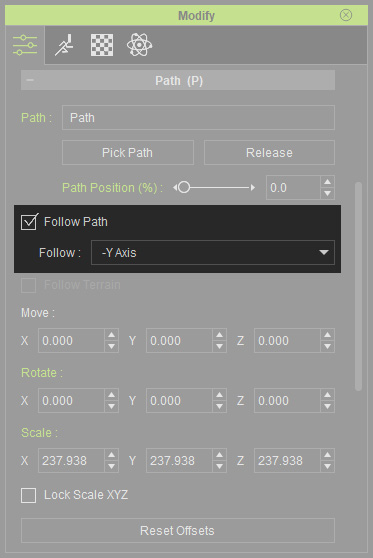
You can use the Follow drop-down list to define which local axis of the object is to be aligned to the path direction.
+X
-X

+Y
-Y
+Z
-Z
-
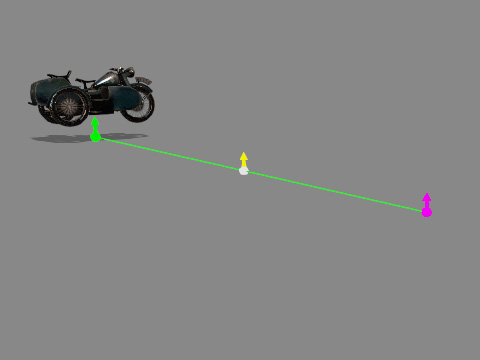
The prop now follows the direction of the control points.
Control Points Direction
Result
