How to Show or Hide Inner Meshes
In order to hide the inner mesh that clips the outer ones, you can use two methods:
Hiding Inner Meshes
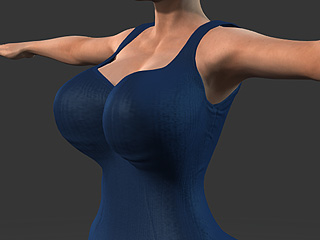
When you apply a cloth to character, the inner meshes of a skin sometimes penetrates out of the outer ones
as the illustration shows: 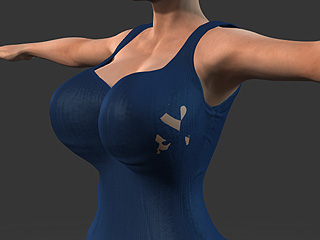
Turn the upper layer of the mesh into wireframe mode to get a better view of the penetration.
You can do the following steps to solve the issue:
-
Select the cloth at the topmost layer (in this case, the blue dress).
-
Execute the Edit >> Conform command to launch the Conform Clothing panel.
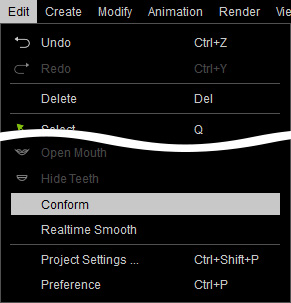
Alternatively, click the Conform button on the toolbar.
-
Activate the Hide Inner Mesh box at the bottom of the panel.

The meshes passing through the cloth will be become hidden.

Masking Penetrating Meshes
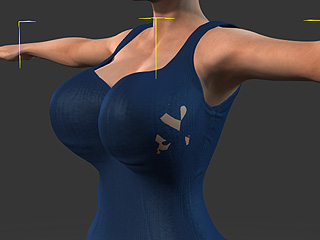
In addition to the method described in the previous section, you are able to use customize an Opacity map for more precise fix instead of Hide Inner Mesh. Here the same character is used as the demonstrated example.
|
|
|
Getting UV Reference Map for Modifying Mask Texture
- Make sure the character is selected.
- Switch the Modify panel to Material tab.
-
Select the Skin_Body material from the material list.

-
Click the UV button in the Texture Settings
section.

-
The UV map of the selected material will be exported to your favorite image editor
(in this case, Photoshop).

-
You can then use the image as reference for creating a mask image in grayscale
mode to filter out the penetrating meshes from being displayed.

- Save the image for further usage.
Filtering Off Mesh with Mask Image
- Make sure the Skin_Body material is selected.
-
Double click on the Opacity channel in the Texture Settings section.

- Load the image prepared in the previous section.
-
The meshes of the body that penetrate the cloth will be filtered out with the help of the grayscale image.