Transition Curves in Tracks
In iClone, you are able to set keys or add clips into different tracks. Interpolations can be customized between different curves so that the transition speeds between two adjacent keys, or clips, imitate the physical characteristics of how the object would move in the real world.
Set the Transition Curve
- In the target track of the timeline, set two keys (take the Transform track as an example).
-
Right-click on the Later one. Select an item from the Transition Curve entry in the menu.
The transition curve will then be generated between these two keys only.
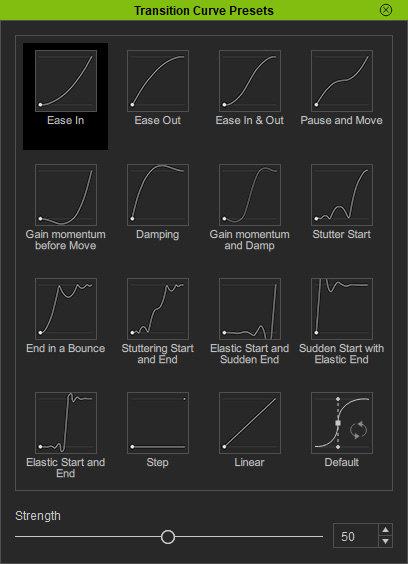
The Curve options have increased from 6 to 16 also accessible via the context menu, however, in the form an independent window. Each Transition Type can be previewed in the view-port simply by selecting it in the floating window, making it more intuitive and convenient.
Transition Curve Panel and Four Basic Curve Types
|
Ease In |
Ease Out |
|
Ease In & Out |
Pause and Move |
You can drag the Strength slider for the four basic presets to dramatize the results.
Second Row of Curve Presets
|
Gain momentum before Move |
Damping |
|
Gain momentum and Damp |
Stutter Start |
Third Row of Curve Presets
|
End in a Bounce |
Stuttering Start and End |
|
Elastic Start and Sudden End |
Sudden Start with Elastic end |
Fourth Row of Curve Presets
|
Elastic Start and End |
Step |
|
Linear |
|
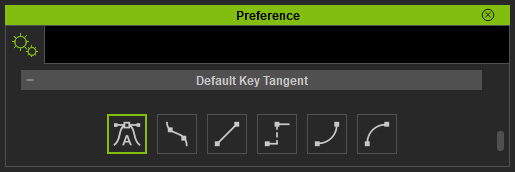
The transition type of the last preset, named Default, is determined by the setting in the Default Key Tangent section of the Preference panel.