Relationships of Rigid Body, Constraint and Target
When a rigid body is applied with multiple constraints, you may need to find out all the relationships. iClone provides color identification method
to find out the related targets and the directly connected target for the current rigid body that has been applied
with more constraints. Furthermore, you are able to use the Constraint Manager to find out the relationships.
View the Video
Identifying by Colors
Constraint
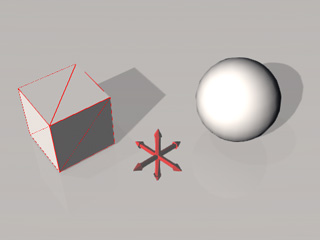
The constraint can have three types of color:
- Blue: The constraint in blue is applied to a rigid body without targeting to any other
physics object.
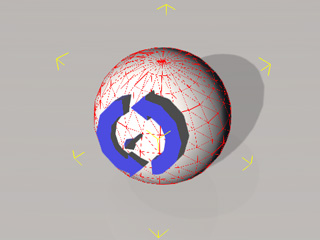
- Red: The constraint in red is applied to a rigid body, and also targeting to another
physics object.
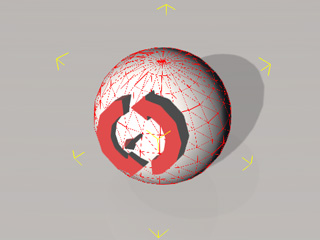
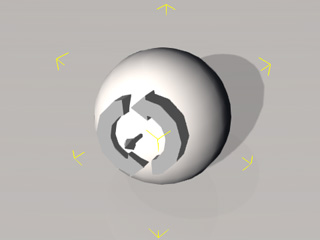
- Grey: The parent rigid body of the constraint is no longer a rigid body.
Constraint and Rigid Body
After you pick a constraint, the relationships between the constraint and rigid bodies can also be
identified by different colors.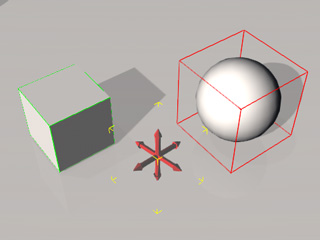
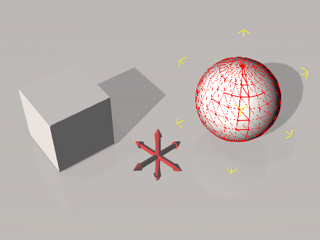
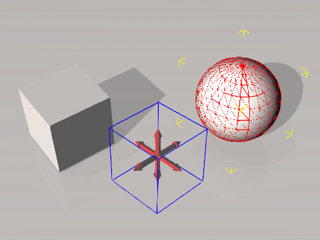
- The relationships between the constraint and the rigid bodies will always appear in Bounding Box form.
- Red Bounding Box: If a rigid body is framed up with a red bounding box, then it
is the rigid body to which the constraint is applied (in this case, the ball).
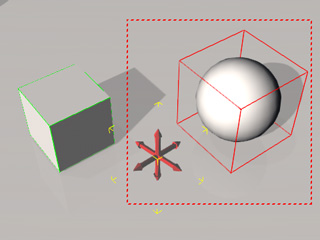
- Green Bounding Box: If a rigid body is framed up with a green bounding box, then
it is the target rigid body of the constraint (in this case, the box).
Identifying by Constraint Manager
In addition to viewing the colors of the rigid bodies or the constraints on the 3D view, you may also use the Constraint Manager to find out the relationship or even quickly switch to the corresponding Modify panel for further editing.
Constraint and Constraint Manager
Take the example in the previous section, you can use Constraint Manager to quickly find out
the relationships that are in connection with the selected constraint.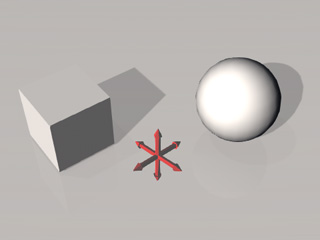
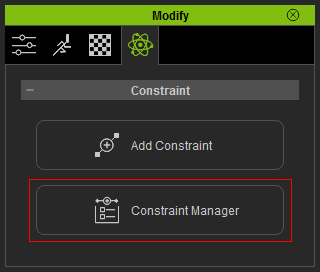
- Pick the constraint.
-
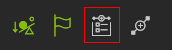
Click the Constraint Manager button on the tool bar.
 Note:
Note:Alternatively, you are able to select the rigid body that the constraint is applied to, and then click the Constraint Manager button in the Modify >> Physics >> Constraint section.
-
The Constraint Manager will display.
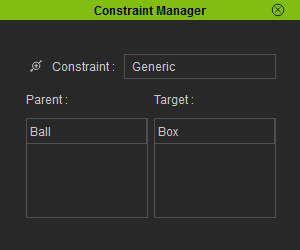
- Constraint: This field shows the name of the constraint. You are able to rename it through this field.
- Parent: This list shows the rigid body that the constraint is applied to.
- Target: This list shows the target the constraint is connected to. If the constraint does not target to any rigid body, then the list shows World.
- You are able to double click on the item in the Parent or Target lists to quickly switch the Modify panel to the settings for the item (rigid body).
- For any constraint, there can be only one item in the Parent list and another one in the Target list.
Rigid Body and Constraint Manager
Still take the example, you can use Constraint Manager to quickly find out
the relationships for the rigid body.
-
Pick the ball.
-
Click the Constraint Manager button on the tool bar.
-
The Constraint Manager will display.
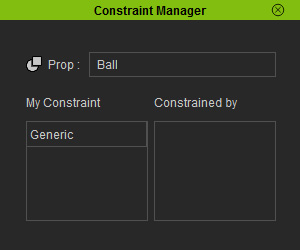
- Prop: This field shows the name of the selected prop. You are able to rename it through this field.
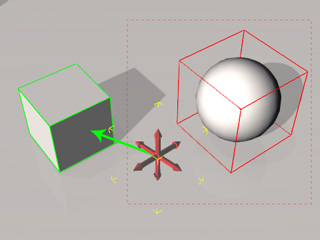
- My Constraint: This list shows the constraint or
constraints that are applied to this prop. If you pick one of
the item, then it will be framed up with blue bounding box.
- Constrained by: This list shows the constraint or constraints that are targeting this prop.
- The My Constraint and Constrained by lists are able to contain multiple items (constraint) because a rigid body can be applied with multiple constraints and can also be targeted by multiple constraints.
- You are able to double click on the item in the My Constraint or Constrained by lists to quickly switch the Modify panel to the settings for the item (constraint).
-
Pick the box.
-
The contents in the Constraint Manager will change.
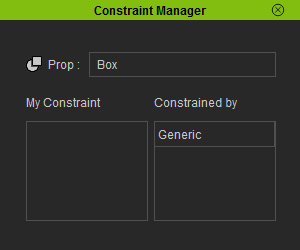
- Prop: This field shows the name of the selected prop. You are able to rename it through this field.
- My Constraint: This list shows the constraint or constraints that are applied to this prop.
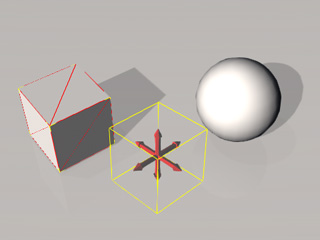
- Constrained by: This list shows the constraint or
constraints that are targeting this prop. If you pick one of
the item, then it will be framed up with yellow bounding box.
- The My Constraint and Constrained by lists are able to contain multiple items (constraint) because a rigid body can be applied with multiple constraints and can also be targeted by multiple constraints.
- You are able to double click on the item in the My Constraint or Constrained by lists to quickly switch the Modify panel to the settings for the item (constraint).
