Spring
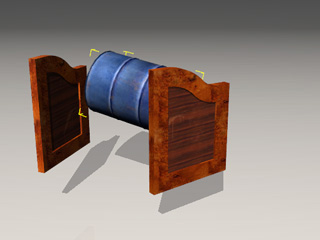
The Spring constraint causes the rigid body to bounce along one or more axes, or even bounce along the X axis. It is suitable for creating a shock for a tire, a mechanical scale, or even a swinging door.
Move
-
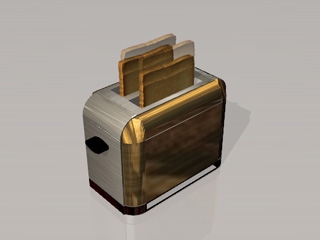
Apply a prop (in this case, a piece of toast). Transform it to a desired position, size and angle.
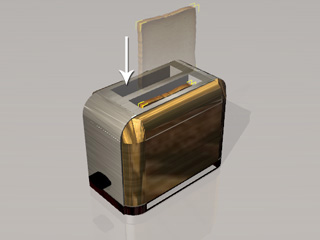
- Set the prop as Dynamic.
-
Because the Dynamic rigid body will fall by default, you need to constraint it to
its current location.
In the Modify panel >> Physics tab >> Constraint section, click the Add Constraint button.
The Add Constraint panel displays.
-
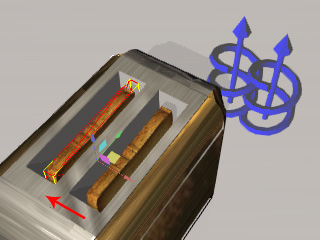
Drag and drop the Spring constraint template onto the dynamic rigid body.
-
Transform the constraint for better observation, and for the arrow to point to
the direction so that the rigid body is able to perform the spring-moving animation.
- Make sure the constraint is selected.
- In the Modify >> Constraint section, you may pin the rigid body to its original position by clicking the World button. Please refer to the Setting Connection Relationship section for more information.
-
In the Limit section, check the
box in the Move section and define the bouncing
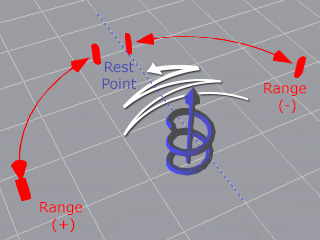
Range and Rest Point for the spring effect.
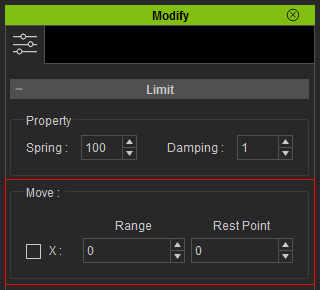
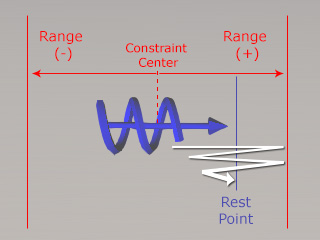
- Range (+), (-): The relative distance from the current pivot position.
- Rest Point: The relative position of the rigid body when the spring effect stops. It is highly recommended that you use a value between the Range (+) and Range (-), otherwise the spring effect will become unexpected when you begin the simulation.
-
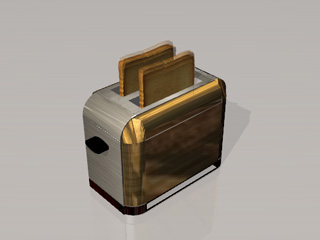
Duplicate the toast (Shortcut: Ctrl + drag with Left Mouse Button). The physics settings are also duplicated, including the constraint
settings.
-
Play to simulate the spring effect. You will see the toasts are bouncing
up and down.

Setting Spring Property
In the above example, you may find that the spring effect keeps going, which seems to never decrease and never stop. In the
Property section of the same panel,
you are able to set the Spring and Damping values to define the
strength of the spring effect and
how hard the resistance will be to slow down the spring effect.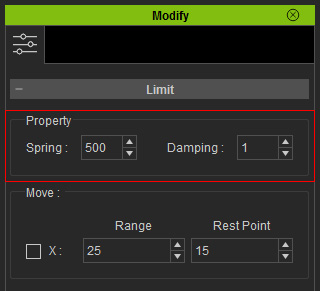
In the last example, the Spring is set to 500, which causes the strong bouncing behavior. If you decrease the value to 50, then the spring strength is also weaken and more gentle.
|
|
|
Spring: 50, Damping: 0. |
|
If you want the decrease the speed for each back and forth, then you can increase the Damping value to increase the air resistance for the movement.
|
|
|
Spring: 500, Damping: 95. |
|
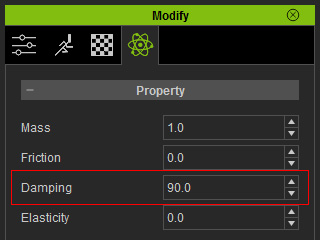
If sometimes the spring effect does not seem to stop, it is because the Spring value is too high, and the Damping value is not enough to ease the bouncing in a short time. In this case, you can select the rigid body and go to the Modify >> Physics tab, increase the Damping value for the rigid body. With these two damping values set higher (one for the constraint and the other for the rigid body), the spring effect will stop sooner.
|
|
|
Spring: 500, Constraint Damping: 95, Physics Damping: 90 |
|
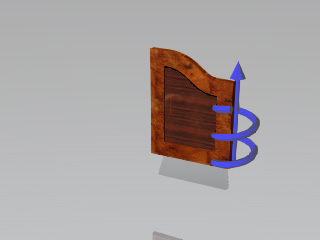
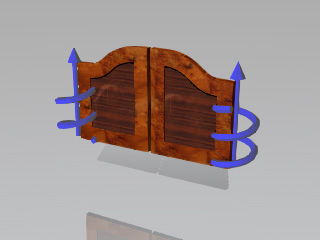
Rotate
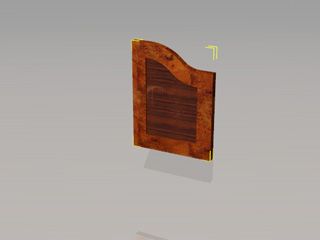
In addition to the Move spring effect, you are able to create a spring effect that rotates by the X, Y and Z axes. The X axis is taken as an example in the following steps.
-
Apply a board. Set it as Dynamic rigid body.
-
Because the Dynamic rigid body will fall by default, you need to constraint it to
its current location.
In the Modify panel >> Physics tab >> Constraint section, click the Add Constraint button.
The Add Constraint panel displays. -
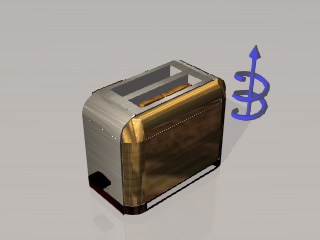
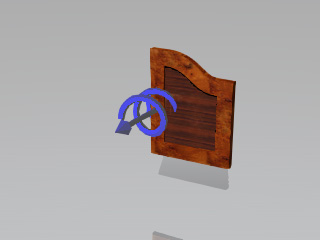
Drag and drop the Spring constraint template onto the
hinge part of the dynamic rigid body.
-
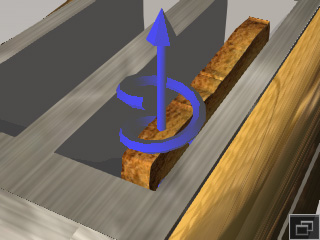
Transform the constraint to the hinge of the dynamic rigid body, and
make sure the swirl part of the constraint is parallel to the hinge.
- Make sure the constraint is selected.
- In the Modify >> Constraint section, you may pin the rigid body to its original position by clicking the World button. Please refer to the Setting Connection Relationship section for more information.
-
In the Rotation section of the Limit
section, activate the axis the constraint is about to rotate (in this
case, X) and set the Range and Rest Point values
to define the bouncing range.
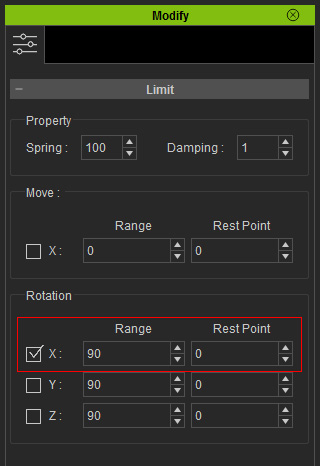
- Set the Spring, Constraint Damping and Rigid Body Damping as described above.
-
Duplicate the board (Shortcut: Ctrl + drag with Right Mouse Button). The physics settings are also duplicated, including the constraint
settings.
-
Prepare a kinematic object to pass through it. Simulate the result.