GI Anchor Settings
Showing and Hiding GI Anchor
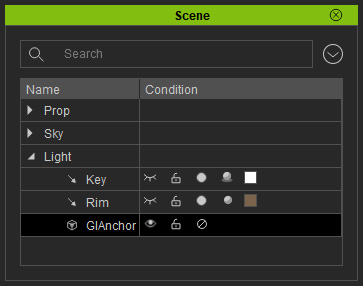
- After the GI main switch is turned on, a new Anchor item will appear under the Light category in the Scene Manager.
- The Anchor is used to determine the voxel position for a real-time GI scene in order to prevent the light flickering in real-time GI.
- The anchor determines the starting center of the GI voxels, the objects closer to the anchor are influenced more by the GI effect and less so as it spreads outward.
- When the anchor is selected, GI Range, Move and Link settings will be displayed in the Modify panel for further adjustments.
- Only its position can be moved and keyed, not its size or orientation.
Voxel Visualization
In order to show the voxels, you can switch the view-port to View GI Voxels mode from the Modify panel.
Alternatively, you can click the View GI Voxels button on the tool bar.
You will see the view-port turn to be red and blue mode to show the cubes of the voxels.
- Visualize Voxels is used for viewing the GI influence range and the levels of deployment
- According to the theory described before, smaller and denser voxels mean more details of lights and shadows, and vice versa. When meshes share a same voxel cube, they receive identical quantity of the lighting (visually, the lights and shadows on the surfaces of the meshes look more evenly distributed)
GI Range and Displaying Range
If you only want to view the range instead of the read and blue screen, then you can use the GI Range slider and View GI Range check box.
You will see the GI Range green box show on the screen, which indicate the size and position of the area that will have GI effect.
- GI Range: The lights that hit any objects within this range will bounce and lighten up the entire scene. The bouncing lights will contribute to the overall illumination of the scene.
- Display Range: Toggles semi-transparent boxes to display the GI range.
