How to use Histogram for Auto Exposure effect
If you want to have Auto Exposure truly and automatically adjust the exposure
for the scene, then you need to change the exposure method to Histogram.
By setting the parameters, the system will react by turning up or down the entire exposure to prevent
over- and under-exposure.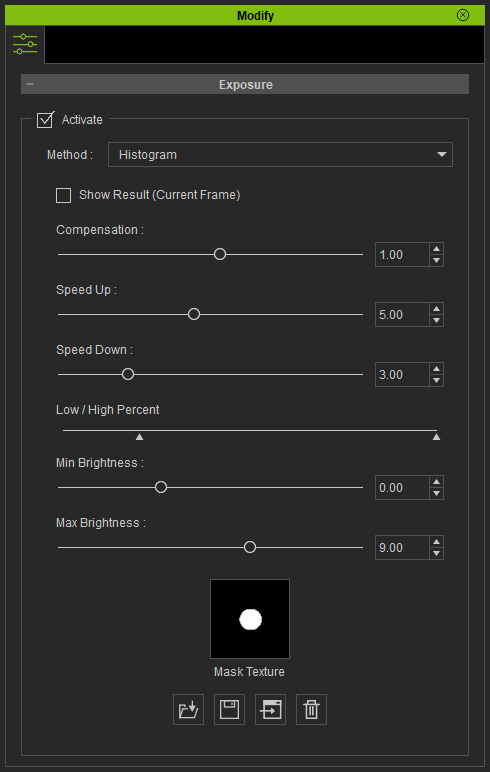
This checkbox is used to show the Auto Exposure result in response to the parameters.
|
Editing |
Playback |
|
|
Activated |
In current frame, instantly view the editing results of the parameters. |
Extremely high Speed Up and Speed Down values to create the unapparent exposure adjustments throughout the playback. |
|
Deactivated |
Parameter changes are ineffective. |
Utilize the custom Speed Up and Speed Down values to create gradual exposure adjustments effect. |
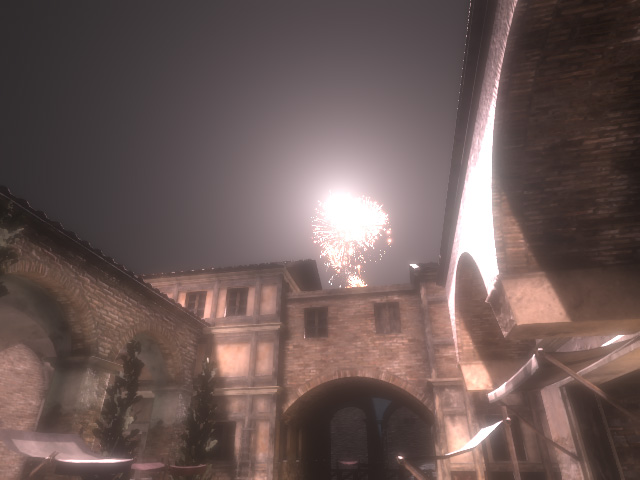
This slider is used to increase/decrease the overall exposure throughout the entire project.

|
|
|
Compensation = 1.00 |
Compensation = 2.50 |
These two values determine the "lighten" and "darken" reaction speeds.
|
Speed Up = 1.00 Speed Down = 1.00 Slower to increase/decrease the exposure level. |
Speed Up = 10.00 Speed Down = 10.00 Faster to increase/decrease the exposure level. |
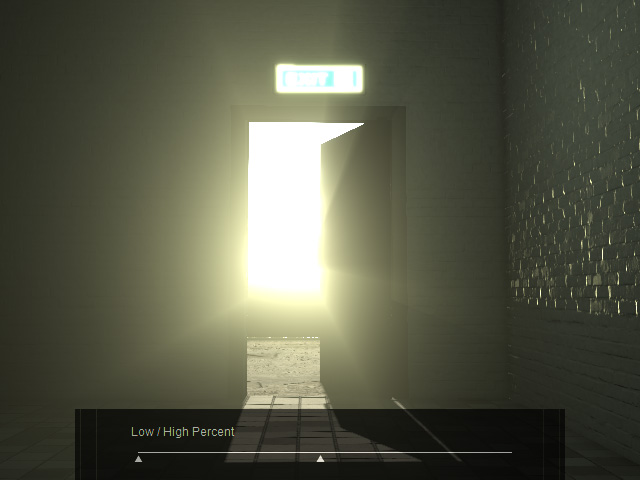
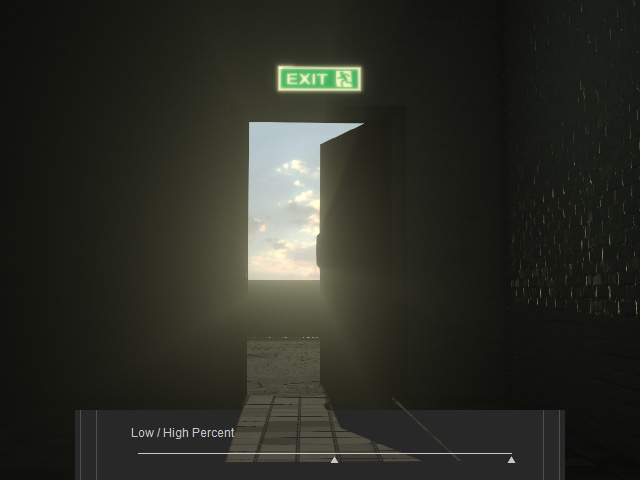
Only the pixels whose luminance fall between the two triangles will be calculated to generate the average luminance for adjusting the over- and under-exposed scene.
|
|
|
The pixels whose luminance range from shadow to midtone will be sampled and averaged, which increases the exposure level for the entire scene. |
The pixels whose luminance range from midtone to highlight will be sampled and averaged, which decrease the exposure level for the entire scene. |
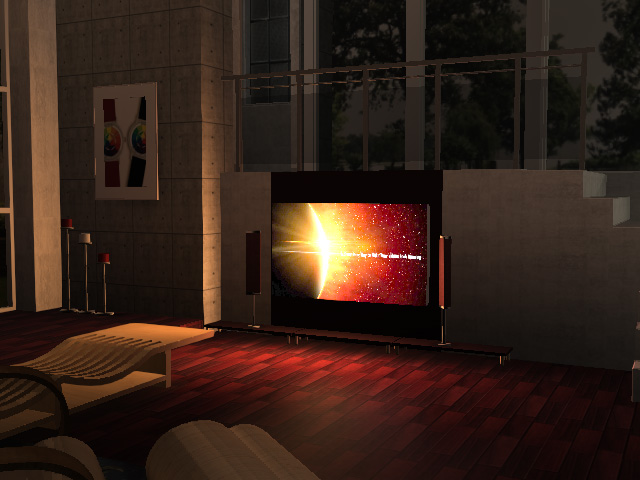
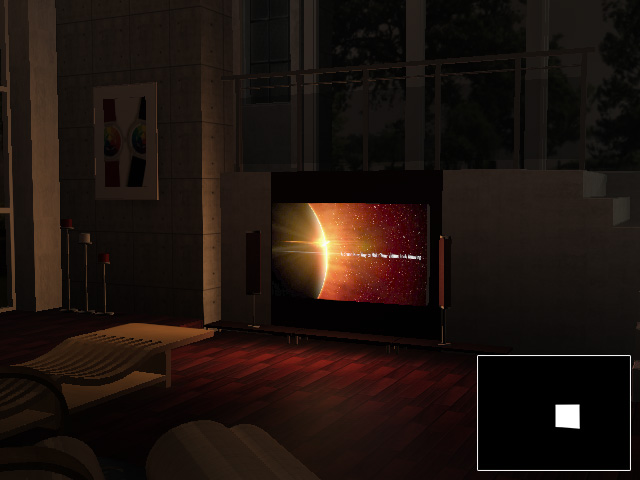
Load a grayscale texture to collect and sample the pixels in the lighter parts of the texture for calculating the average luminance. The pixels in the black or darker parts will be ignored.
|
|
|
No Mask. |
With Mask. |
