Creating Custom Height Map Mask
In theory, a Height Map Terrain is composed of one terrain mesh covered with up to 4 materials. The distribution for the materials are determined by a Height Map Mask image file in PNG format, also known as Detailmap in Earth Sculptor.
Although the mask is an image, you can not open it in image editor to adjust the distributions. You must use Earth Sculptor to edit or generate the mask image instead.
The Basic Concept of Detailmap
When you decide to cover your terrain with Detailmap, you may assume that there are
two invisible image plans hanging above the terrain mesh, one is the texture image and the other is the mask plane.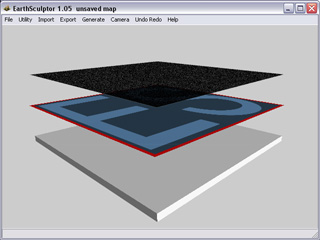
When you paint on the terrain mesh, you are actually modifying the mask plane so the texture plane may project
texture accordingly onto the terrain.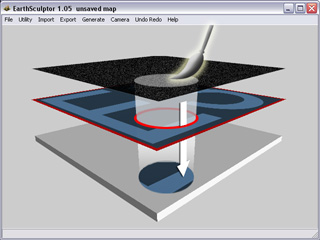
The mask plane for the first channel is off by default. Therefore, if you load a texture image for the first channel, the texture will always cover the entire terrain.
Creating a Material Mask in Earth Sculptor
-
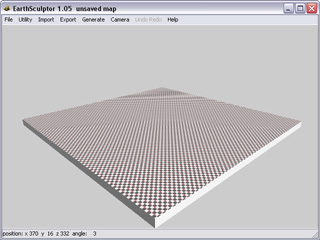
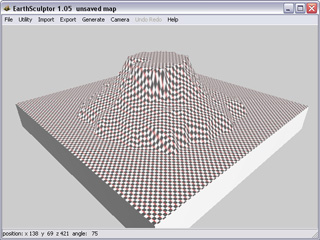
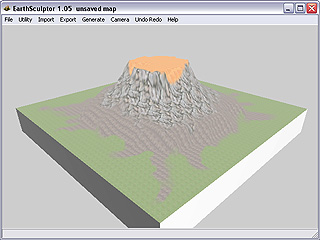
In Earth Sculptor, create a new terrain.
-
In the Main Menu, execute the Import >> Heightmap Image command and load a grayscale
image.
-
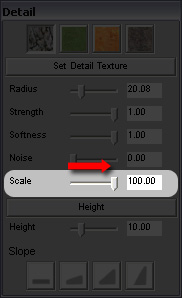
Press down the Detail
 button in the
Toolbar. Detail panel shows.
button in the
Toolbar. Detail panel shows.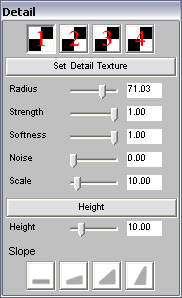
-
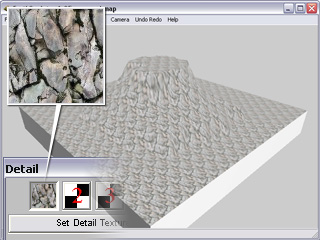
Click the Set Detail Texture button. Locate a desired image (TGA, DDS, PNG or BMP)
and click the Open button to load the image to replace
the original one (check board).
-
For channel 1, the target image tiles the entire terrain as soon as it is loaded
since the mask is off.
-
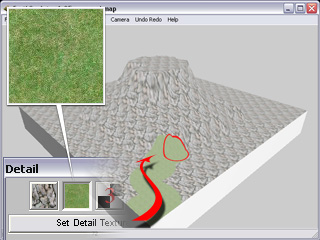
For channel 2, 3 and 4, the target images are masked out. You must paint on the terrain to modify
the masks to determine the distributions of the textures.
-
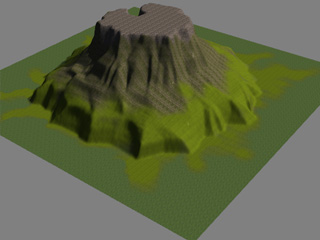
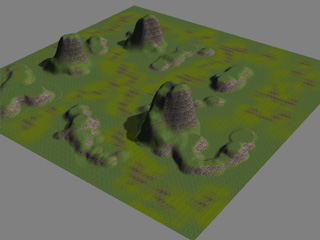
After painting for the 4 materials, you will get a terrain with detailed textures.
 Note:
Note:Please note that the change of Scale value for tiling the texture in Earth Sculptor does not affect the real UV Tiling results in iClone.
-
For channel 1, the target image tiles the entire terrain as soon as it is loaded
since the mask is off.
Obtaining Height Map and Material Mask Images for iClone
Finding Required Images in Earth Sculptor
After you have created a new terrain with 4 materials as described in the previous section, you may then import the Height Map and Mask images to iClone, in order to create you custom height map terrain.
-
Take the terrain created above as an example (in Earth Sculptor).
- Save the terrain as *.map file (Earth Sculptor project file).
-
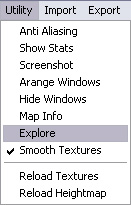
Execute the Utility >> Explore command from the main menu.
-
A system explorer will open the folder where you save the project. You will
see several images inside of it.
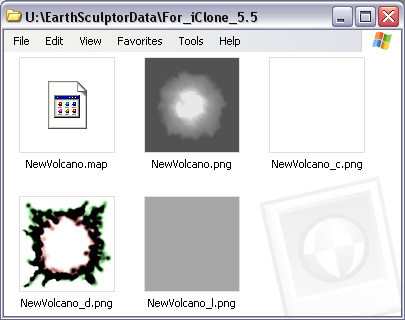
- *.map: The Earth Sculptor project file.
- *.png: The Height Map image for creating the landforms.
- *_c.png: The color layer image that overlapping on the terrain.
- *_d.png: The Detailmap (Height Map Mask) image file.
- *_l.png: The light map image for simulating the light and shadow effects.
Loading Height Map and Mask Images in iClone
-
Load a Height Map Terrain template from the Content Manager >> Set tab >>
Terrain library >> Height Map_Large
library as a base.
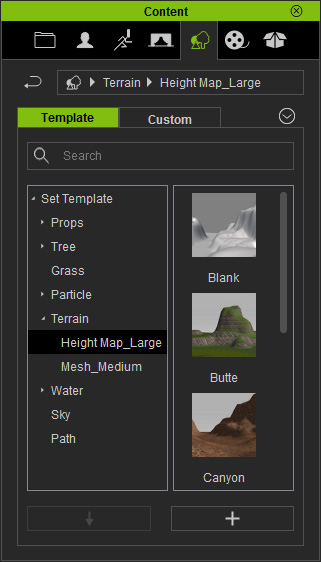
-
In this case, the Butte is applied.
-
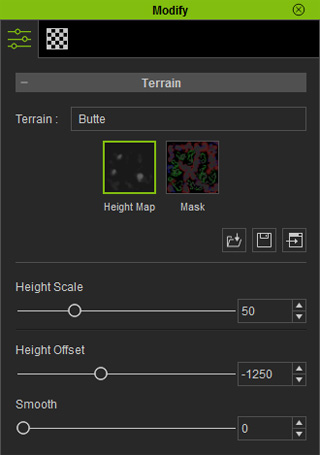
Select the terrain in the Scene Manager,
and switch to its attribute tab in the Modify panel.
-
Double click on the Height Map channel and replace the original
image with the *.png (for generating landforms) as described
above.

-
Double click on the Mask channel and replace the original
image with the *_d.png as described above.
 Note:
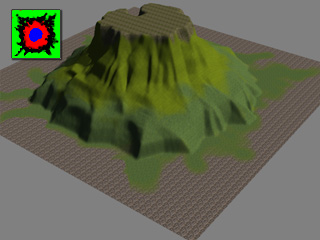
Note:-
The material that is applied to a
specific color area defined in the original mask will
be applied to the same color area defined in the loaded mask.

-
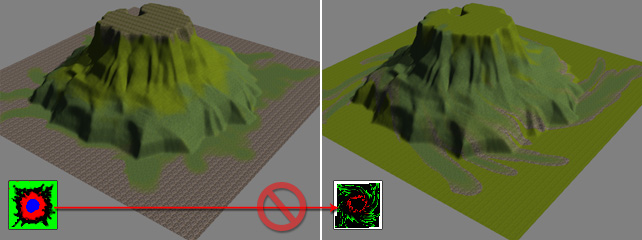
It is not recommended to use an image editor to adjust the mask image map,
as material distribution may not be accurate, and may not reflect the smooth
blending between textures.
-
The material that is applied to a
specific color area defined in the original mask will
be applied to the same color area defined in the loaded mask.
Re-arranging Materials
If you are not satisfied with the material results, you can manually adjust it further via the controllers in iClone.
-
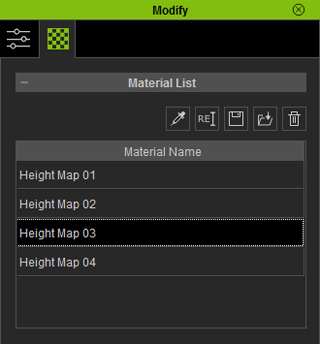
Switch to the Material tab in the Modify panel.
-
Click the Picker
 button
and click on the desired area for retrieving its corresponding material.
button
and click on the desired area for retrieving its corresponding material.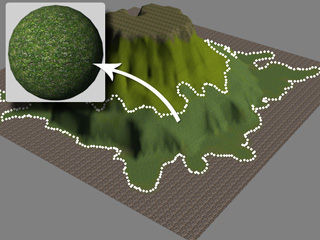
- Click the Save button to save the material as a file.
- Repeat the same steps to save the 4 materials.
-
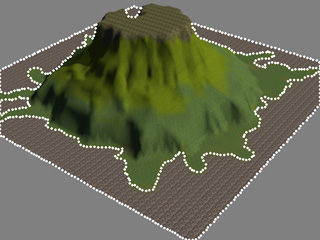
Click on the Picker button again.
-
Click on the terrain to select a target area for changing material.
-
Click the Load button to load the desired material file
saved in step 4.

-
Repeat the same steps to adjust and change the materials.