Unlinking Textures for Separately Editing
An object with linked textures as shown below can downsize the entire object because only one set of textures are kept.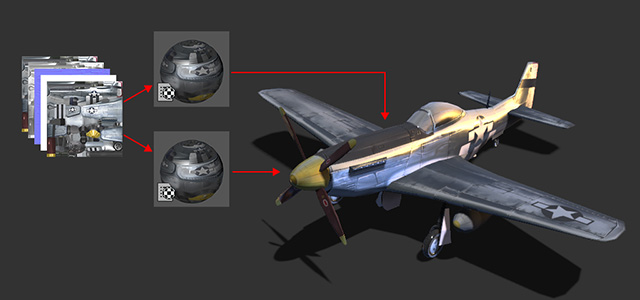
However, due to the linkage technique, all channels using the textures in different materials will be influenced if you edit the textures in the set with the Adjust Color panel or your image editor (e.g. Photoshop). 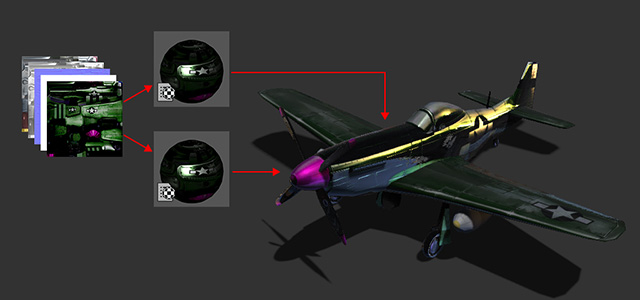
In order to separately edit the texture, you will need to break the
links beforehand.
Unlink Textures for All Channels in a Material
-
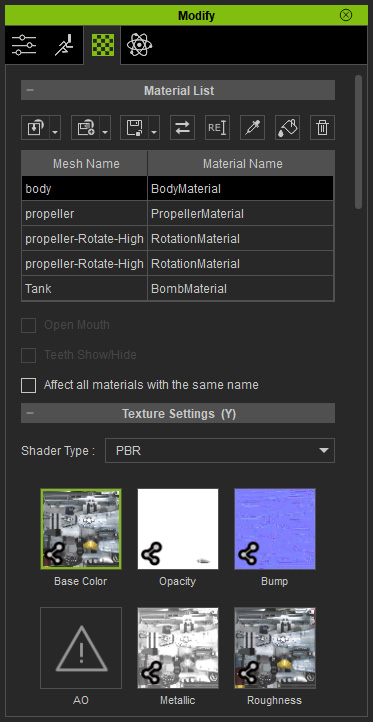
Select the prop.

- Pick either one of the channels in the materials whose textures you want to unlink.
-
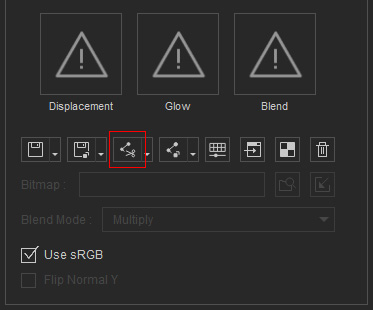
Click the Unlink All Material Textures button.
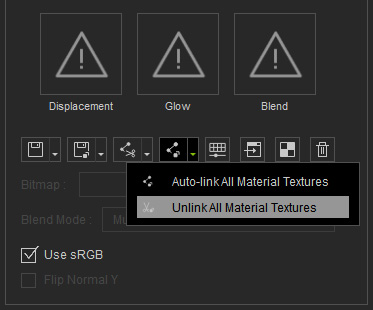
- Check out the channels. You will see the link icons at the left bottom corner of all thumbnails are removed.
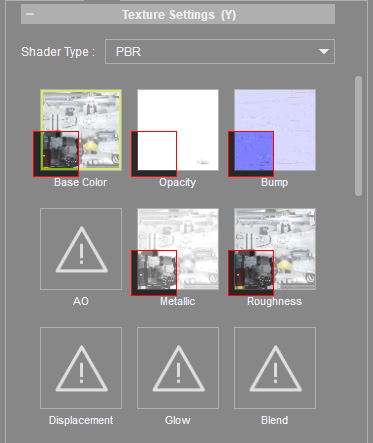
It implies that all textures of the material are unlinked.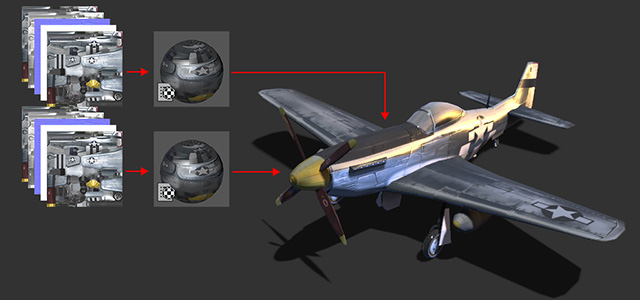
- Now you can separately adjust the texture by Adjust Color panel or any image editor of the material without affecting the result of any other materials.
Adjust Color panel: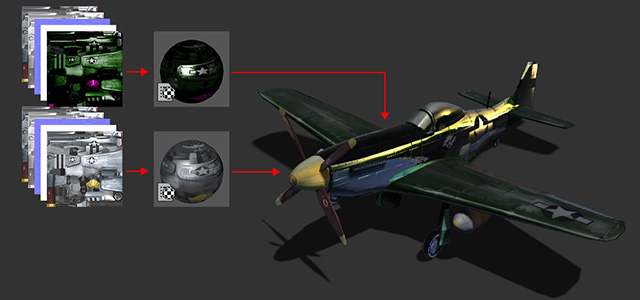
Unlink Textures by Channel
In addition to unlink every channel texture in a material, you are allowed to unlink only one texture. Thus, only the texture that needs to be edited are unlinked to ensure the minimum size of the object.
-
Select the prop.
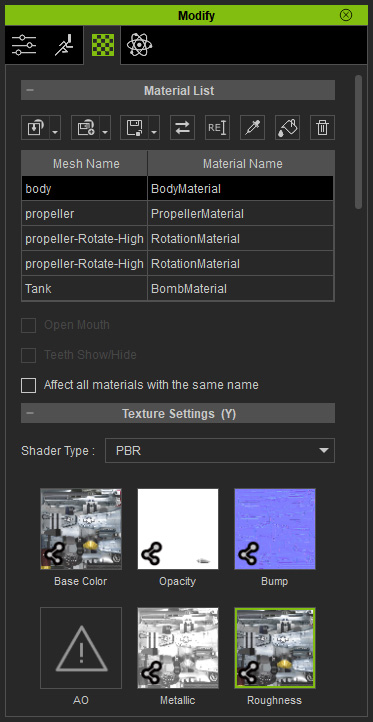
- Pick either one of the channels in the materials whose textures you want to unlink, in this case, the Roughness.
-
Click the Unlink Selected Texture button.
- Check out the channels. You will see the link icon at the left bottom corner of the thumbnail is removed.
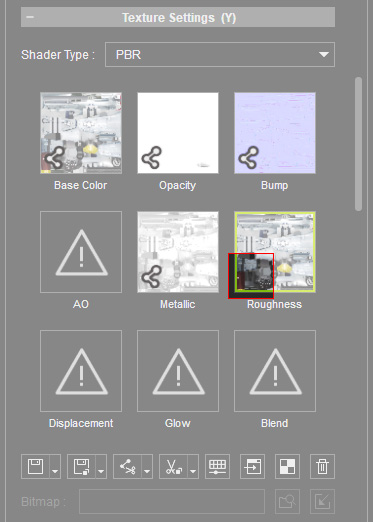
It implies that the texture of the material is unlinked.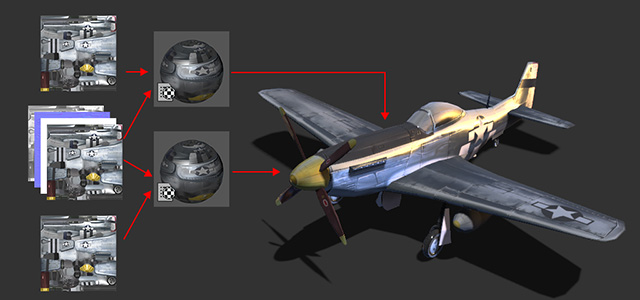
- Now you can separately adjust the texture by Adjust Color panel or any image editor of the material without affecting the result of any other materials.
Adjust Color panel: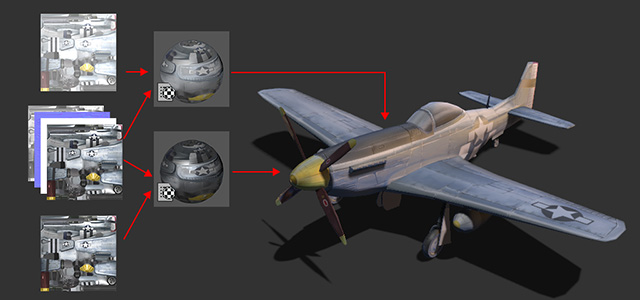
- Optionally adjust the other linked textures to change the appearance at once.