Applying MotionPlus by drag and drop with Right Mouse Button (New in version 8.5)
There are three ways to apply MotionPlus file to characters, which are all similar to applying characters, accessories and props to the project.
In addition, you can drag and drop the MotionPlus file to a character with the right-mouse button, letting you choose the accessory and motion for application.
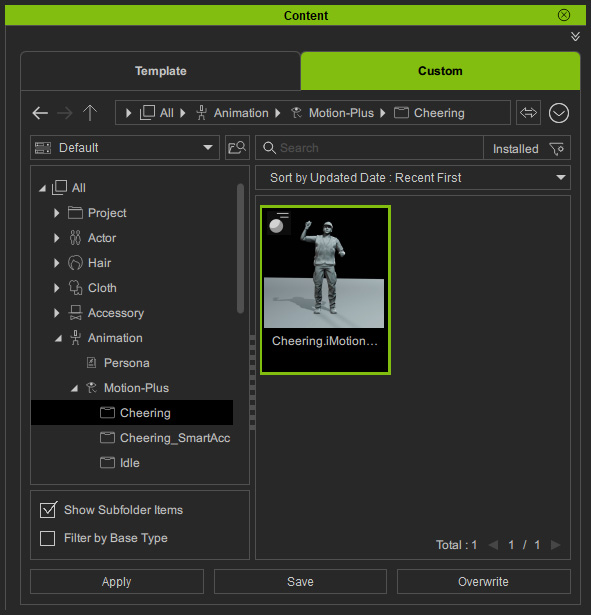
- Create a custom MotionPlus file with integrated accessories, using collect clip and add accessories methods.
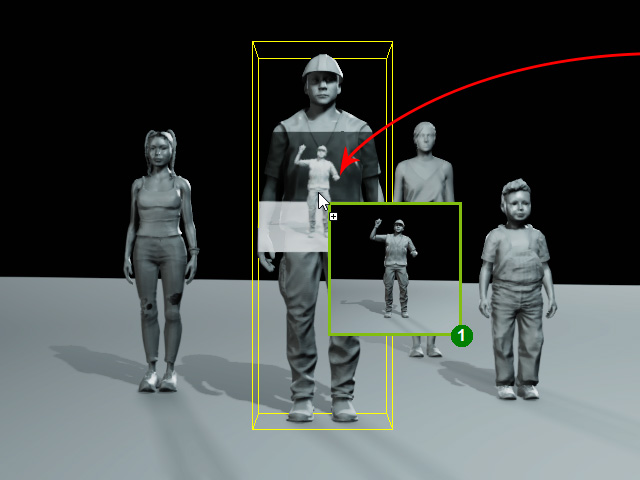
- Create a project with characters.

- Drag and drop the file onto the desired character with the right-mouse button.
- The Motion-Plus Options panel will appear.
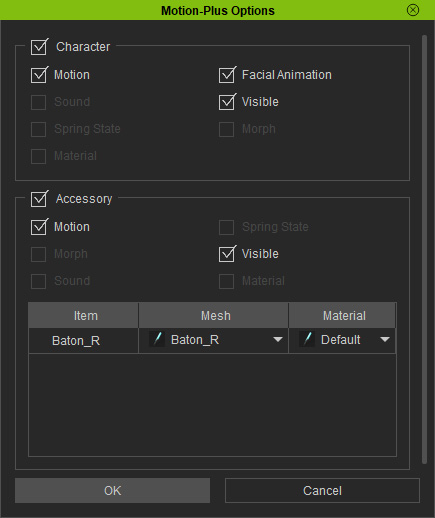
- Toggle the motions and animations checkboxes to import and apply them to the character.
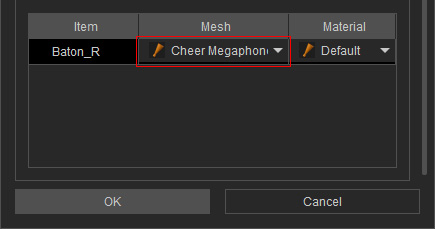
- Click the down arrow button in the Mesh Column of the Item.
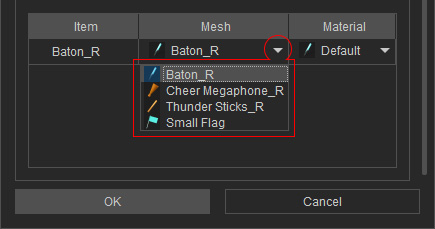
The mesh items can be added or deleted manually. - Choose the desired item in the list for applying to the current character. Click the OK button.
- You can also choose different materials through the Material drop-down list.
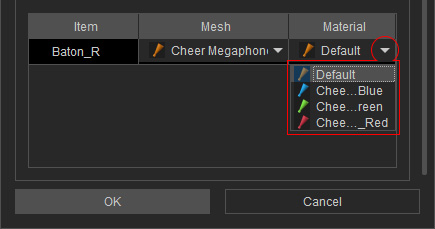
The items in the list can be manually authorized with Relation settings. - The character will then be applied with the motion and the chosen accessory.
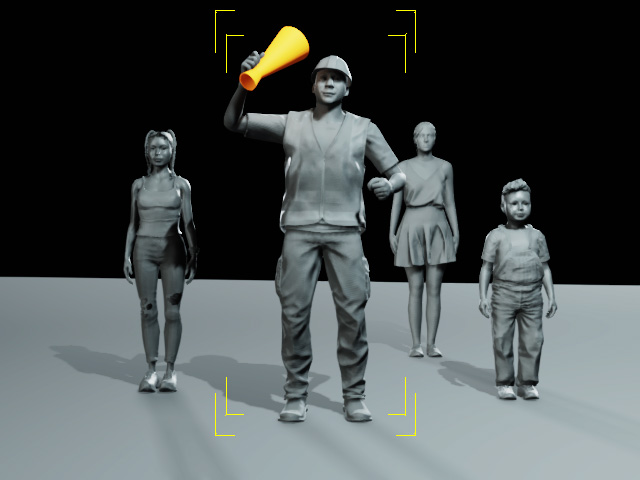
- Repeat the same steps for the rest of the characters.
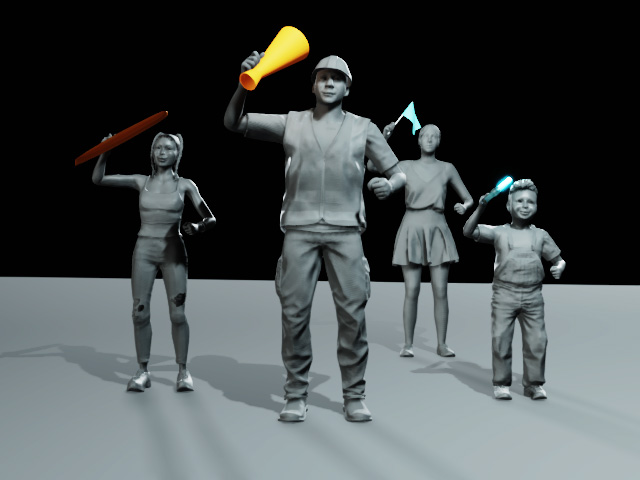
Playback to review the animation.
