Using Substance 3D Blocks
After applying a Substance Prop, you are able to share the substance with complete parameters to
another props, adjust the initial texture appearance of the prop,
and setting keys to generate Substance Material Animations.
Layers of iClone Substance Material and Related Parameters
|

|
|
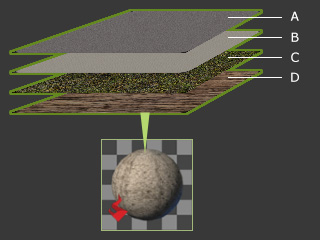
There are basically four layers of the substance material for each iClone embedded Substance Prop |
You can find all substance related parameters in the Modify >> Material >> Substance section. |
|
|
Layer Name |
Layer Description |
Layer Related Parameter Sections |
|
A |
Dirt Layer |
This layer is the topmost layer which covers dirt or dust to the other material layer. |
|
|
B |
Paint Layer |
This layer sets the paint covers on the object. |
|
|
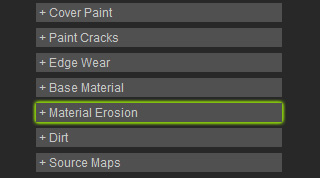
C |
Material Erosion Layer |
This layer gives the basic material layer below it some erosion, rust or moss effects. |
|
|
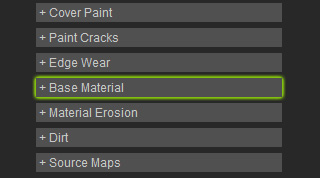
D |
Base Material Layer |
This layer determines the base texture such as wood, rock or metal. When the other three layers above it are completely or partially removed, the basic material reveals. |
|
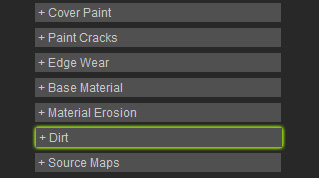
The Source Maps sub-section contains data to describe the shapes of the 3D blocks and how the material is applied to them. Unless you are familiar with the creating method and algorithm of the substance material, you are not suggested to adjust the settings in the section.
Basic Usage for Substance Props
-
Apply a Substance prop from the
default prop library.
-
Go to the Modify (panel) >> Material
(tab) >> Substance section.
-
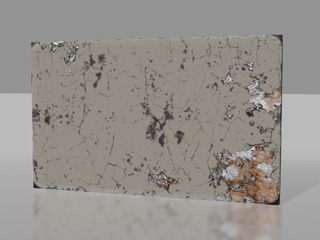
Select one of the presets from the list (in this case, the 06 Wood
is taken as an example).
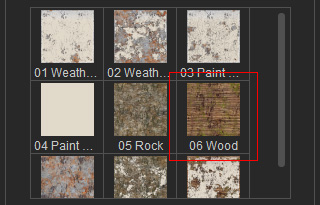
The 3D prop will instantly change its texture look.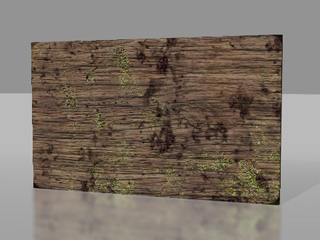
 Note:
Note:These presets are actually the combinations of different status of the four layers mentioned in the previous section.
-
Adjust the slider parameters in the sub-sections within the
Substance section to adjust the look of the prop.
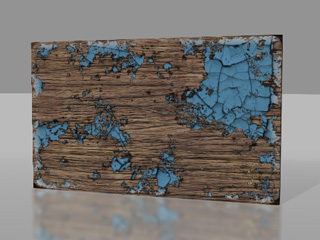
- Paint Layer:
Color - light blue; Coverage - 0.35 - Dirt Layer:
Amount - 0 - Material Erosion Layer:
Amount - 0 - Base Material Layer:
Not changed
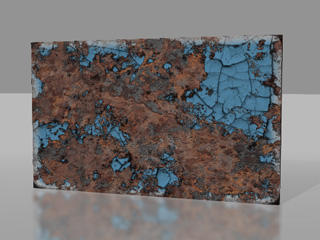
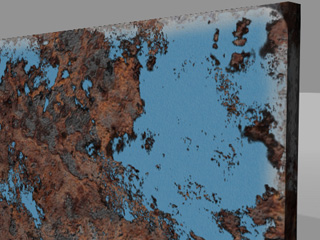
- Paint Layer:
Color - light blue; Coverage - 0.35 - Dirt Layer:
Amount - 0 - Material Erosion Layer:
Amount - 1 - Base Material Layer:
Base - Metal;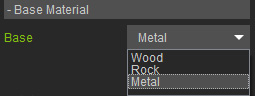
- Paint Layer:
Advanced Usage for Substance Props
In the basic method, you simply adjust the sliders to change the status of the four layers. However, the texture images for the layers are by default. However, you are allowed to apply prepared images to change the texture images for the four layers.
The Paint Layer of the example in the previous section is taken for the advanced adjustments for the layers.
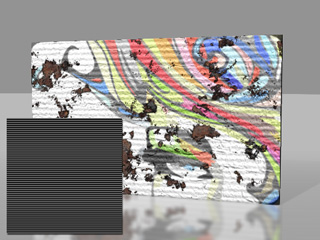
Changing Texture of Layer
-
Use the prop adjusted in the previous section.
-
Decrease the Amount value for the cracks of the paint to 0
(in the Paint Cracks sub-section).
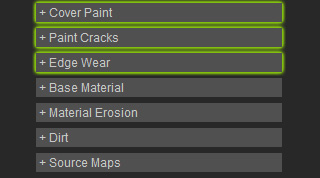
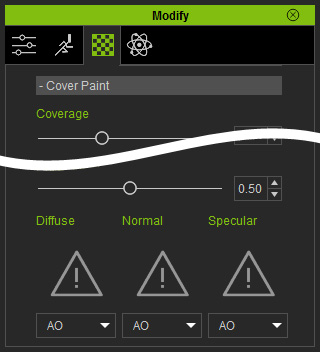
-
In the Cover Paint sub-section, find three channels (Diffuse,
Normal and Specular) at the bottom of it.
-
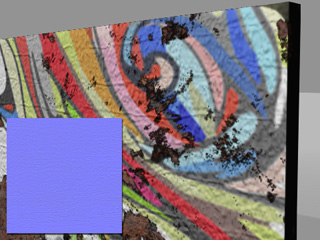
Double click on the Diffuse channel to load a prepared image in order
to replace the default paint diffuse image.
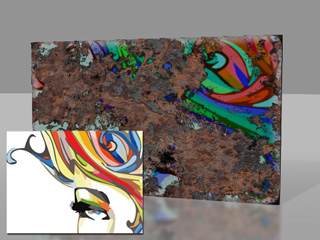
A prepared image is applied to the Diffuse channel of the Paint Layer.
-
Adjust the sliders to change the style of the paint.
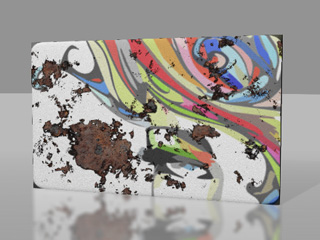
The coverage, saturation, pattern and so on of the paint layer is adjusted.
-
Apply a normal map to the Normal channel of this layer.
You may apply a normal map to the Normal channel for and only for this layer to give the layer some vein effect.
-
Optionally apply an image to the Specular channel for this layer.