Layering Path Transition Keys to Transformation
Using the Path transition key, you can control the speed at which the object will return to its starting position after being released from the path.
Path Transition Start Key
-
Create a new project and start off on the first frame of the timeline.
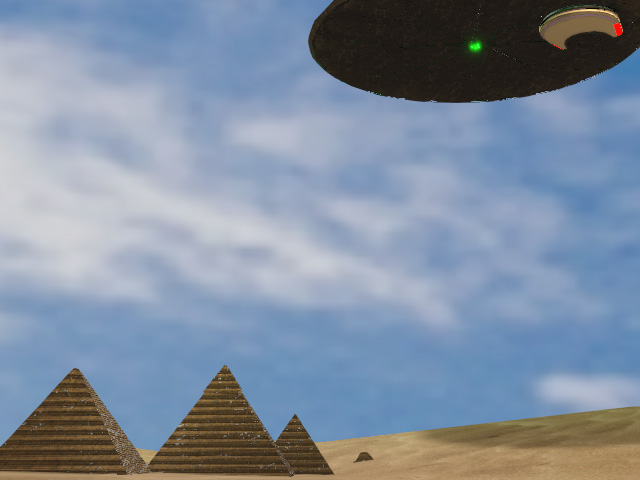
*The object's transformation will be saved into the key on the start frame.
-
Draw a path.
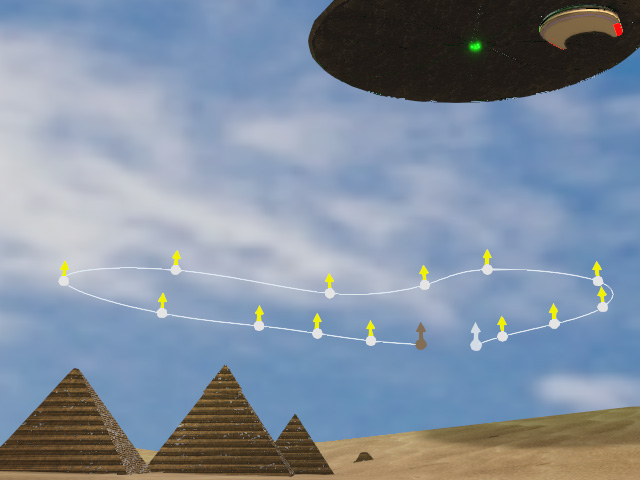
-
Follow the steps described in the
Setting Position Keys section to have the flying object start and stop moving along the path on
a certain time frame (not on the first frame).
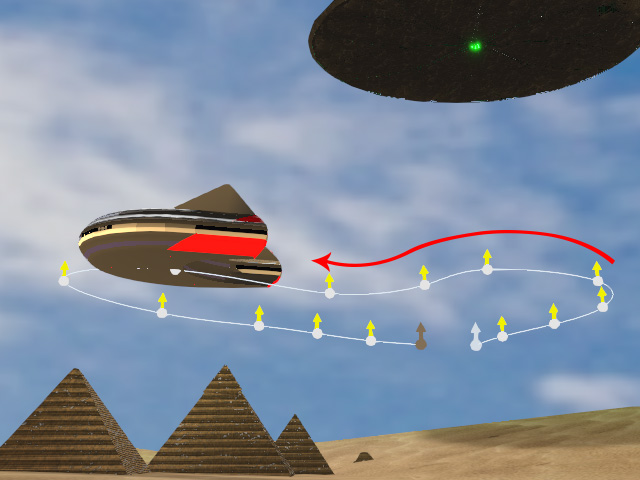
Playback to view the animation.

-
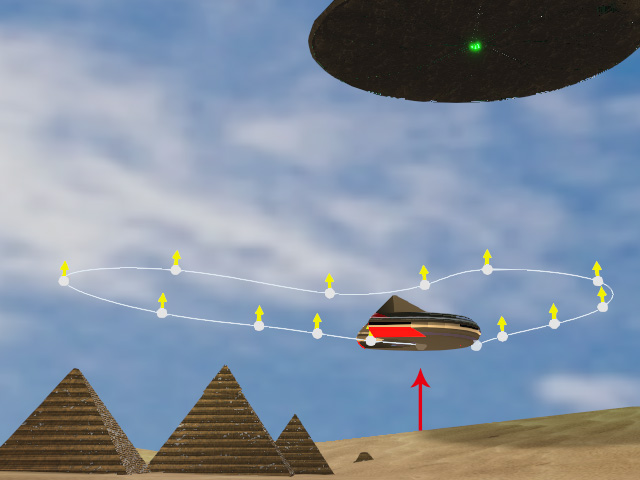
The initial position data of the object.

-
The object starts to move along the path from the first control
point arrow (in this case, the first one).

-
The object starts to gradually move to the first point of the path because of the
layered
transition start key, even though there is no
other keys on the Transform track.
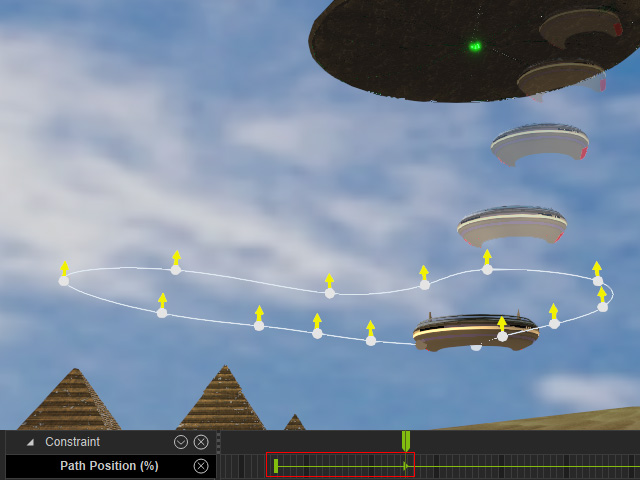
-
The object stays on the designated control point arrow (in this case, the last
one) of the path
after this stop key.
Transition Stop Key to Release Key
In the previous section, the flying object stays where it is after the last Path Position (%) key. However, by using the transition stop key after the release key, you are able to move the object to its initial position at the first frame.
-
Go to the frame where you want the object to resume its initial location (in this case, one frame after
the final path key).

-
Click the Release button to release the object from the path.
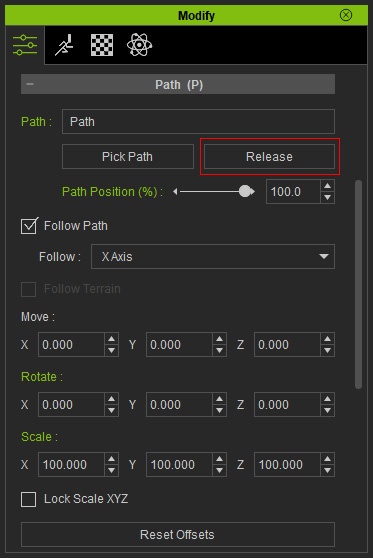
A release key will be added into this time frame.
-
The object will gradually move back to where it was at the start time frame.

Playback to view the final animation. Note:
Note:- Click on the release key to show the transition stop key.
- With the layered Transition Stop key, the object gradually retrieves its starting position (at the first frame), causing the object to move back.
- Control the speed at which the object returns to it's starting position by dragging the transition stop key around.
