Deploying Actors on NavMesh (New in version 8.5)
You can use the Crowd Generator to place actors onto a NavMesh.
Deploying Random Actors on the NavMesh
- Create a new project like the one shown below with a floor plane and
miscellaneous props.
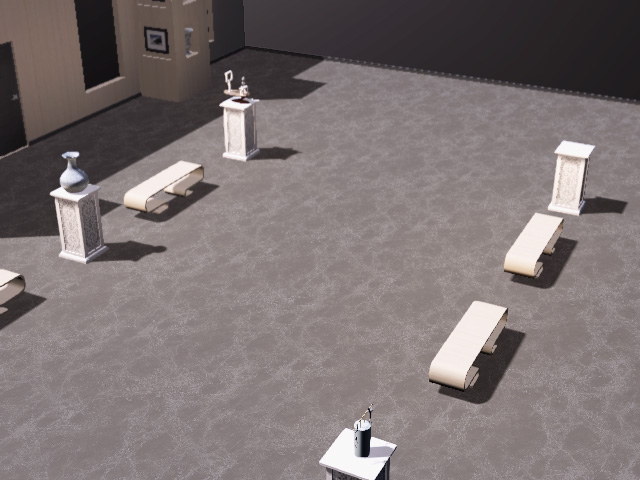
Be aware that height map terrains do not support crowd generation. - Create a NavMesh for the scene.
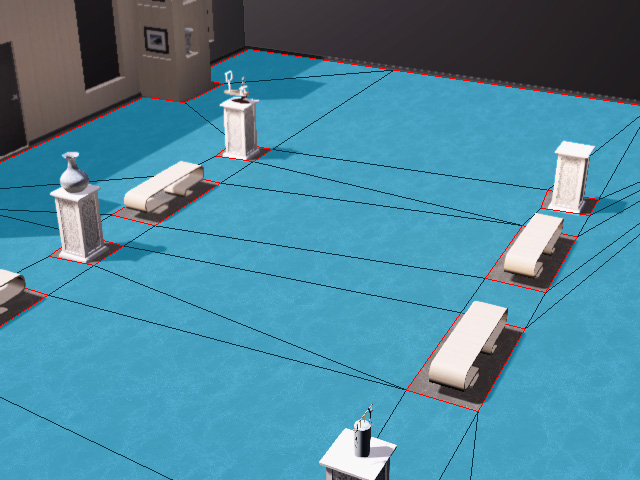
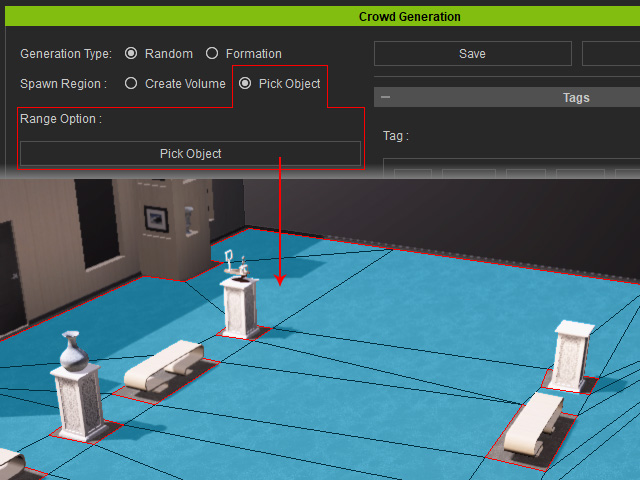
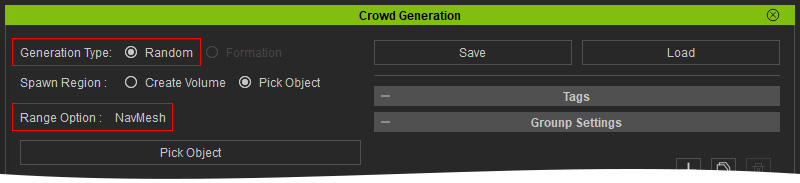
- Launch the Crowd Generator panel.
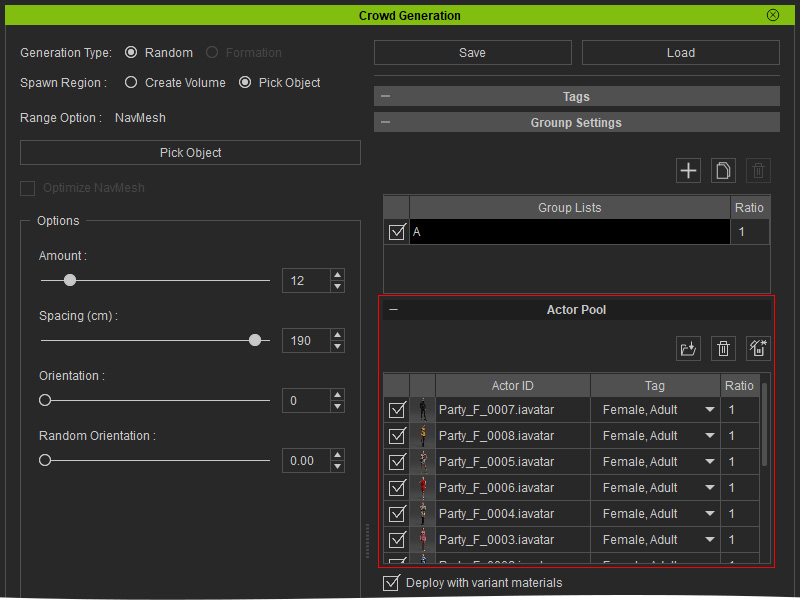
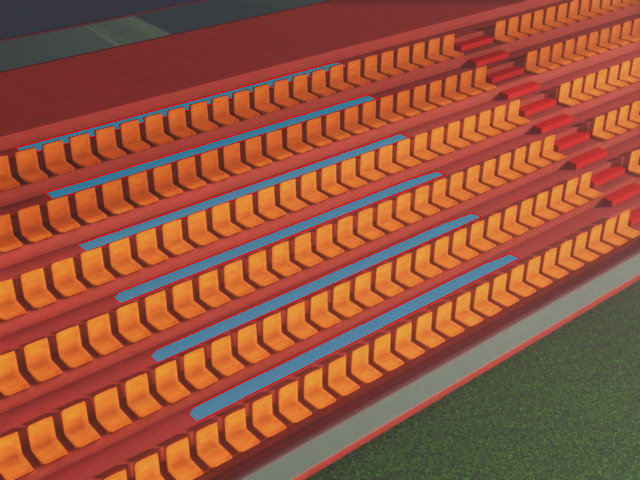
- Choose the Pick Object radio button, click the Pick Object button, then click the NavMesh Controller in the viewport or Scene Manager.
The placement markers will scatter across the navmesh.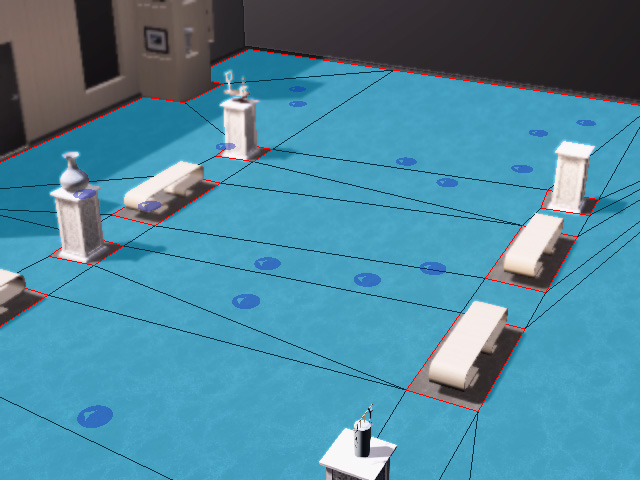
- The Generation Type becomes Random automatically.

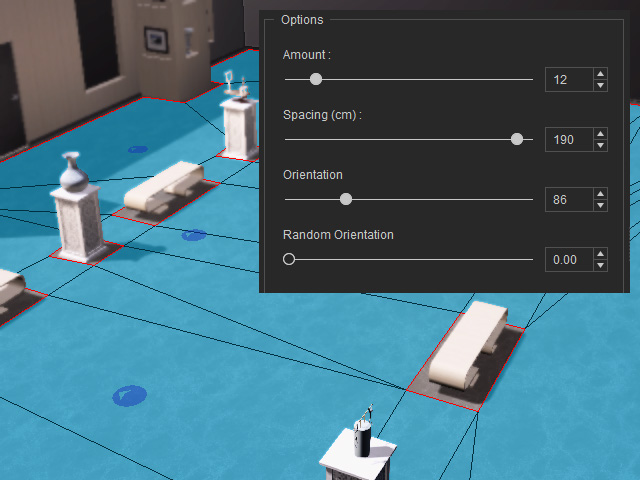
- Adjust the settings in the Options section.
For more information, see Generation Type and Option setting.
- Follow the same steps under Workflow for Distributing Actors
to place candidates from the actor pool.
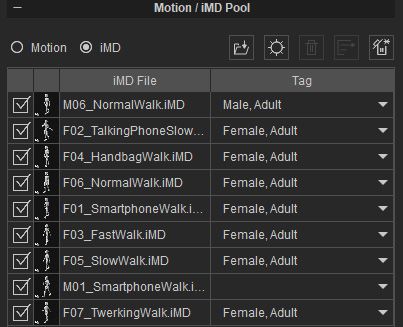
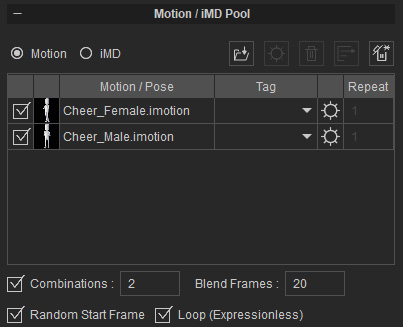
- Add motion or iMD files into the motion pool.
Suitable motions and iMDs will be picked based on
tags on the
actors. In this case, iMD files are applied because the actors are
to wander the scene.
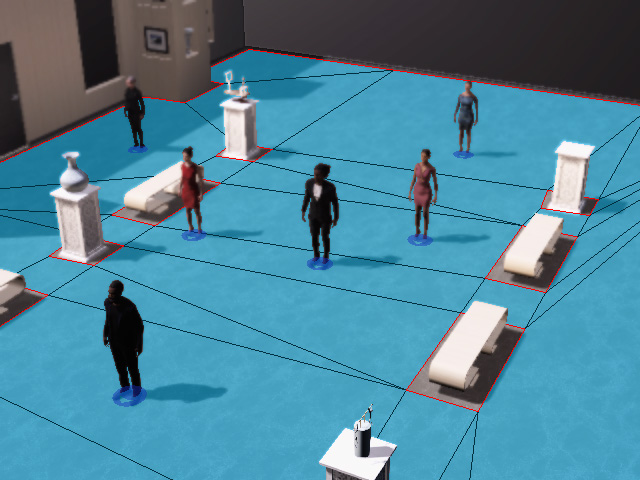
- Click the Deploy Actors button to place
characters onto the markers.
- You can change the displacements density and pattern by editing
the
Generation Type and Option settings.
 Note:
Note:Click the Generate Placement button repeatedly for the ideal permutation.
- Close the Crowd Generator panel and enter the Motion
Director mode to playback the animations.
Deploy Actors in Formation on NavMesh
- Create a NavMesh in the project.
- Launch the Prop Distribution panel.
- Choose the range by picking the NavMesh.
You can either pick the NavMesh as the target for deploying the actors or use the Volume Controller of the Crowd Generator.
-
Pick NavMesh Only: By picking the navmesh as the range, you can
only deploy Random actors (the Formation radio button will be disabled).
The entire navmesh will be used for deployment.
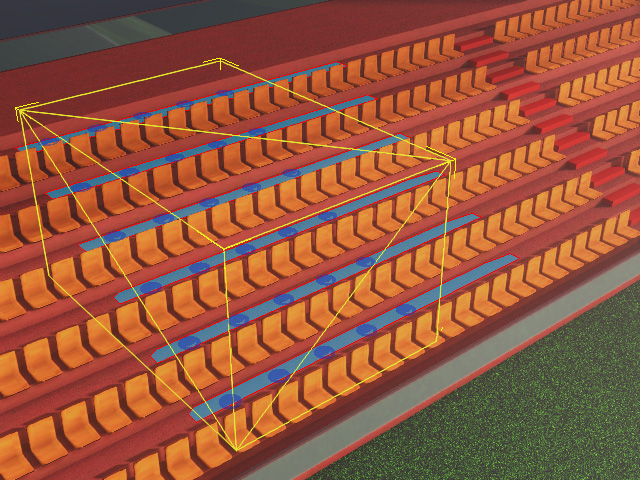
- Volume Controller: By using the volume controller, you can deploy actors in random positions or in formation.

The deployment range will reside in the volume.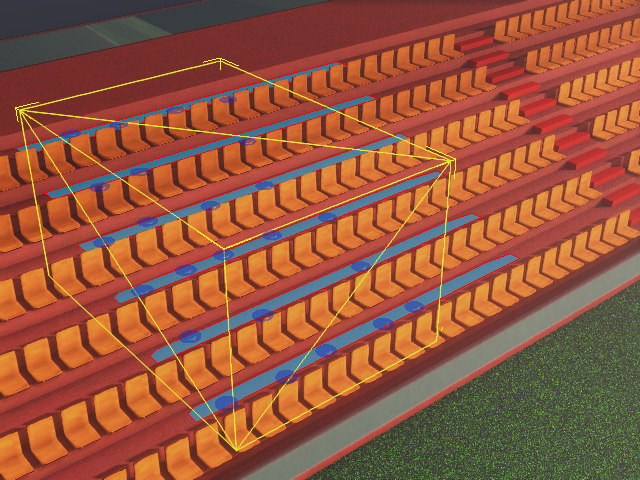
Random
Formation
-
Pick NavMesh Only: By picking the navmesh as the range, you can
only deploy Random actors (the Formation radio button will be disabled).
- Adjust the settings in the Options section. For more information, see
Generation Type and Option setting.
- Add the desired actors into the candidate pool. These actors will be sourced for deployment.
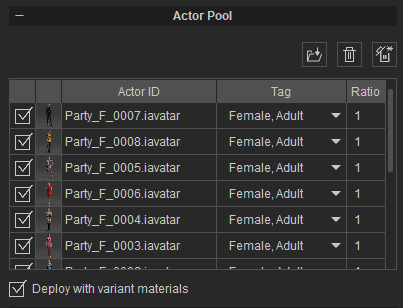
For more information, see Distribution Pool Adjustments. - Add motion or iMD files into the motion pool. Suitable motions and iMDs will be randomly picked based on the tags applied to the actors. In this case, motion files are applied since there is no need for the actors to move around the scene.
Refer to the following sections for more information: - You can let the system auto-load accessories for the deployed characters.
- Click the Deploy Actors button to place
characters onto the markers.

You can playback to playback the motions, change the settings in the panel and deploy again until you are satisfied.
Note:Click the Generate Placement button repeatedly for the ideal permutation.
- Close the Crowd Generator panel and playback to view the crowd animation.
