Deploying Actors on Walkway (New for version 8.4)
If you have created a path or a walkway along different terrain or with ups and downs, you are can use the Crowd Generator to deploy actors on them, which saves a lot of time to add actors in your scene.
Deploy Actors in Random on Path or Walkway
- Create a new project, in this case, a project composed of a plane and other multiple props.
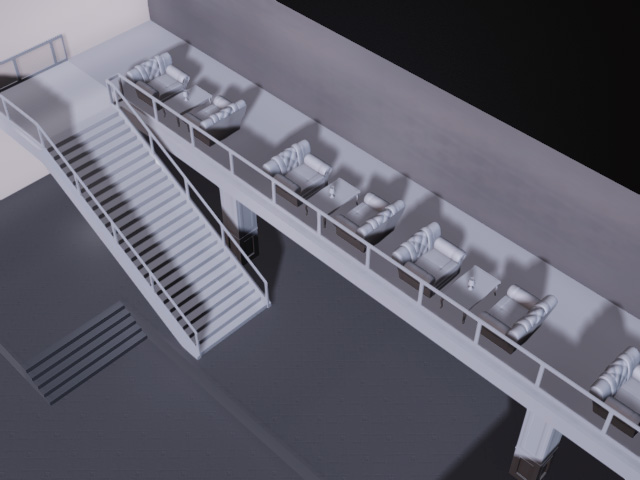
Keep in mind that height map terrains do not support crowd generation. - Create one or more walkways based on the props in the scene.
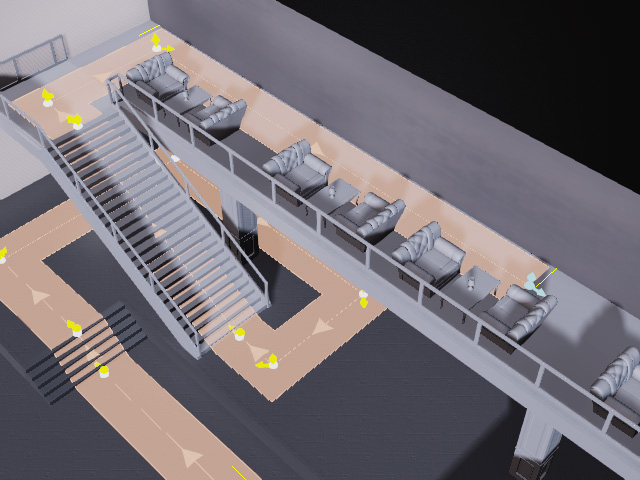
- Launch the Crowd Generator panel.
- Choose the Pick Object radio button, click the Pick Object button, then click the walkway in the viewport or Scene Manager.
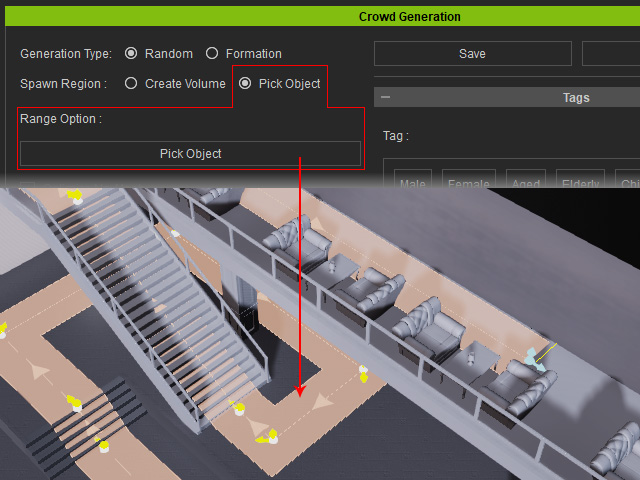
The markers of the placement will be placed automatically on the walkway.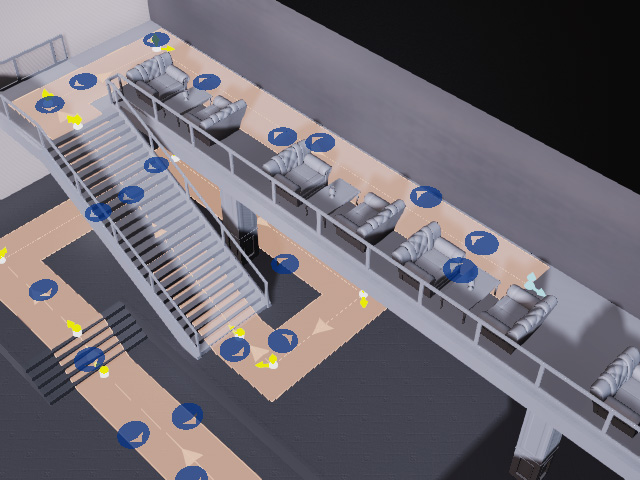
- Set the Generation Type to Random.

Adjust the settings in the Options section.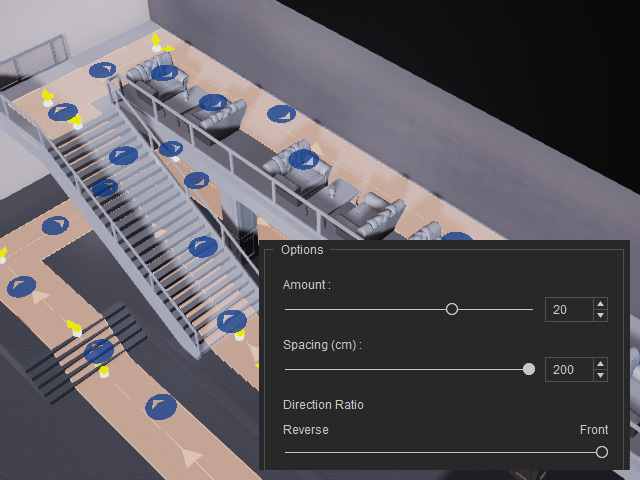
- For the Amount and Spacing settings, refer to the Generation Type and Option setting section for more information.
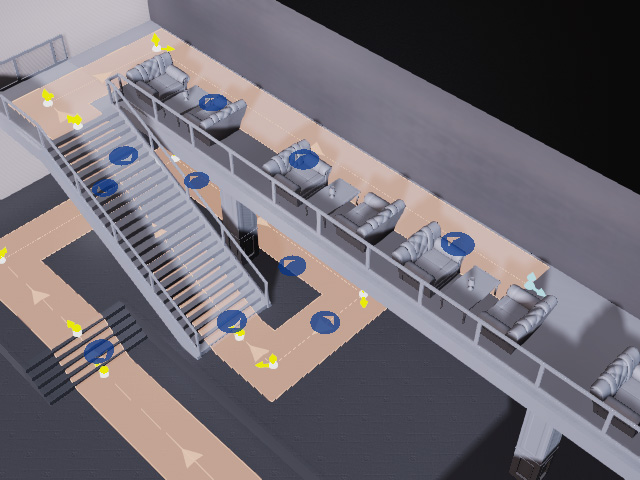
- Direction Ratio: Sets the direction to Front or Reverse of the actors in specified percentage. There are five scales of percentage for this setting.
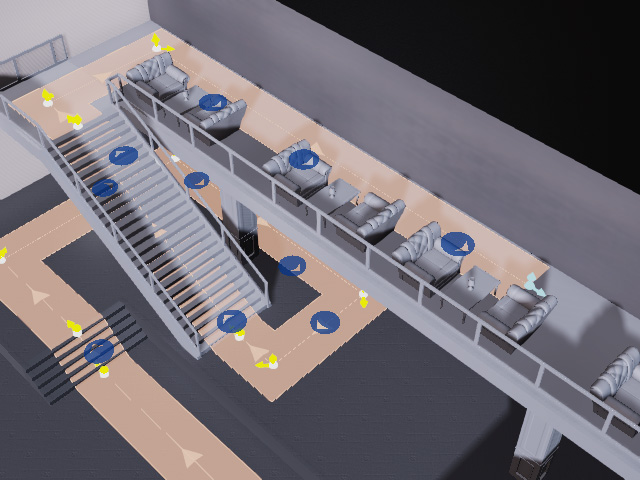
Direction Ratio = Front
Direction Ratio = Reverse
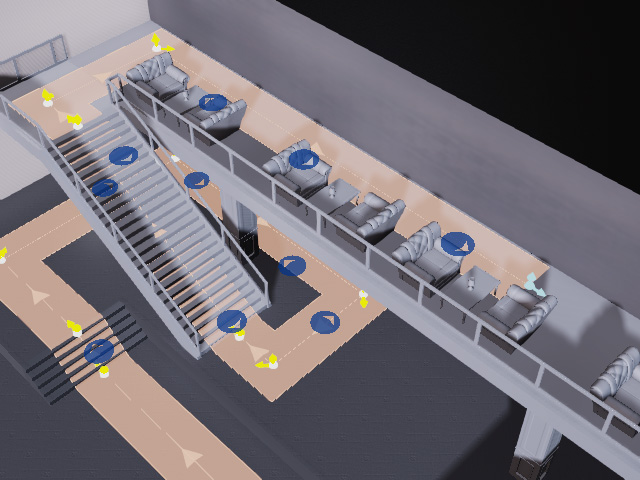
Direction Ratio = Middle
(half of the actors face along the direction of the walkway and the other, the reverse direction)
- Add desired actors into the Actor pool. The system will take these actors as the sources for deployment.
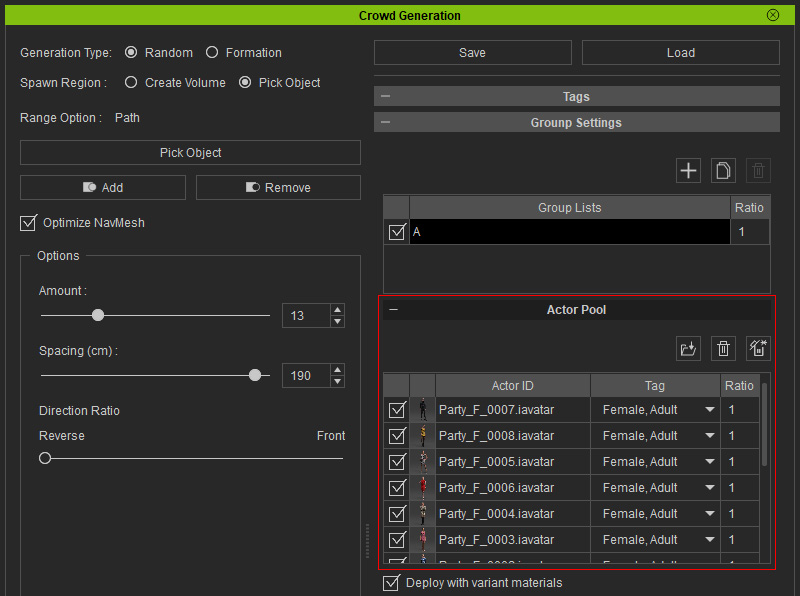
Refer to the Actor Pool Adjustments section for more information about the number of the Ratio. - Accessories can be auto-loaded for the deployed characters.
- Click the Deploy Actors button to place
characters onto the markers.
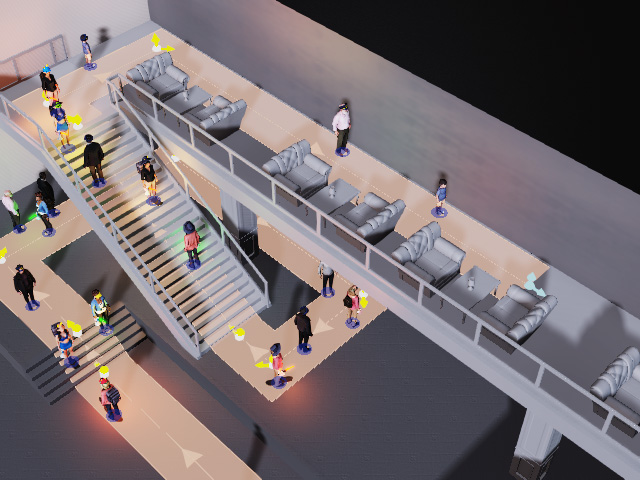
- You can change the displacements density and pattern by editing
the Generation Type and Option
settings.
 Note:
Note:Click the Generate Placement button repeated for the ideal permutation.
- Add motion or iMD files into the motion pool. The suitable motions and iMDs will be chosen based on the designated tags.
- Close the Crowd Generator panel and click the
Start button to view the crowd animations.
Deploy Actors in a Formation on the Path or Walkway
- Create a walkway on the terrain.
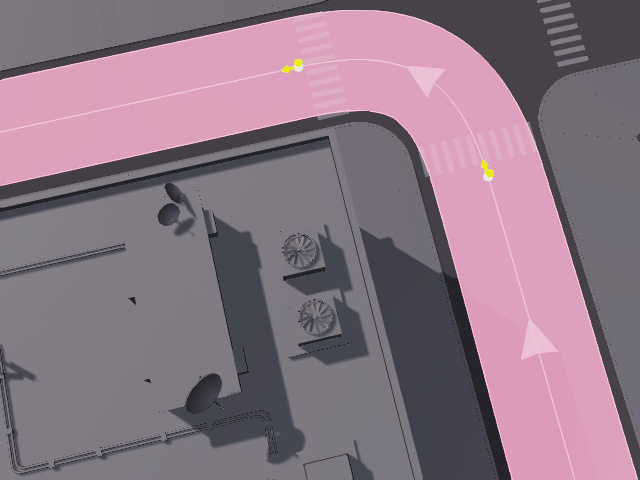
- Launch the Prop Distribution panel.
- Designate a range by picking the walkways.
- Set the Generation Type to Formation.

Adjust the settings under Options.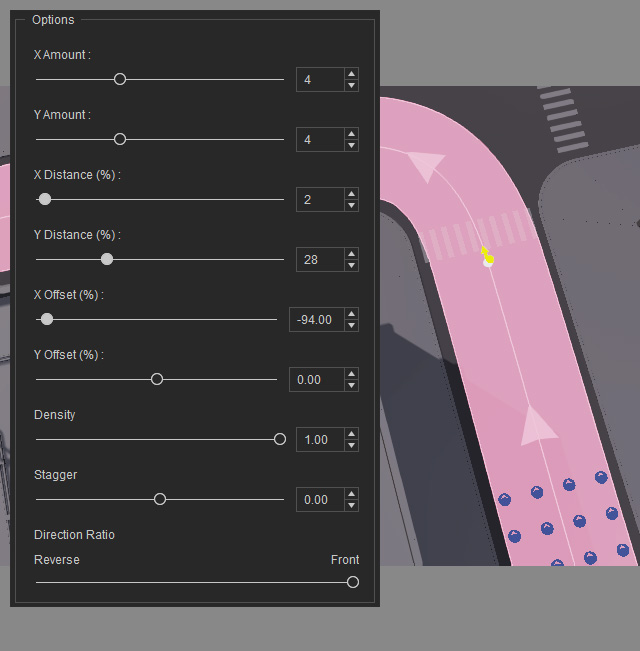
 X Amount and Y Amount
X Amount sets the number of rows along the path, while Y amount determines the number of columns along the sides of the path.
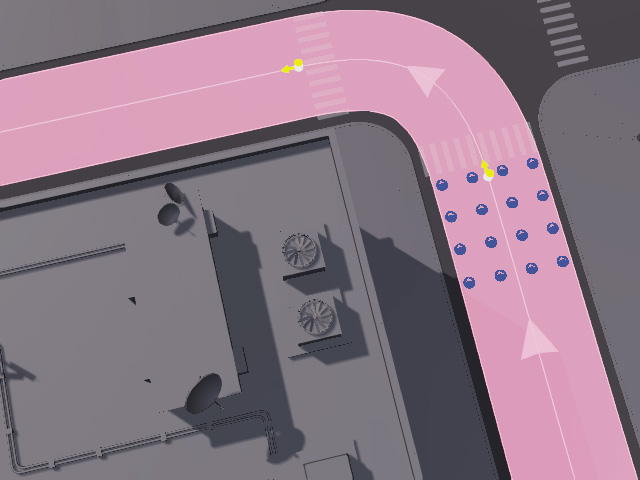
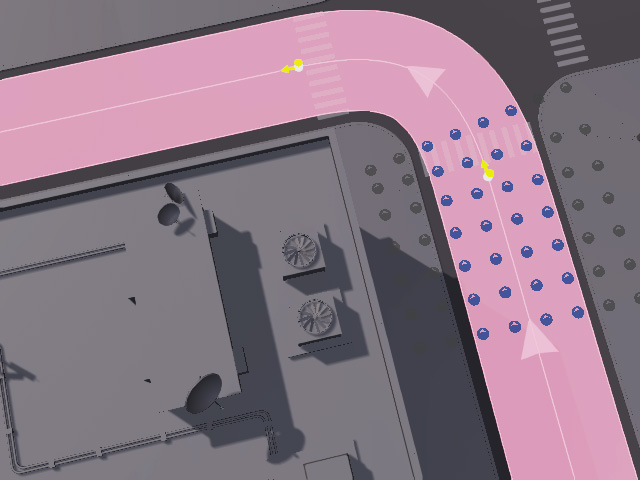
X Amount = 4
Y Amount = 4X Amount = 7
Y Amount = 8
Markers that are out of bounds will be deactivated (displayed in gray). X Distance on Path and Y Distance on Path (%)
These two values determines the distance between the rows and columns of the markers in the array.
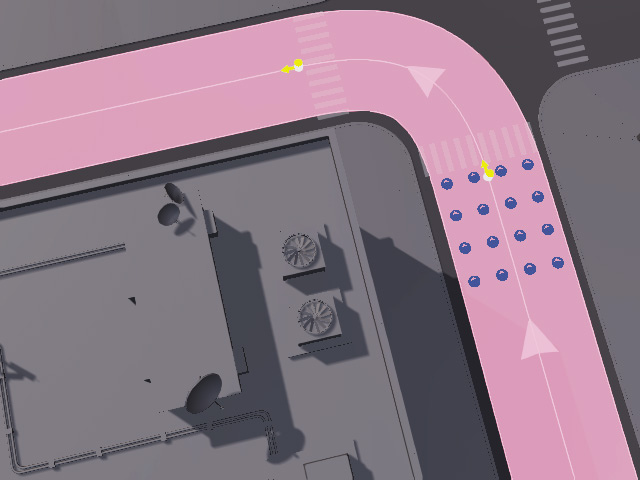
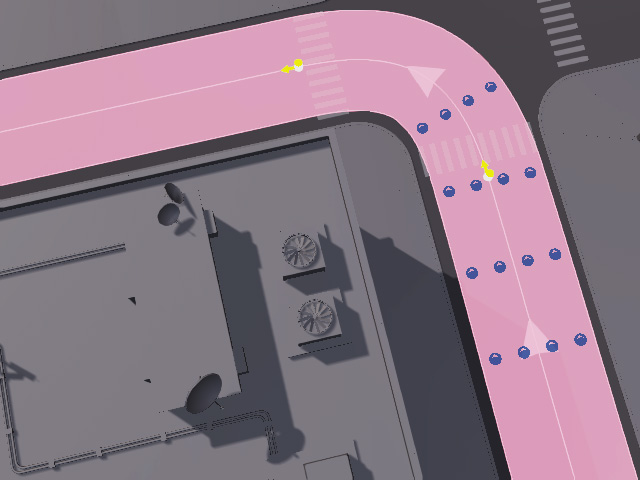
X Distance = 2
Y Distance = 25X Distance = 5
Y Distance = 25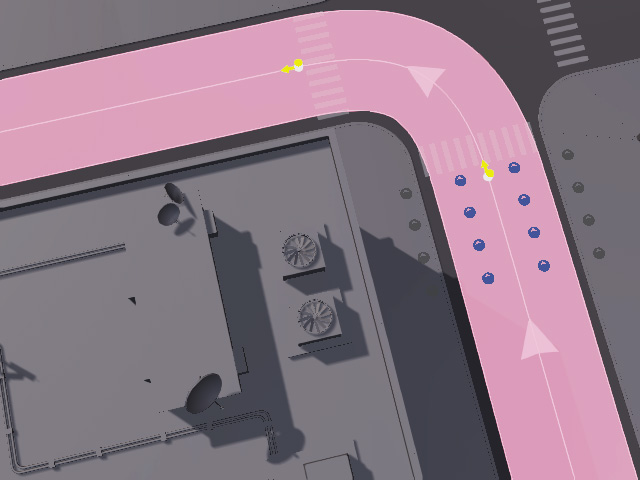
X Distance = 2
Y Distance = 50
Markers that are out of bounds will be deactivated (displayed in gray). X Offset and Y Offset (%)
These two values shifts the entire array along the path flow or perpendicularly to the path.
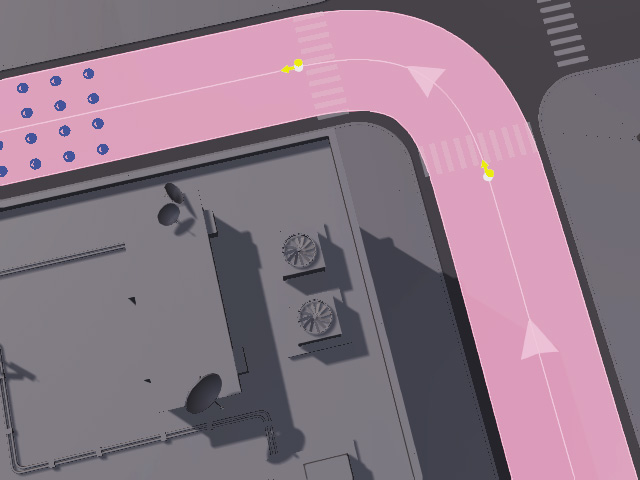

X Offset = 0.00
Y Offset = 0.00X Offset = -60.00
Y Offset = 0.00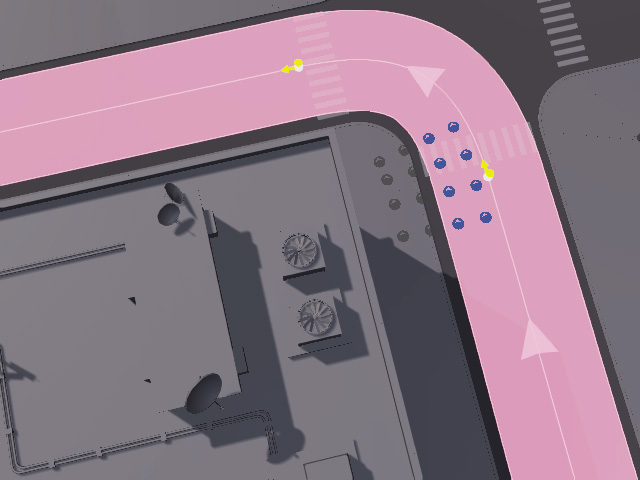
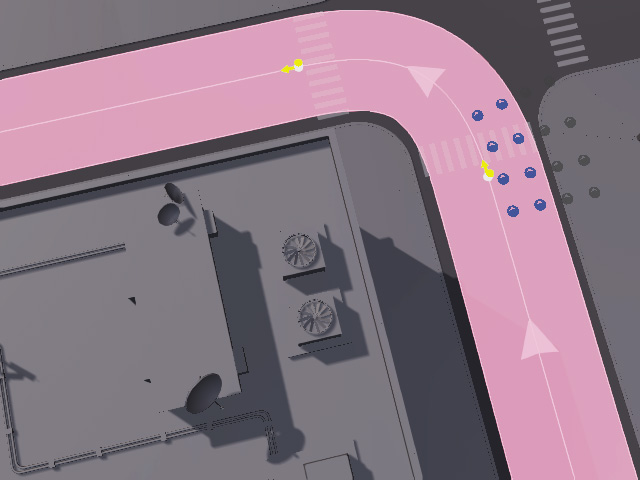
X Offset = -60.00
Y Offset = -100.00
Markers that are out of bounds will be deactivated (displayed in gray).X Offset = -60.00
Y Offset = 100.00
Markers that are out of bounds will be deactivated (displayed in gray). Direction Ratio
Sets the direction to Front or Reverse of the actors in specified percentage. There are five scales of percentage for this setting.

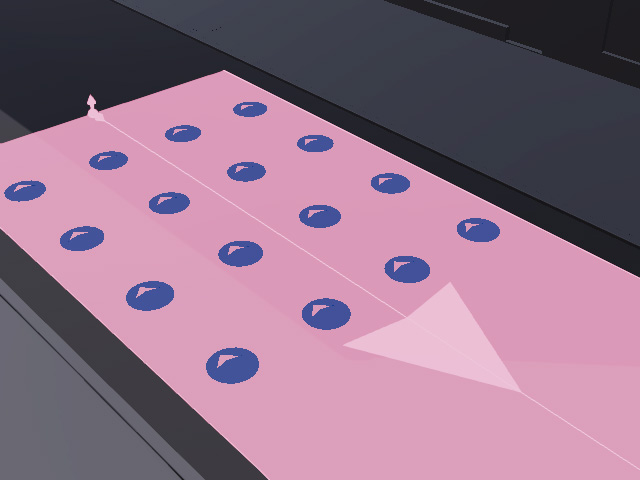
Direction Ratio = Front
Direction Ratio = Reverse

Direction Ratio = Middle
(half of the actors face along the direction of the walkway and the other, the reverse direction)- As for the Density and Stagger settings, refer to the Generation Type and Option setting section for more information.
- Add desired actors into the candidate pool. The system will take these actors as the sources for deployment.

For more information on ratios, see Distribution Pool Adjustments. - Accessories can be auto-loaded for the deployed characters.
- Add motion or iMD files into the motion pool. Suitable motions and iMDs will be picked based on the tags applied to the actors.
- Close the Crowd Generator panel and click the
Start button to view the crowd animations.
