How to Show or Hide Inner Meshes

In order to hide the inner mesh that clips the outer ones, you can use two methods:

Hiding Inner Meshes

When you increase the size of the inner meshes of a skin penetrates out of the outer ones, you can simply use this method to hide the penetrating part by following steps:

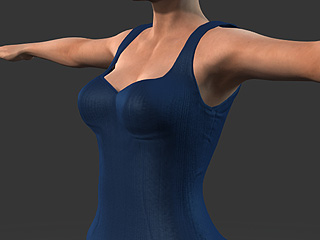
  1. Create a new project and dress the character.
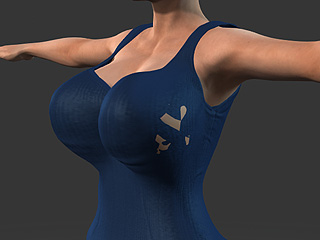
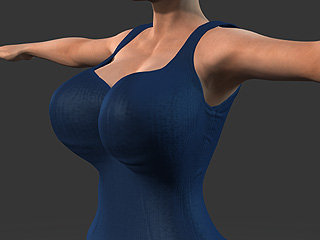
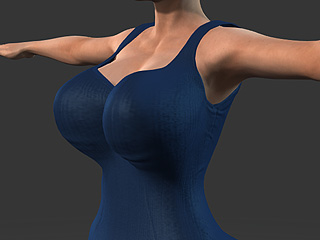
  2. Increase the size of the entire body or specific body part. Sometimes the partial mesh of the skin maybe pass through the cloth as the illustration shows.

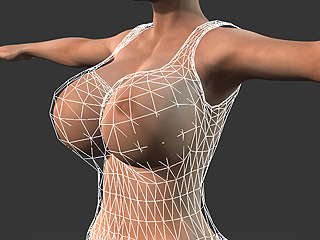
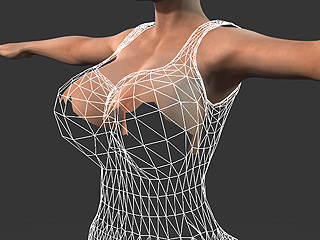
    You can turn the upper layer of the mesh into wireframe mode to get a better view of the penetration.
  3. Select the cloth at the topmost layer (in this case, the blue dress).
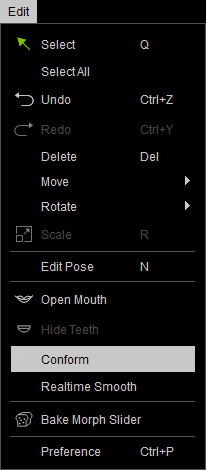
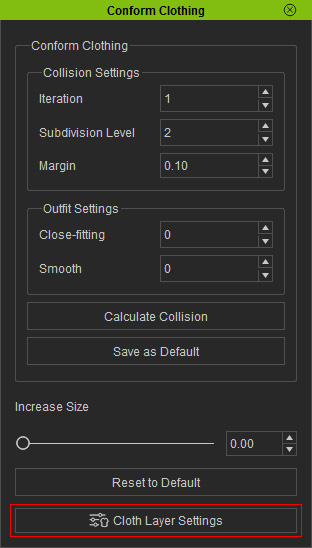
  4. Execute the Edit >> Conform command to launch the Conform Clothing panel.

    Alternatively, click the Conform Clothing button on the Modify Tools toolbar.
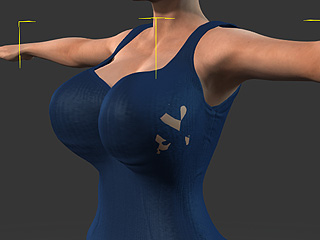
  5. Activate the Hide Inner Mesh box at the bottom of the panel.

    The meshes passing through the cloth will be become hidden.

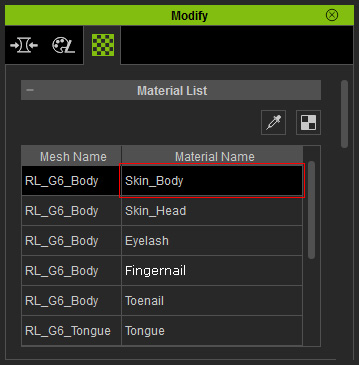
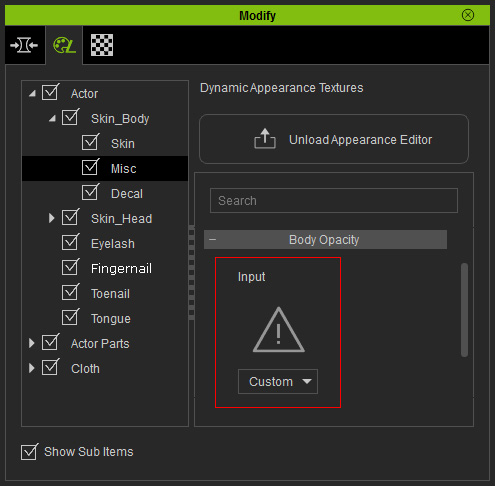
Masking Penetrating Meshes

In addition to the method described in the previous section, you are able to use customize an Opacity map for more precise fix instead of Hide Inner Mesh. Here we'll demonstrate on the same character.

Note:

Please notice that you can only use this method only after you have purchased the Content Pack: CC Essential Morphs & Skin .

Getting UV Reference Map for Modifying Mask Texture

  1. Make sure the character is selected.
  2. Switch the Modify panel to Material tab.
  3. Select the Skin_Body material from the material list.
  4. Click the UV button at the top-right above the list.
  5. The UV map of the selected material will be exported to your favorite image editor (in this case, Photoshop).
  6. You can then use the image as reference for creating a mask image in grayscale mode to filter out the penetrating meshes from being displayed.
  7. Save the image for further usage.

Filtering Off Mesh with Mask Image

  1. Make sure the character is selected.
  2. Go to the Modify (panel) >> Appearance (tab).
  3. Select the Actor in the tree view and click the Activate button at the top-right of the panel to show the sections of adjustable parameters.
  4. Go to Actor >> RL_G6_Body >> Skin_Body >> Misc >> Body Opacity section.
  5. Double click on the Input icon and load the image prepared in the previous section.
  6. Load the image prepared in the previous section.
  7. The meshes of the body that penetrate the cloth will be filtered out with the help of the grayscale image.