Preparing Target Morph (New for v3)
A target morph is actually an adjusted rigged character. In addition to modify the character with Reallusion products, you are able to freely use external 3D-modeling tools to modify the character.
There are four methods to creating target characters.
From CrazyTalk 8 (or above) Accompanied with Character Creator v1.4 (or above)

- Create a 3D actor in CrazyTalk.
- Export the 3D head of it in *.RLHead format.
- Drag and drop the head onto a character in Character Creator.
- Export the character in *.iAvatar format for further use.
-
To make the character a target one, you may either:
-
Use the Current Morph to set the character as the target character.

-
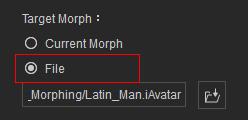
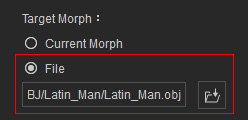
Use the File radio button to access the external
character file saved in step 4 to make it the
target character.
-
Use the Current Morph to set the character as the target character.
From iClone 6.4 (or above)

- Open the CC Character library in iClone.
- Find the files (in *.iAvatar format) within this library.
-
To make the character a target one, you can either:
-
Drag and drop the character into Character Creator.
Then use the Current Morph to set the character as the
target character.
-
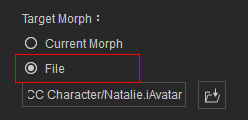
Use the File radio button to access the external
character file saved in step 2 to make it the
target character.
-
Drag and drop the character into Character Creator.
Then use the Current Morph to set the character as the
target character.
From Character Creator 1.4 (or above) in *.iAvatar format
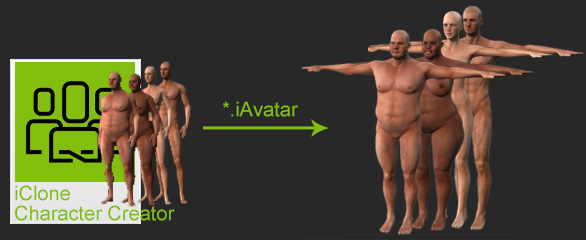
- Create a new project in Character Creator.
- Modify the character by morphing method.
- Export the character in *.iAvatar format for further use.
-
To make the character as a target one, you can either:
-
Use the Current Morph to set the current character as the source character.
-
Otherwise,
use the File radio button to access the external character file
saved in step 3 to make it the
source character.
-
Use the Current Morph to set the current character as the source character.
From Character Creator 1.4 (or above) in *.obj format
Export CC Character from Character
Creator v1.4
(or version above) in *.obj format along with DRM data file
in *.ObjKey format.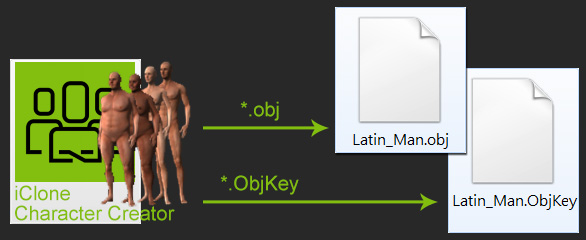
Keep in mind that if the character OBJ file is ever edited in the 3D tools or the body parts are scaled in any way, then you need to adjust character's bones after the file is imported to morph the character.
- Create a new project in Character Creator.
- Modify the character by morphing method.
-
Export the character in *.obj format for further use.
 Note:
Note:- Please note a *.ObjKey file of DRM data will be automatically exported simultaneously with a same name.
- You can then sculpt the OBJ file in any other 3D-modeling tool, such as 3DS Max, Maya, or ZBrush, to create a even more sophisticated character.
-
To make the character as a source character,
use the File radio button to access the OBJ file
saved in step 3 to make it the
target character.
-
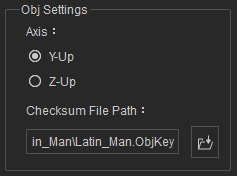
The Obj Settings group will be enabled and the *.ObjKey file with the same name will be automatically loaded.
 Note:
Note:- DO NOT change the given name of the *.ObjKey file.
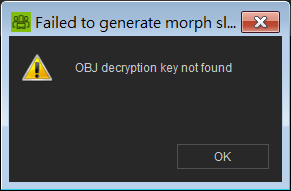
-
If the *.ObjKey file is missing, then you will encounter
a warning message and
the creating slider procedure will be failed.
- Manually loaded the *.ObjKey file if necessary.
