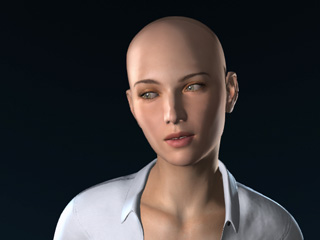
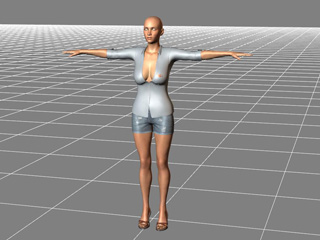
To automatically convert a talking, moving DAZ Genesis 3 character to
iClone, you need to get a hold of the
DAZ Genesis Extension. This free bonus extension comes with the
packages including 3DXchange PRO /
Pipeline and the
Facial Pipeline Character Pack.
DAZ Genesis Extension allows you to easily convert and animate all
DAZ Genesis 3 characters inside iClone. You can even define and
customize your character's unique expression styles via the enclosed DUF
files or create body morph effects right inside iClone.
Note:
Extract the files from iClone Daz Genesis Extension
v3.zip and go to the Daz Genesis to iClone folder
to view the following:
Readme.txt: This file describes the items in this
zip file.
Daz Genesis to iClone folder: In this folder, you
can get the optimized facial expression data time-coded
into different frames for Genesis v1 to
v3.
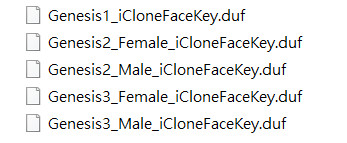
Genesis1_iCloneFaceKey.duf ~
Genesis3_Male_iCloneFaceKey.duf: These
files can be used to full converting the face
key for different characters of the Genesis
series.
Daz Genesis Avatar Face Key Sequence.xls:
This file contains two sheets; the Workflow
sheet shows the diagram for converting a DAZ
Genesis 3 character, and the Face Key
Sequence sheets lists the facial expression
data time-coded into different frames.
Muscle Mapping & Puppeteering Relation.xls: This
excel file describes the facial muscle names and the
relation between the muscles and the face part in the
puppeteering panel.
Software and Contents Requirements
3DXchange: Version 6.51 or above is required for sharing
textures.
DAZ: Studio Pro Beta Version 4.9 (64 bit) Public Build
or above is required for exporting 3DXchange compatible
FBX files. To download the application, click
here.
Genesis character Version 3: Please visit the
web site
to find out more.
Using the DUF File for Full Conversion
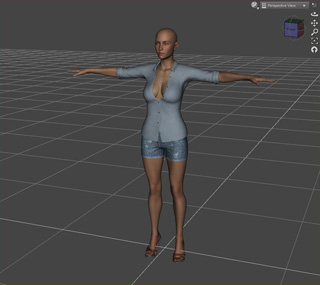
Create a custom character based on the Genesis rig
inside DAZ.
Drag and drop the
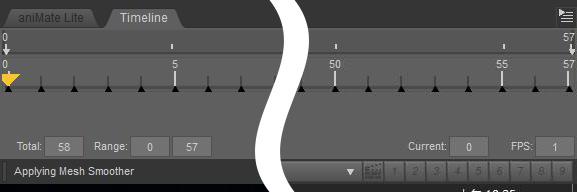
iCloneFaceKey.duf file onto the character. You can now view the
facial expression keys from frame 0 to 57 in the timeline.
Note:
For faster editing, previewing, and exporting, set
the FPS to 1.
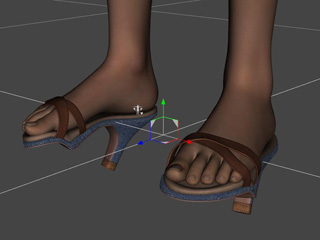
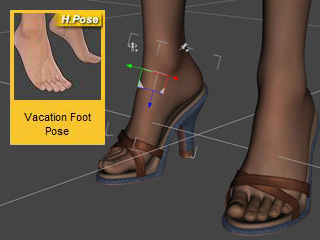
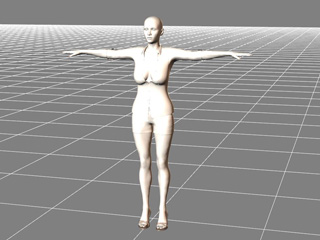
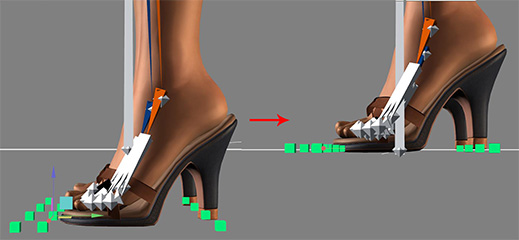
If the character is wearing high-heels, then you may
notice the shoes conforming to the current positions
of the feet:
You can fix this problem by applying the feet poses
suitable for high-heels.
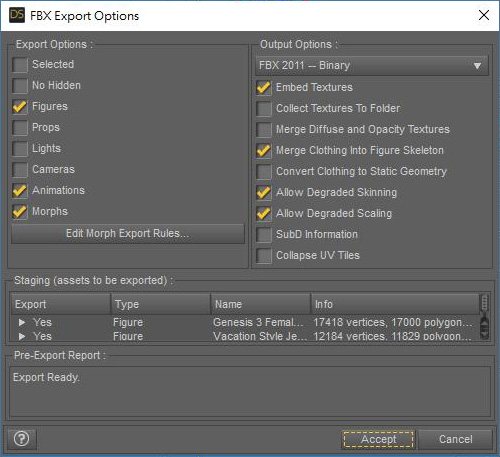
In the FBX export Options panel, activate the
boxes as shown in the illustration below and click the
Edit Morph Export Rules... button.
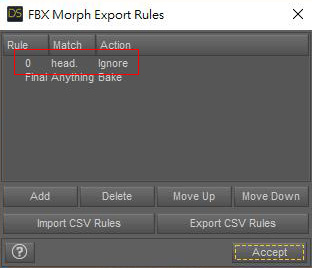
Manually add one line as shown then click the Accept
button.
Note:
The above steps prevents DAZ
from exporting two sets of identical morph
targets, which will interfere with the
procedures below.
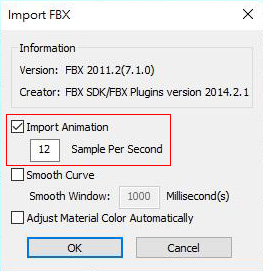
Load the exported FBX into 3DXchange. Make sure the
Import Animation box is checked in order to import the facial
expressions and click on the OK button.
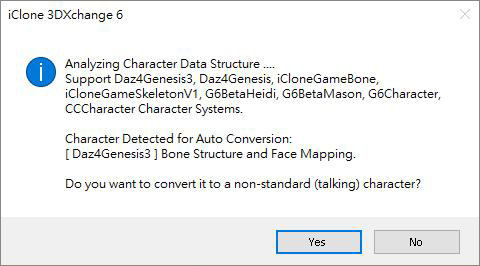
When prompted for auto-converting the model into a Non-standard
Character, click the Yes button.
Export the character to iClone and utilize its full
spectrum of animation and facial expression toolsets.
Note:
You can check the links below to find ways to
enhance, exaggerate, and strengthen facial expressions.
The following problems may occur when using 3DXchange
auto-characterization:
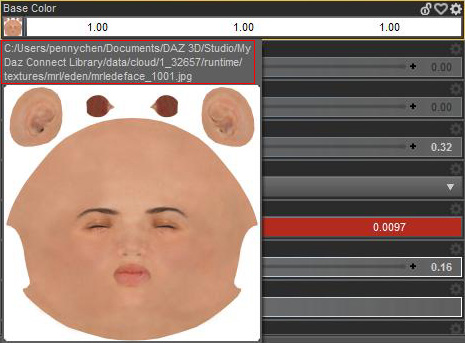
Texture goes missing: You will know this has occurred because the
character turns completely white.
Solve this issue by finding the original textures in the DAZ
default texture folder and load them into 3DXchange.
Find the location of the texture images in DAZ.
Load the texture images to the character in 3DXchange.
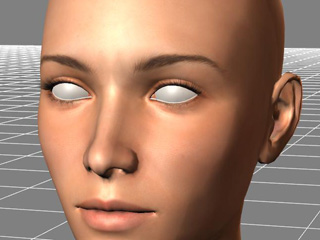
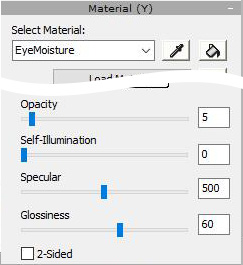
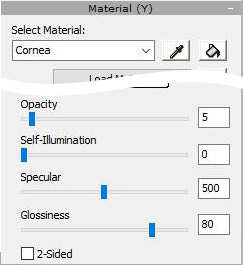
Whitened Eyes: The eyeballs turn completely white due to the
problematic settings for the EyeMoisture and
Cornea material.
Adjust the settings as shown below to reveal the textures of the
eyeballs.
Adjust the settings of EyeMoisture and
Cornea materials in 3DXchange.
Position: When the character wears high heels, parts of the feet
will pass into the floor grid. Fix this by adjusting the vertical
positioning of the character by adjusting the height in the
Floor Contact and
Property tabs of the
Characterization menu.