Editing Actor Info
Once you click the Edit button, you will initially see the Info page of your actor. Here, you can customize your actor’s thumbnail, name, and description.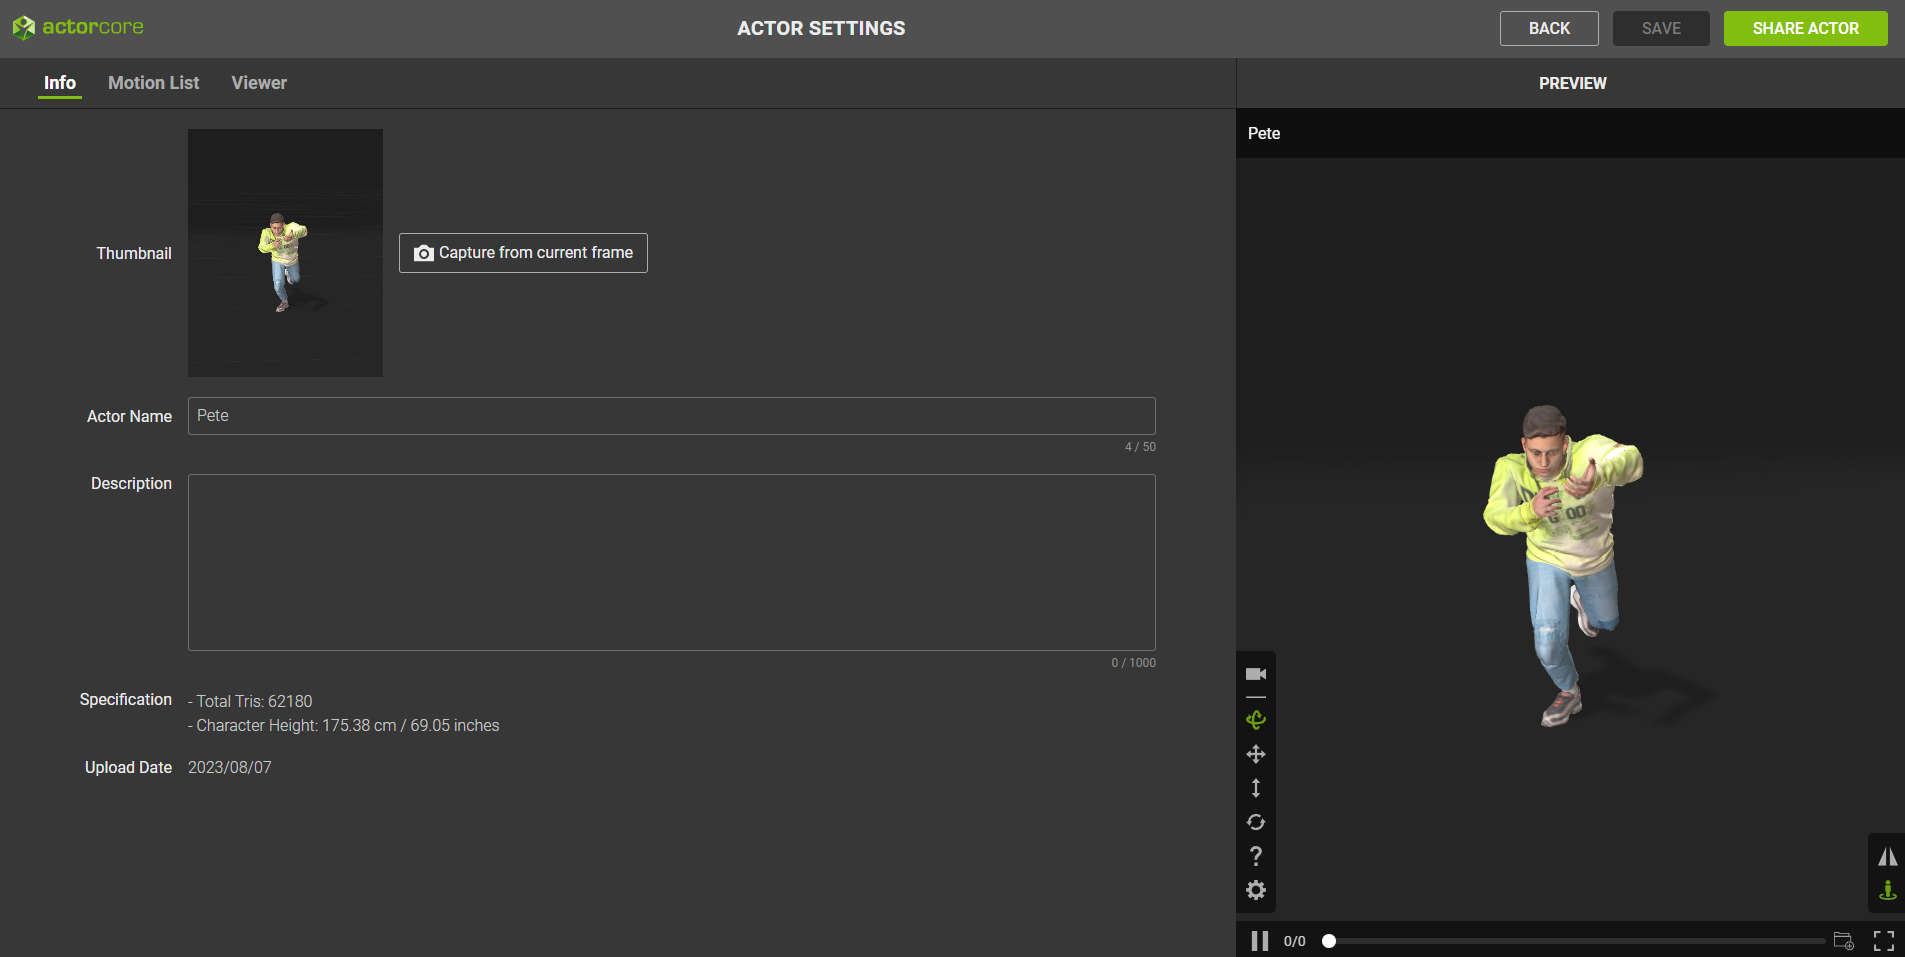
To create your own custom thumbnail for your actor, follow the steps below.
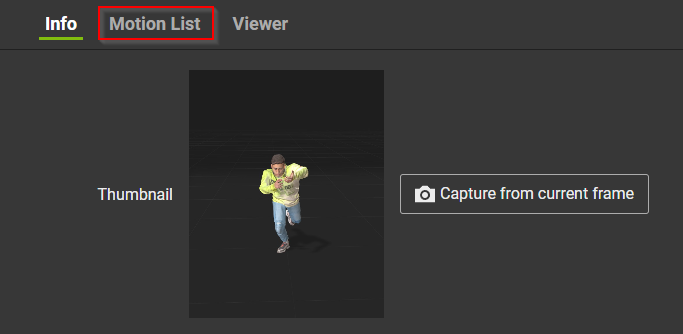
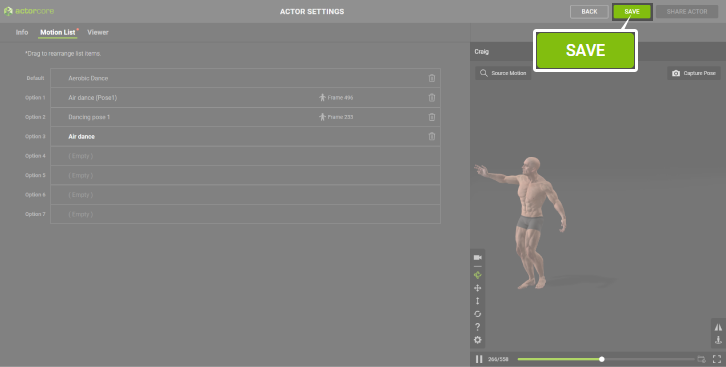
- To select which motion you want for your actor, click on the Motion List tab on the top left-hand side.
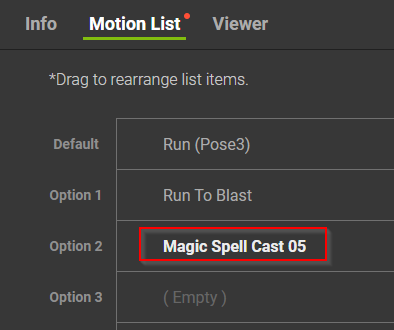
- In the Motion List page, select and drag the motion you want to apply to your actor into the Default field.
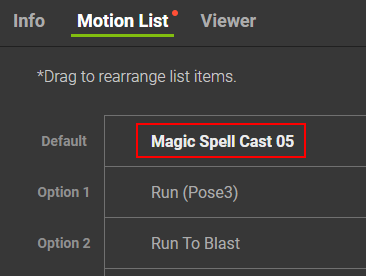
Before
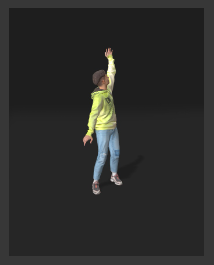
After
- Use the toolbar tools in the viewport to check if the motion applied is compatible with your actor.
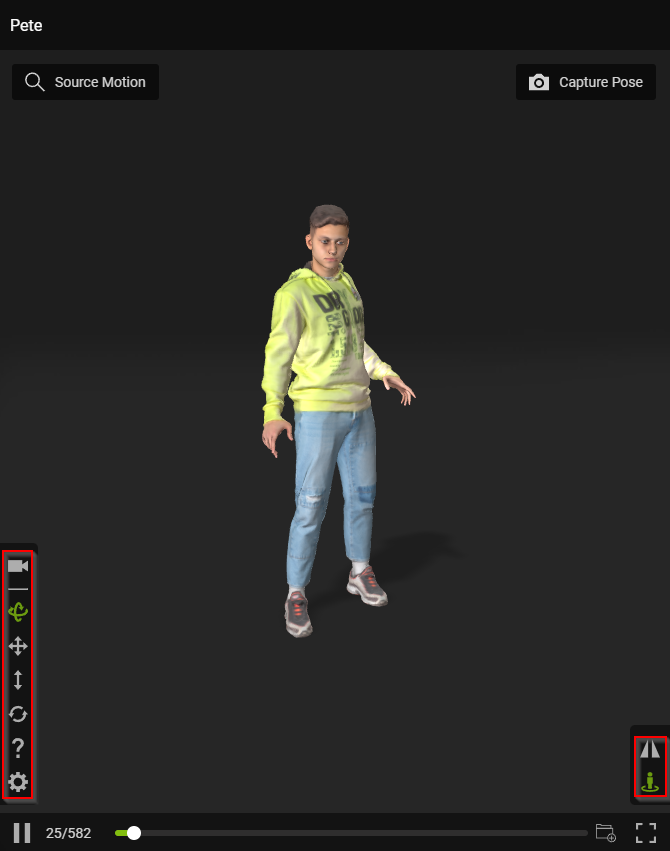
- Click the Viewer tab on top to access the background settings for your model.

- In the Viewer page, select the Atmosphere you want for your actor.
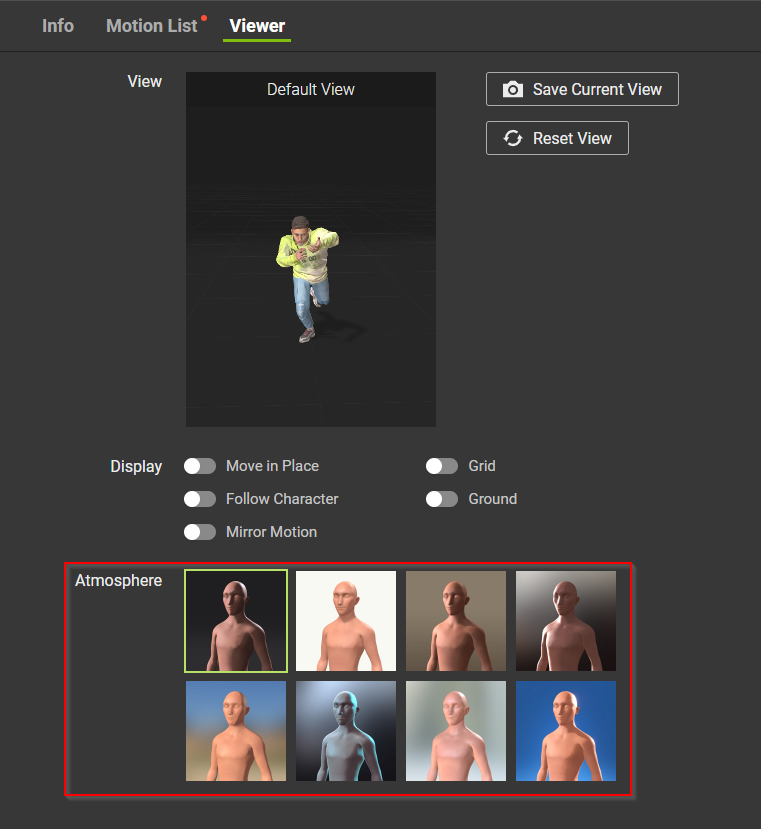
- Click the Info tab to return to the Info page.

- Use the tools in the viewport to adjust the angle, position, frame, and distance for your actor’s thumbnail.
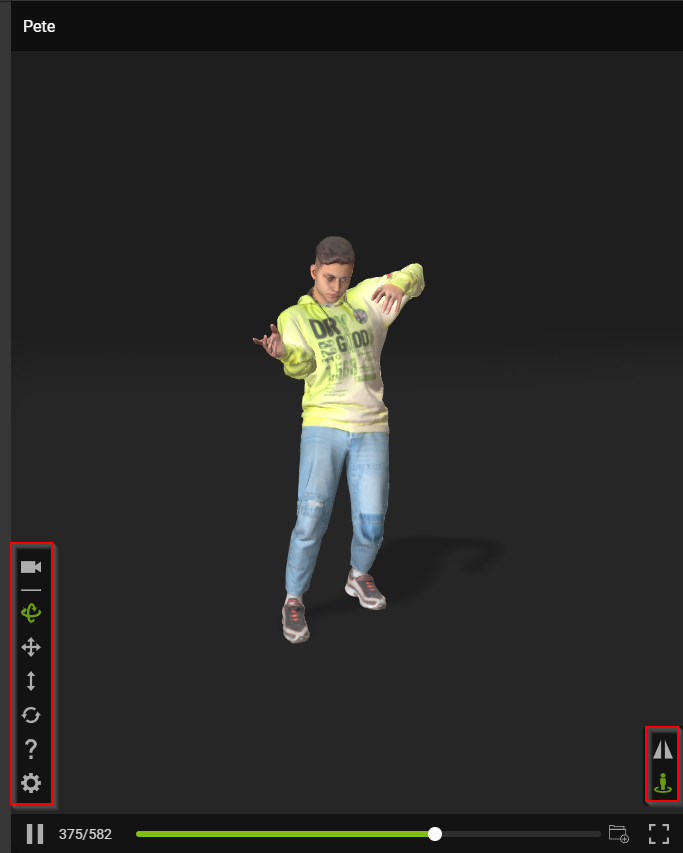
- Click the Capture from current frame button to create the thumbnail for your actor.
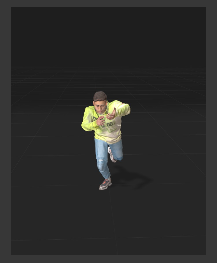
Before
After
- Click the Save button on the top right-hand corner to update your actors' settings.
The info area shows detailed information about your actor and allows you to add additional information.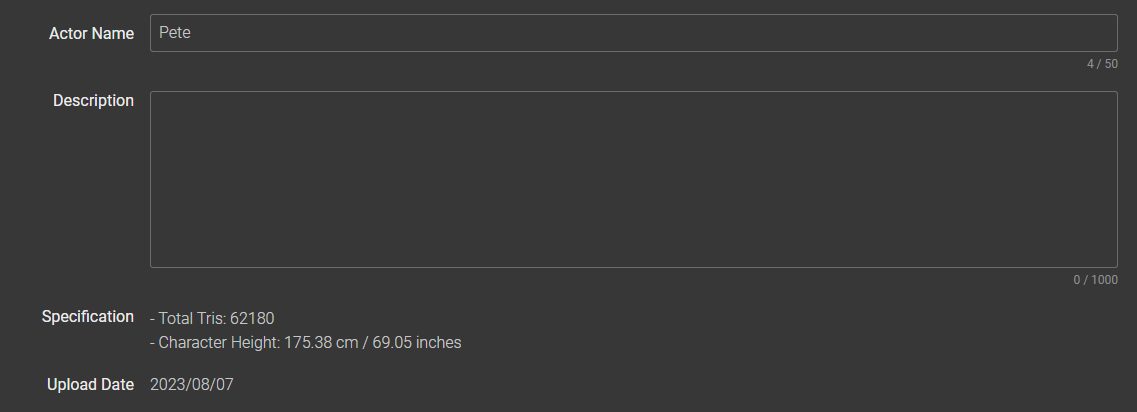
- Actor Name: You can enter the actor’s name here (50-character limit).
- Description: You can enter the actor's information here (1000-character limit).
- Specification: Displays the actor’s height measurements and the total polycount in tris.
- Upload Date: A record of when your actor was first uploaded to the ActorCore website.
The viewport allows you to adjust your actor and camera’s angle, position, and distance using the viewing tools provided on the left-hand side. For more information, see this page.
