Relocating Joints with Midpoint Placement Feature
The joints in the Rig Body step are moved in relation to the screen and does not take distance into account. Under these conditions, unintentionally moving the joints closer or further than intended can be a common occurrence.
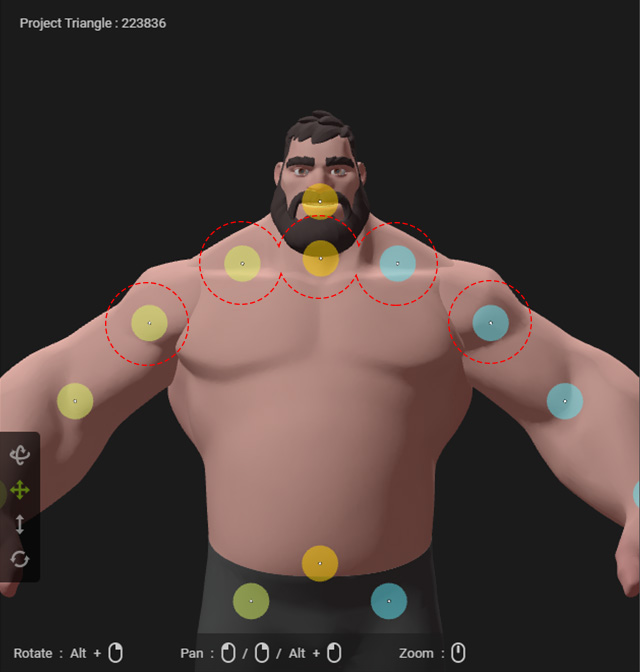
|
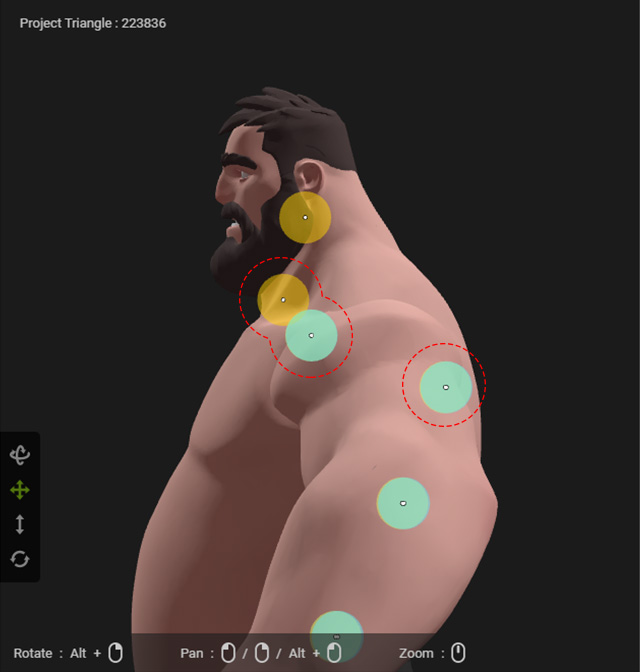
|
|
Joints in the front view |
Joints with inadequate z-depth in the side view. |
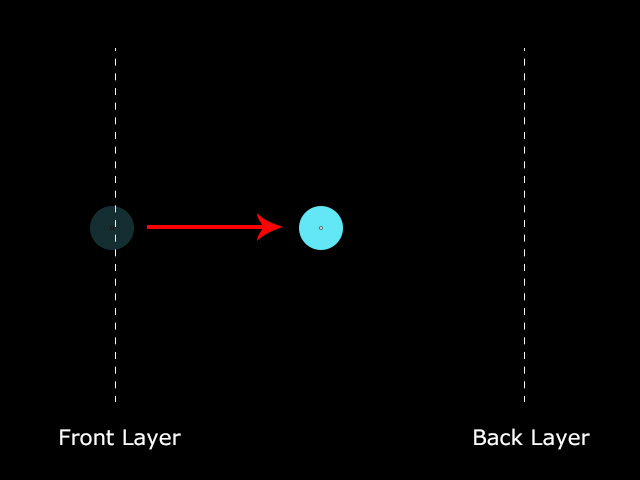
AccuRIG provides Midpoint Placement feature to auto-detect the mesh volume and position the joint in its midst (between the front and back surfaces).
- In the previous example, the outlined joints are offset from the mesh volume.
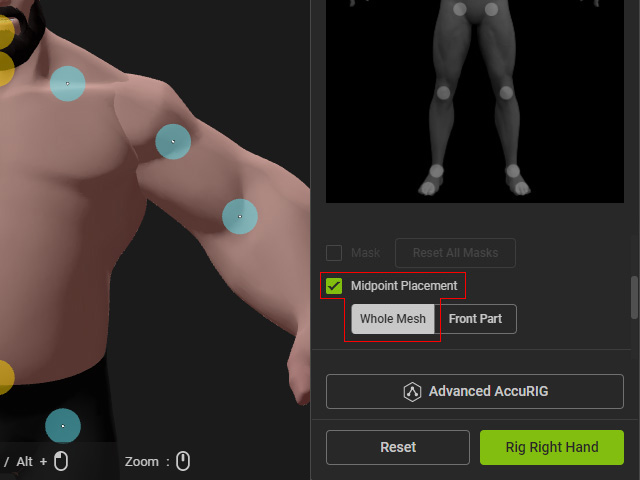
- In the right pane, activate the Midpoint Placement checkbox and toggle Whole Mesh.
- Drag to move the joint to set the position, including the Z-depth value based on the mesh model.
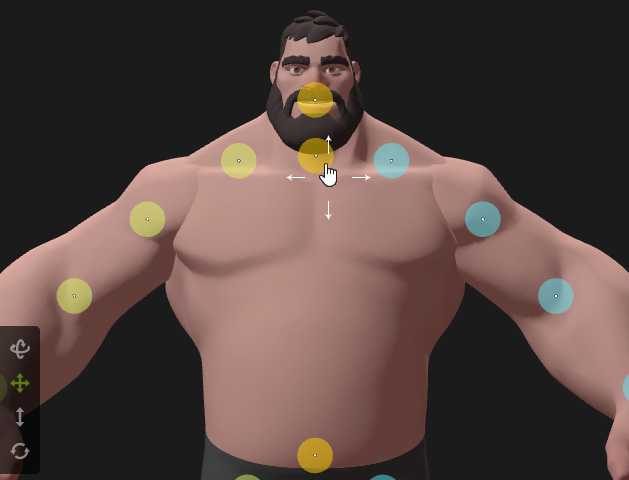
Orbit the camera to the side view, as you can see the joint was automatically moved into the mesh volume.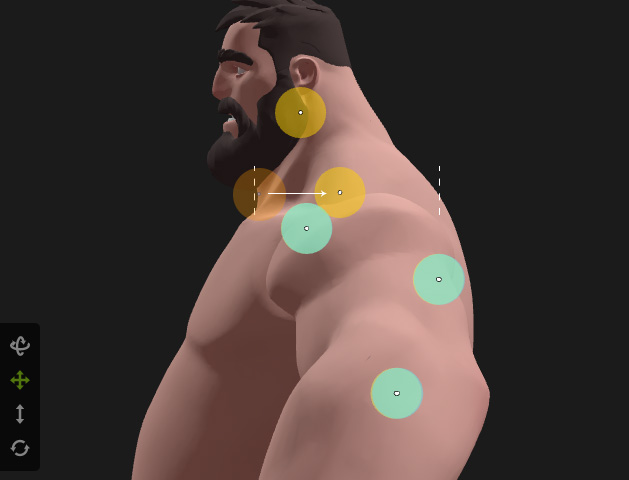
- Toggle Front Part to ensure the joints will be positioned between the two closest surface layers when there are several overlapping topologies.
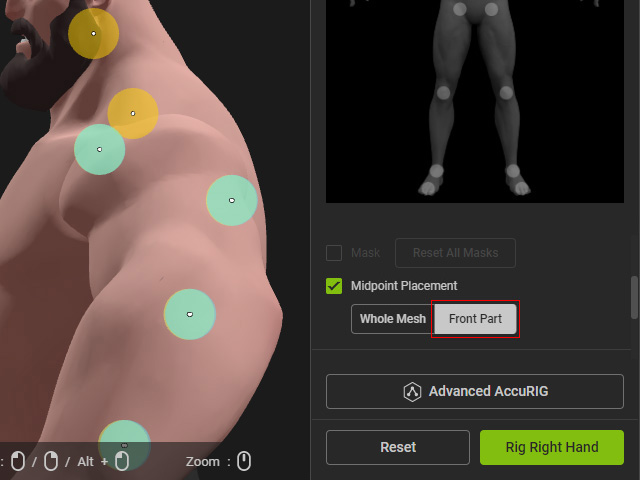
The system will set the Z-depth value of the joint in midst of the closest mesh volume.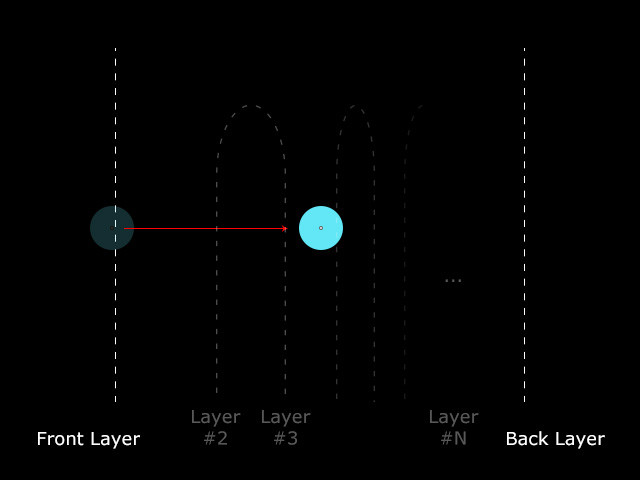
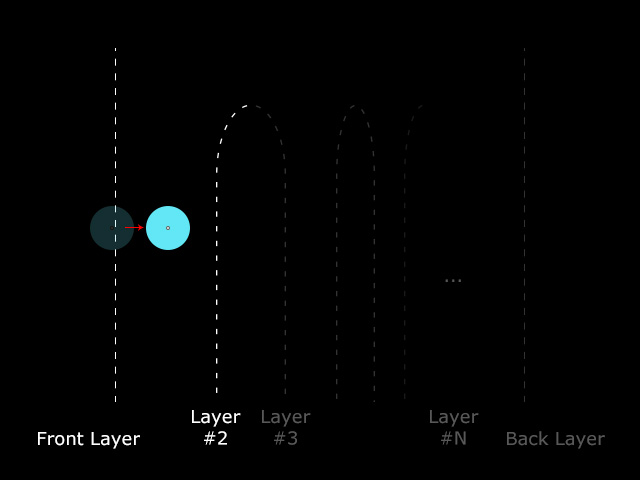
All Mesh mode
Front Mesh mode
- In the side view, drag the shoulder, elbow and wrist joints in Front Mesh mode to ensure the joints to sit within the arm of the character.
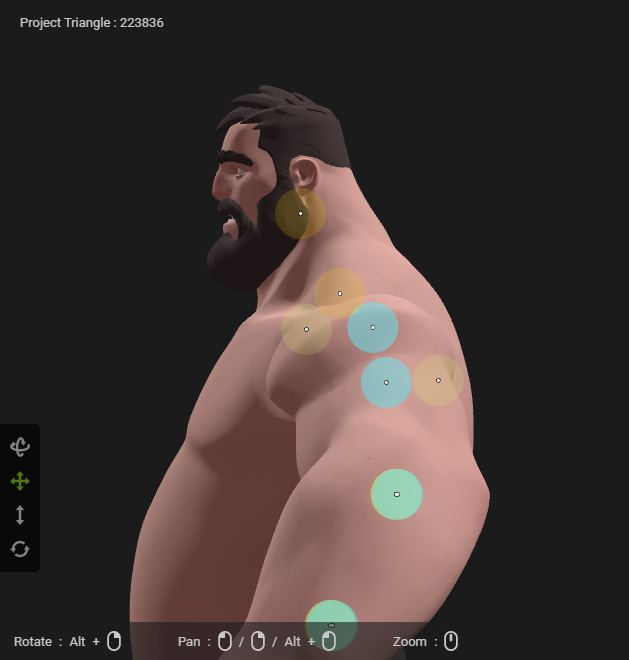
- Orbit the camera to the front view.
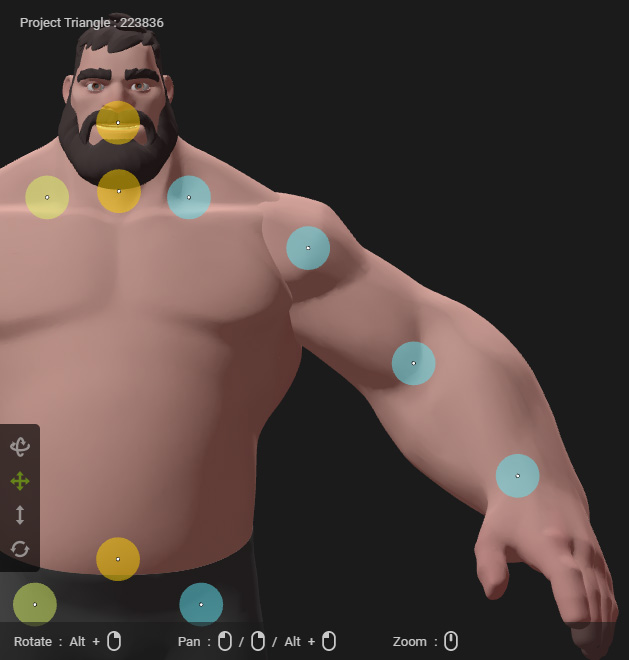
- Repeat the same steps until the joints are all properly repositioned.
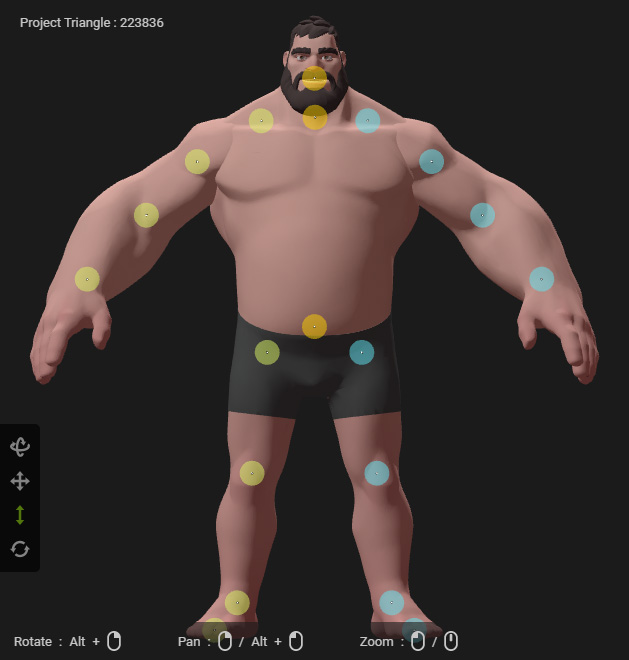
- Go to the Rig Hand step and set the hand joints. Refer to the Rig Hand section for more information.
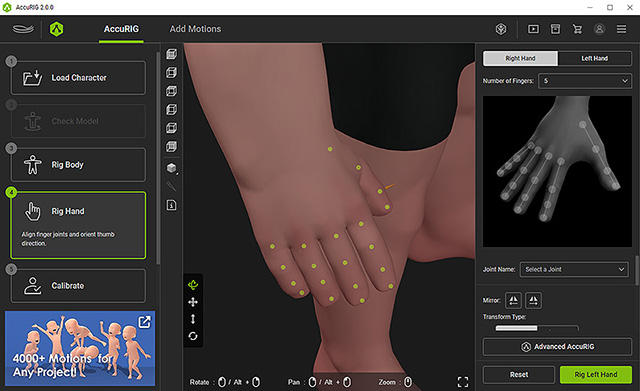
- Go to the Calibrate step to characterize the model, then apply either of the motions for testing.
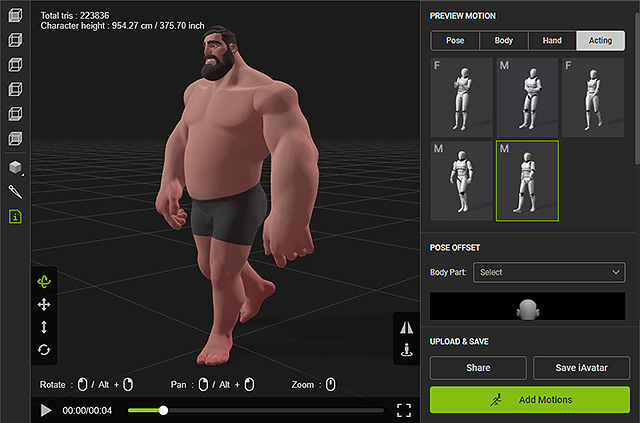
If you are satisfied with the result, you can save the character as iAvatar for use in Character Creator and iClone. - In the final Add Motions step, you have the option to add more animations and export the animatable character for use in third-party workflows.
