Body Rig Step
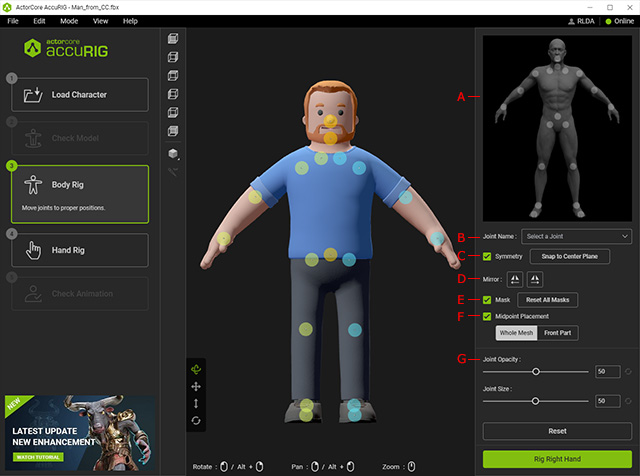
In the Body Rig step, the program will distribute the joints in advance by approximations. You can then manually reposition, mask, resize, and adjust the opacity for the joints.

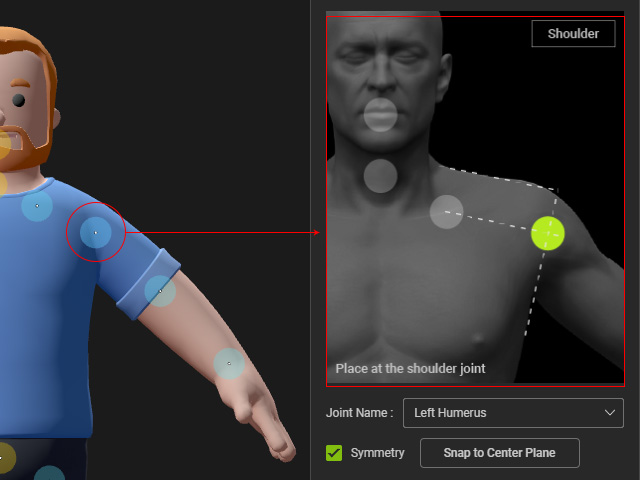
This pictogram shows the recommended location of the joints when you hover or pick one of them. In the following example, the left shoulder joint is selected.
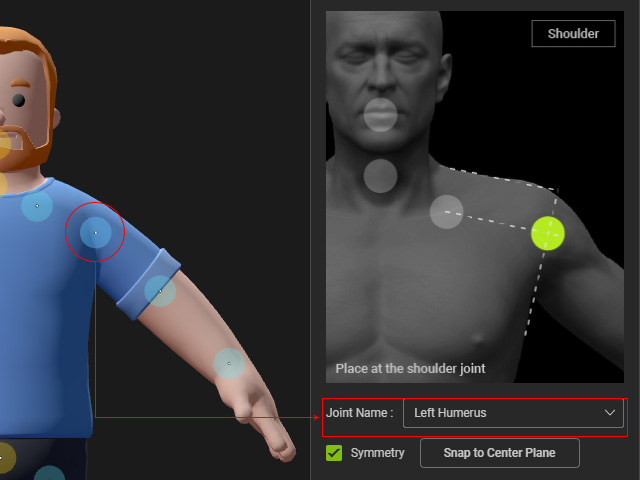
The Joint Name drop-down list shows the name of the joint you picked in the 3D viewport.
You can also use it to choose the desired joint from this list.
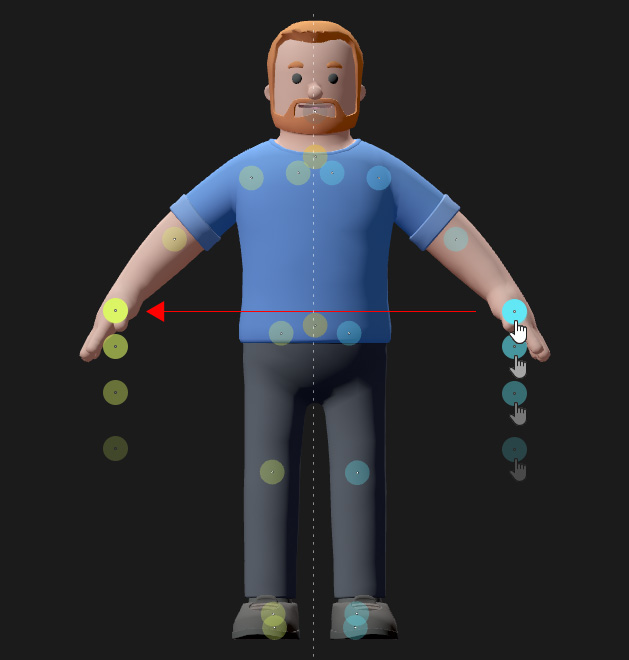
Activate this checkbox to move bilateral joints together.
Notice that this setting does not affect the three center joints.
Refer to the following sections for more information:
Click one of these two buttons to mirror the positions of the limb joints from one side to another.
Select a joint and activate the Mask checkbox to disable this joint from creating a corresponding bone. It can be helpful when the model's limbs are not symmetrically shaped, or even lack of limbs or specific bones.
Refer to the Masking Joints section for more information.
Compels the joint to stay in midst of the mesh volume when activated.
Refer to Reposition Joints with Midpoint Placement section for more information.
You can use these two sliders to change the opacity and the size of the joints.
