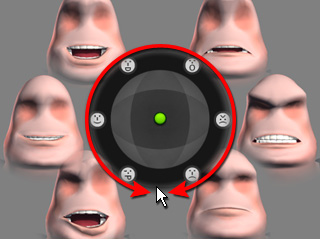
Defining Character Expressions
Although iClone provides convenient facial puppeteering features
for easily creating character's expressions, there was previously no way that you
could have accessory data as part of the expression. You previously needed to use
key-framing methods to generate the accessory animations to match
the expressions due to the lack of this function.
However, by utilizing the Builder and
Controller, you are able to simultaneously
puppeteer both the character's expression and accessories
animations.
Using Builder to Coordinate with Facial Puppeteering Features and Create Comprehensive Expressions
-
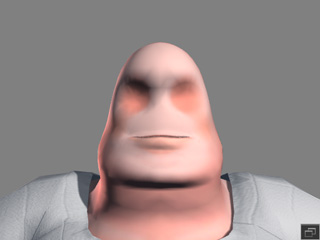
Apply a character that contains facial expression settings.
|
Note:
|
|
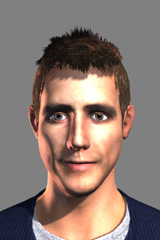
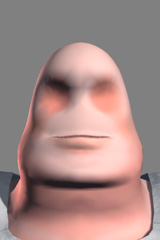
The characters which can be used are:
|
|

|
|
|
Standard Character
|
Toon Maker Character
|
Monster Workshop Character
|
Custom Non-standard Character
|
|
-
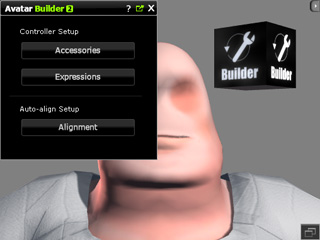
Apply the Builder prop to the scene.
-
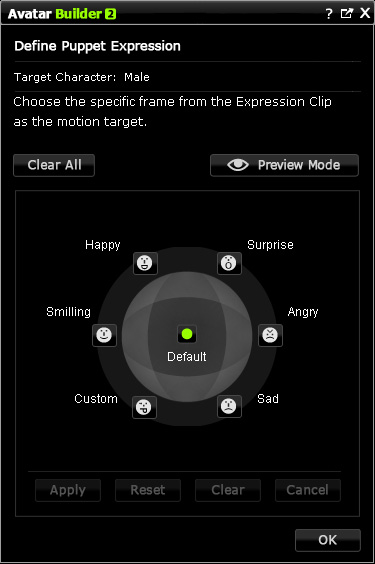
Click the Expression button and pick the character. The Builder will
move to the Define Puppet Expression page.
-
Make sure the character is selected, open the Facial Puppet Panel by clicking the
Puppet
 button in
Animation >> Facial Animation >> Modify Panel >> Facial Edit section.

-
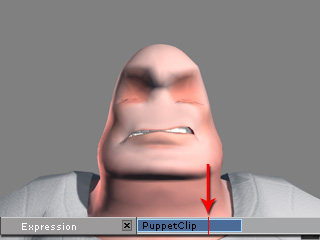
Utilize the Puppet Panel to RECORD a specific and desired expression clip
(in this case, an angry expression).

-
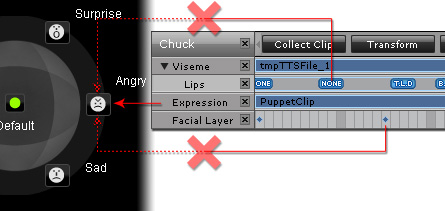
Jump to a certain time within the range of the clip to search for the
ideal expression of the character that you want to extract and save
to the respective location of the dot controller area in the Builder.
|
Note:
|
|
Please note that you can only extract the expressions from
clips in the Expression track. The Face Layer
Lipsynchkey data cannot be added to the dot controller templates.
|
-
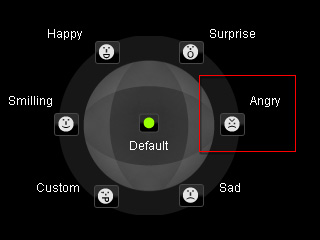
Click one of the empty templates in the Builder to enter edit mode.
-
Press the Apply button to save the expression to the template.

|
Note:
|
|
-
Apply: Keep the current expression of the
character.
-
Reset: Retrieve the original status of the
expression.
-
Clear: Remove the data of the number and leave the editing mode.
-
Cancel: Abort the procedure and give up the editing result.
|
-
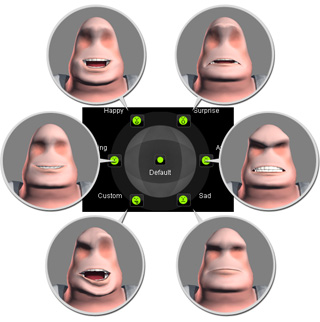
Repeat the step 4 to 8 until every axis has been given a specified
expression.
-
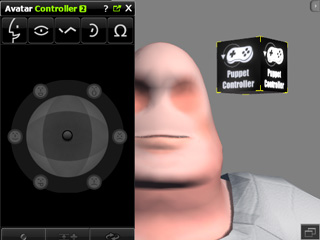
Apply the Controller prop.
-
Make sure the character is selected and switch to the Expressions tab
of the Controller.
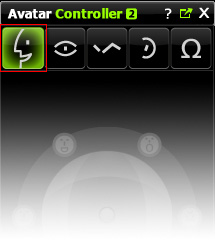
-
Puppeteer the character with the controller to view the expression
results.


 button in
Animation >> Facial Animation >> Modify Panel >> Facial Edit section.


