Puppeteering Behavior Settings
After you have defined the controller type and mapping relations in the
Define Controllers page for the eye accessory, you are able to
define
the puppet behaviors of poses and materials when you puppeteer the eye
accessory with the Controller.
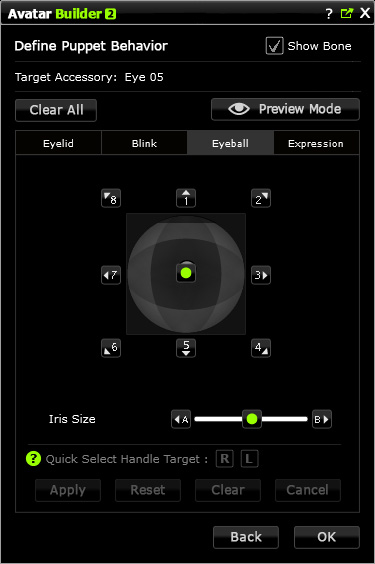
The layout of the Define Puppet Behavior page is as shown below:

* Please refer to the
The Relation Between Builder and Controller section for the
mapping chart.
Defining Extreme Movements for Axes - Eyelid, EyeBlink, Eyeball and Expression
By defining the maximum postures toward different axes, the eye accessory can thus be driven to
defined positions when you use Controller to puppet
it.
-
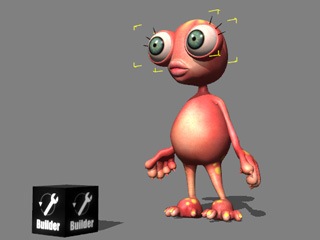
Select the eye accessory.

-
In the Modify panel, click on the Edit Animation Layer button in the
Animation section to show the Edit Motion Layer panel.

-
Make sure the settings are correctly set in the
Define Controllers page.
-
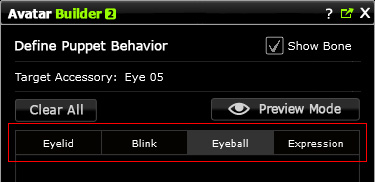
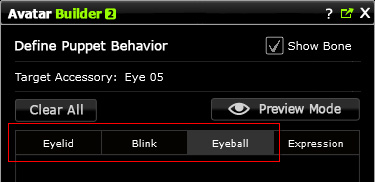
In this Define Puppet Behavior page, click on the tabs to
separately
define the elements behaviors driven by the controller (in this case, the
Eyeball tab is picked).

-
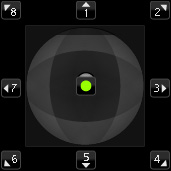
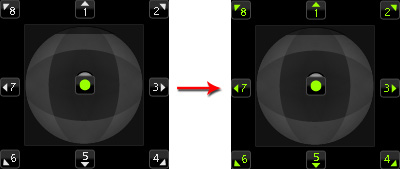
The number points around the compass are the axes for the
Controllerto move toward to elicit a predefined accessory behavior.

-
Click one of the numbers (take 2 for example) to switch it to editing
mode.
-
Click the R or L button beside the Quick Select Handle
Target label
(in this case, the L is clicked).

-
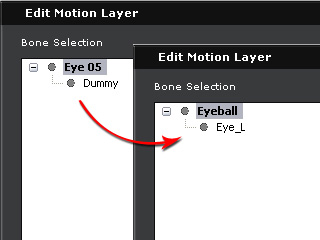
The structure of the eye
will be automatically loaded into the Edit Motion Layer panel.

-
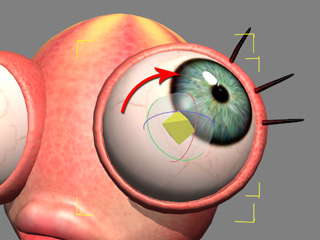
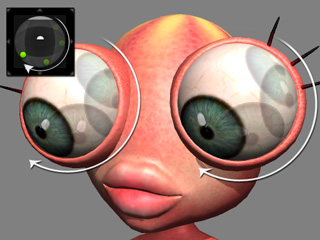
Select the highlighted bones that control the eyeball and rotate it to the ideal maximum angle along the same direction of the
number button.

|
Note:
|
|
-
You are allowed to use Move
 or Rotate
  tool to translate the
bones. But you CAN NOT scale the bones. tool to translate the
bones. But you CAN NOT scale the bones.
-
Activate the Show Bone box to highlight the bones whose
status can be adjusted.
-
Although you may adjust any accessory bone, only the status of the
highlighted bones will be kept at step 11.
-
Whether or not specific bones are highlighted is determined by the
Assign
Node(s) for Controller Handles button in the previous
Define Controllers page.
-
Material status can also be set up at this step.
|
-
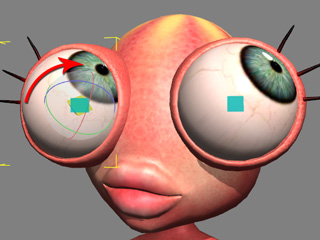
Click on the other button of the R and L and repeat the same
steps for the other eye so that the two eyeballs rotate to the same
direction.


-
Click the Apply button to keep the angle.

|
Note:
|
|
-
Apply: Keep the defined bone and material status of the accessory.
-
Reset: Retrieve the original status of the bone and material under controlled.
-
Clear: Remove the data of the number and leave the editing mode.
-
Cancel: Abort the procedure and give up the editing result.
|
-
Repeat the same steps for the rest of the numbers (including the center one, which is not numbered).

-
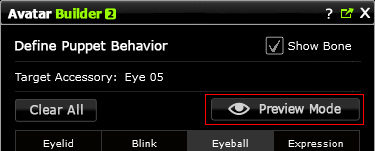
Click the Preview Mode button to start the Controller-simulation mode.

-
Drag the green dot to different axes to view the puppeteering results.
-
Select another tab (in this case, the Eyelid, EyeBlink or
Expression) and repeat the same steps
to define the behaviors of the accessory driven by the controllers inside.
-
Click the OK button.
-
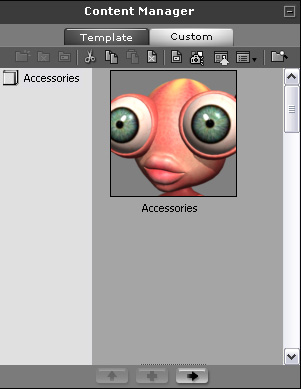
Make sure the eye accessory is selected and click on the Add
button at the bottom of the Content Manager to add this eye accessory to the custom library.

This eye accessory is now ready for being applied to another character
and being puppeteered via the Controller.
Defining Material Changes to Axes - Iris Size
In addition to the translate and rotation data that is able to be set and
kept by eye accessories, material data can also be adjusted and saved in
them. You can thus create material animations by using the Controller.
In this case, we use the Iris size as an example.
-
Select the eye accessory.

-
In the Modify panel, switch to the Texture Settings
section.
-
Make sure the settings are correctly done in the
Define Controllers page.
-
In the Define Puppet Behavior page, click on either the Eyelid,
EyeBlink or Eyeball tabs (in this case, the
Eyeball tab is picked).

|
Note:
|
|
-
The Iris Size slider in the next step displays only when these
three tabs are selected.
|
-
Click the A button beside the Iris Size label to switch it to editing
mode.

-
Click the R or L button beside the Quick Select Handle
Target label
(in this case, the L is clicked) to quickly select the target eye.

-
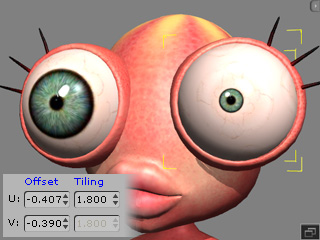
Shrink the iris by adjusting the UV settings (Offset,
Tiling and Rotating) of the eye.

|
Note:
|
|
-
Although you may adjust any material
of the eye by picking certain materials from the Select Material
drop-down list, only the adjustments of the
object's materials that are highlighted by the
Assign
Node(s) for Controller Handles button in the previous
Define Controllers page can be kept.
-
Bone translation and angle status can also be set up at this step
as long as you have correctly enabled the boxes of
the bones via the
Assign
Node(s) for Controller Handles
button in the previous Define Controllers
page.
|
-
Click on the other button of the R and L and repeat the same
steps for the other eye.


-
Click the Apply button to keep the texture results of the irises.

|
Note:
|
|
-
Apply: Keep the defined bone and material status of the accessory.
-
Reset: Retrieve the original status of
the bone and material that are under controlled.
-
Clear: Remove the data of currently
edited number and leave the editing mode.
-
Cancel: Abort the editing procedure.
|
-
Repeat the same steps to B and Center axes (set the center to be the initial
sizes of the textures).
-
Click the Preview Mode button to start the Controller-simulation mode.

-
Drag the green dot of the Iris Size slider left and right to
preview the puppeteering results.
-
Click the OK button.
-
Make sure the eye accessory is selected and click on the Add
button at the bottom of the Content Manager to add this eye accessory to custom library.

This eye accessory is now ready to be applied to another character
and have its material modified in real-time via the Controller.
