Creating CC Control Rig - Live Link Workflow
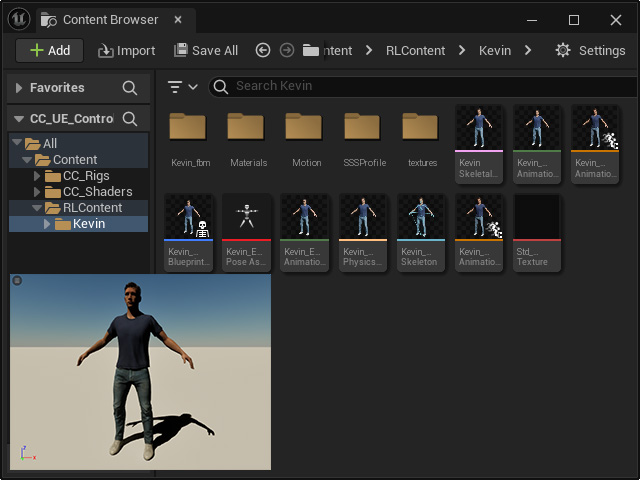
Once you've imported a character into Unreal Engine, you can apply a CC control rig to the skeletal mesh to begin creating keyframe animations and layer keys.
- Make sure the character has been transferred from iClone
to the Unreal Engine via the Unreal Live Link plugin.
- Create a CC control rig for the skeletal mesh.
- To
directly create the control rig within the Content
Browser:
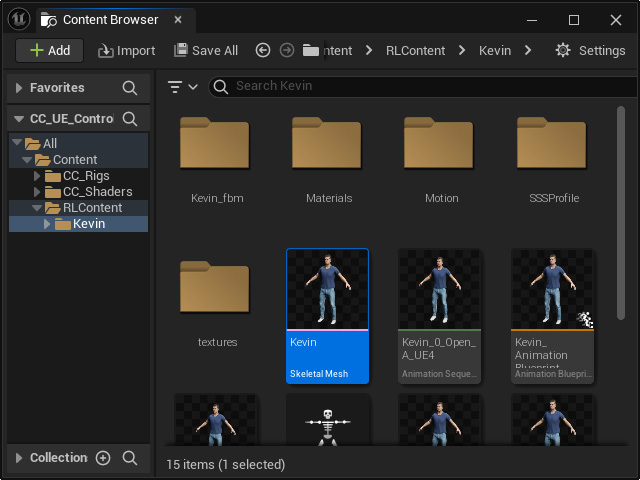
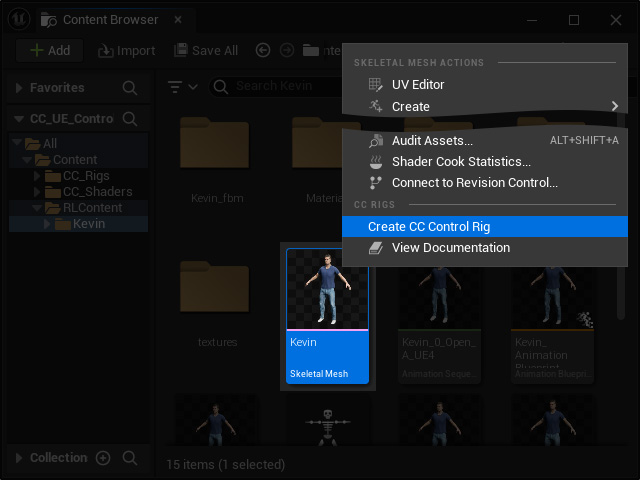
- Select the
skeletal mesh.
-
Right-click on the skeletal mesh and execute the Create CC Control Rig command.
- Select the
skeletal mesh.
- To
create a CC control rig in the viewport:
- Drag and drop the
skeletal mesh into the viewport.
- Click the
Execute CC ControlRig action button on the toolbar.
 Note:
Note:If you can not find the button on the tool bar, open the Plugins panel, activate the Character Creator UE Control Rig plugin and click the Restart Now button.

- Drag and drop the
skeletal mesh into the viewport.
- To
directly create the control rig within the Content
Browser:
- You will receive notification that the Live Link connection will
be deactivated for generating animations using the CC control rig.

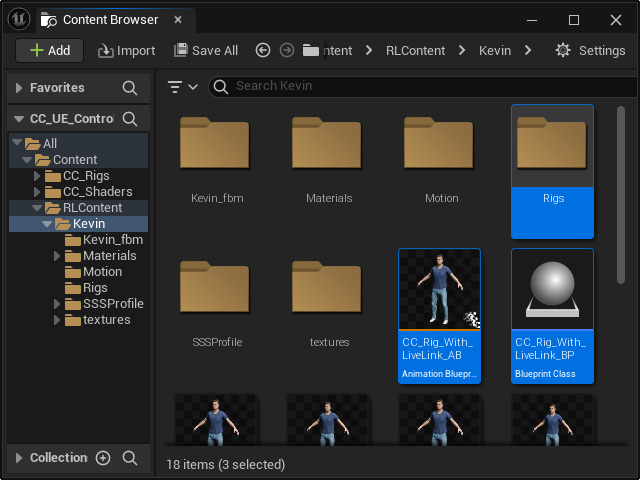
- An animation blueprint, a blueprint class, and a new folder
named "Rigs" will be created.
The following items will be visible in the "Rigs" folder: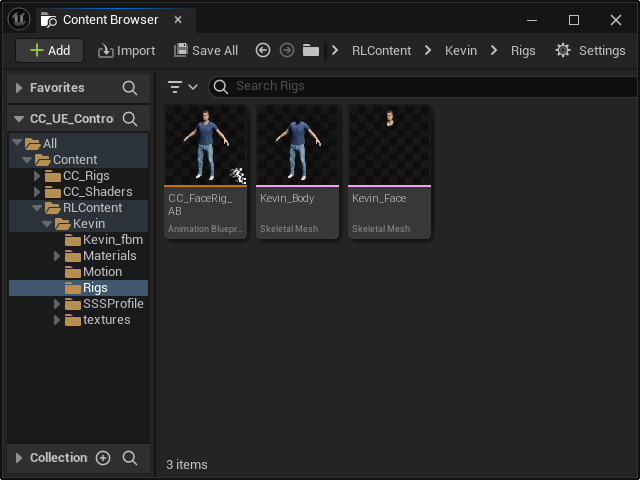
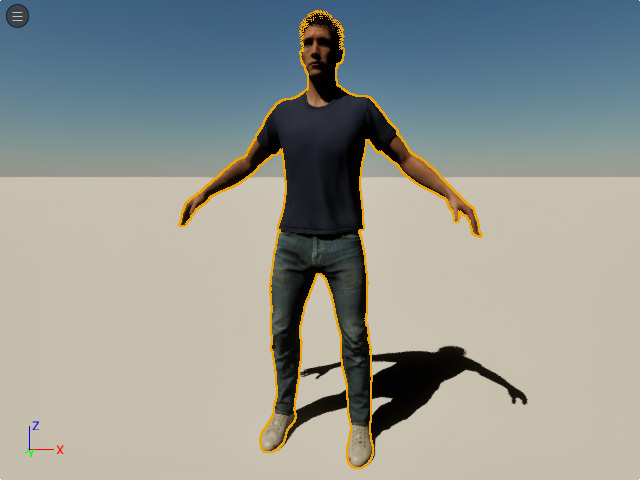
- You can now commence with key-frame animations and animation layer editing.
