Creating Custom Rig GUI
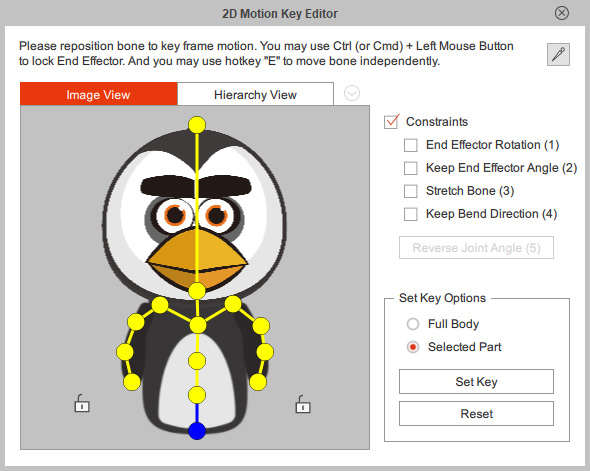
After you create a custom G3 character, you can freely animated it using stop-frame technique with 2D Motion Key Editor.
However, the Image View in the editor may display the following message:
This message implies that the character is a G3 free bone character with an unconventional bone structure. In order to create the GUI (graphic user interface), you have to follow the steps below:
- Create a G3 free bone character, Cartoon Animator will auto-switch to the Composer mode.
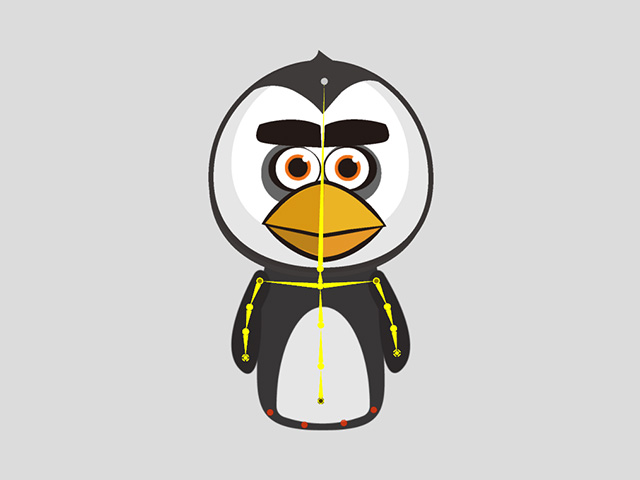
You can also add End Effectors to the character's bones if you want (in this case, the hands of the character). - Click the Create Custom Rig GUI button on the toolbar.

The panel will display on the screen.
 Capturing from 2D View
- Click the Capture button to capture the view port as the image view.

- Optionally use the Background Color swatch to pick a favorite color as the background.
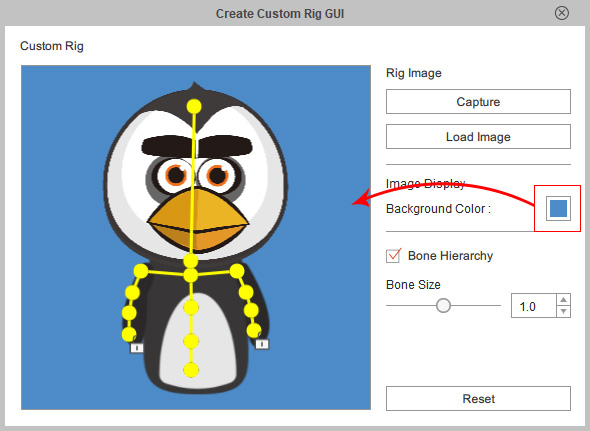
- Click the Capture button to capture the view port as the image view.
- Loading Image
- Click the Load Image button and load an image to replace the view.

- The background color can not be adjusted even though the loaded image contains alpha information.
- Click the Load Image button and load an image to replace the view.
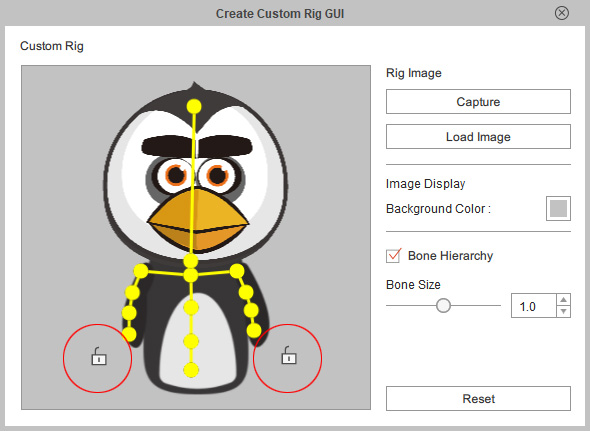
- You can then determine the position of the locks by drag and
drop them to an ideal places.
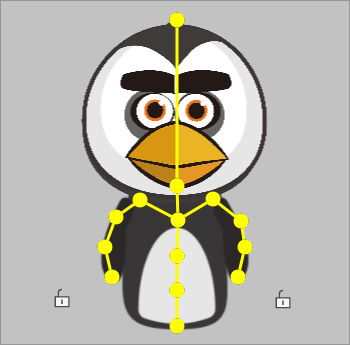
- Activate or deactivate the Bone Hierarchy to determine if the image view contains the bones and the connection lines or the bones only.
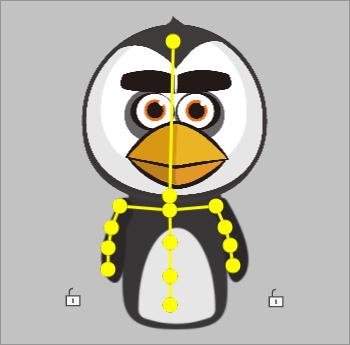

Bone Hierarchy: On
Bone Hierarchy: Off.
- Also, use the Bone Size slider to change the size (0.5 ~ 1.5) of the bones on the view.


Bone Size: 1.0
Bone Size: 0.5.
Bone Size: 1.5.
- You are allowed to drag and move the yellow points in the pane for better and clearer view.
- After the view is created, click the cross button on the top-right corner of the panel to leave this feature. The image view will be embedded to the character.
- Back to the stage, select the character and open the 2D Motion Key Editor. You will see the captured image is shown on the Image View tab.