Using the Hand Pose Editor to Switch Bone Hand Gestures
The Hand Pose Editor consists of hundreds of gesture content for editing the hand poses quickly.
By utilizing the Hand Pose Editor, you can easily switch the hand gesture to any gesture template of diverse styles,
including reaching, holding, counting, sign languages, and casual ones.
( Watch Tutorial - Hand Pose Key Editor - 2D Finger Animation )
* Currently, this function is available for characters with Bond Hand.
The gesture styles are divided into different categories.
According to the selected Hand Facing,
the hand poses under each category can be presented in four angles to match the angle of the Bond Hand template.
( Watch Tutorial - Hand Pose Key Editor - Intro to Hand Bones )
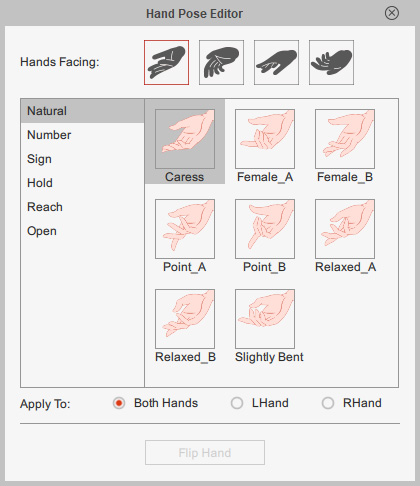
- Suitable Bone Hand angle: Palm up or Palm front.


Hand Facing: Up
An up angle for fingers with the hand flips up.Hand Facing: Up Flip
An up angle for fingers with the hand flips down.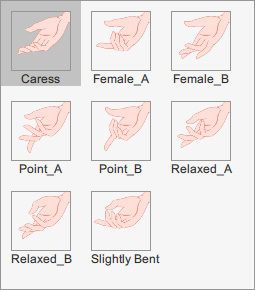
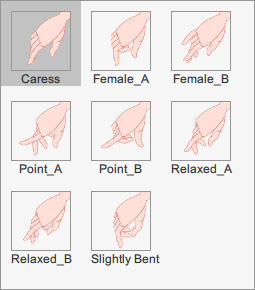
- Suitable Bone Hand angle: Palm down or Palm front.


Hand Facing: Down
A down angle for fingers with the hand flips down.Hand Facing: Down Flip
A down angle for fingers with the hand flips up.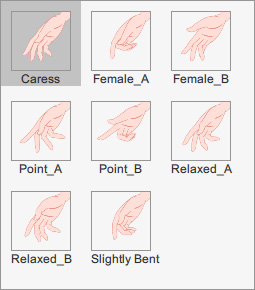
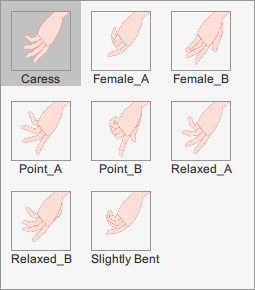
- Suitable Bone Hand angle: Palm up or Palm front.


Hand Facing: Up
An up angle for fingers with the hand flips up.Hand Facing: Up Flip
An up angle for fingers with the hand flips down.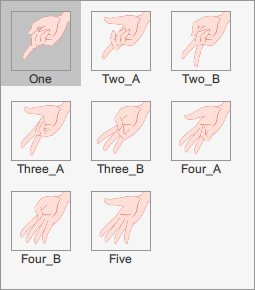
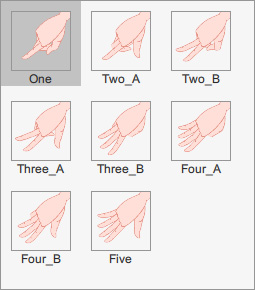
- Suitable Bone Hand angle: Palm down or Palm front.


Hand Facing: Down
A down angle for fingers with the hand flips down.Hand Facing: Down Flip
A down angle for fingers with the hand flips up.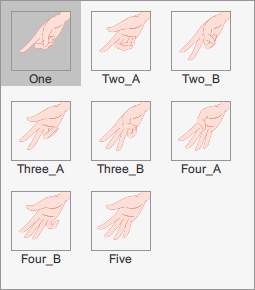
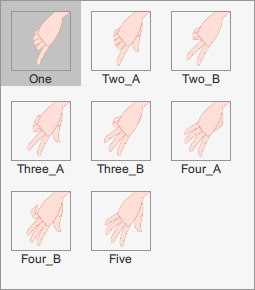
- Suitable Bone Hand angle: Palm up or Palm front.


Hand Facing: Up
An up angle for fingers with the hand flips up.Hand Facing: Up Flip
An up angle for fingers with the hand flips down.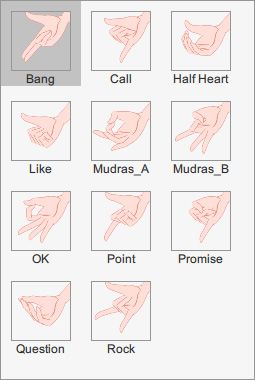
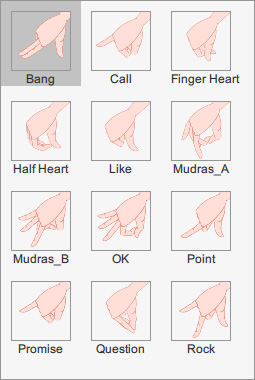
- Suitable Bone Hand angle: Palm down or Palm front.


Hand Facing: Down
A down angle for fingers with the hand flips down.Hand Facing: Down Flip
A down angle for fingers with the hand flips up.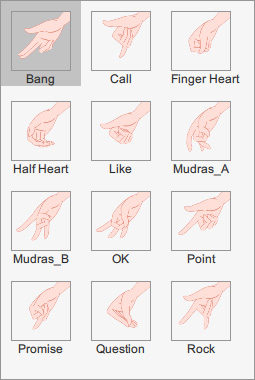
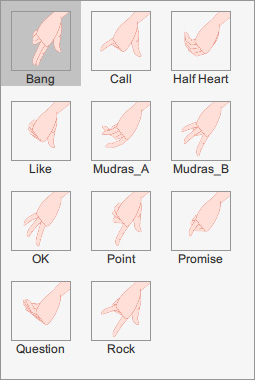
- Suitable Bone Hand angle: Palm up or Palm front.


Hand Facing: Up
An up angle for fingers with the hand flips up.Hand Facing: Up Flip
An up angle for fingers with the hand flips down.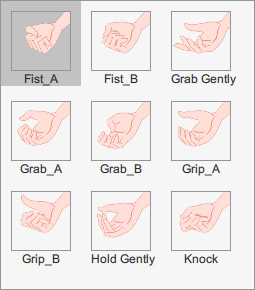
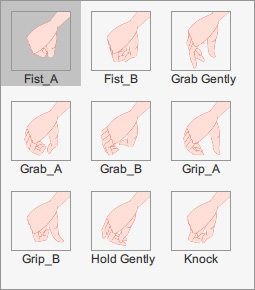
- Suitable Bone Hand angle: Palm down or Palm front.


Hand Facing: Down
A down angle for fingers with the hand flips down.Hand Facing: Down Flip
A down angle for fingers with the hand flips up.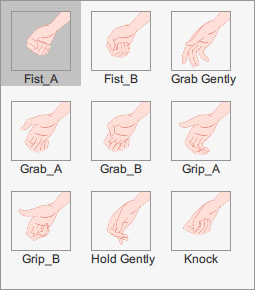
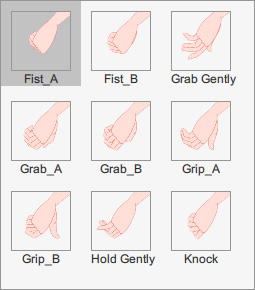
- Suitable Bone Hand angle: Palm up or Palm front.


Hand Facing: Up
An up angle for fingers with the hand flips up.Hand Facing: Up Flip
An up angle for fingers with the hand flips down.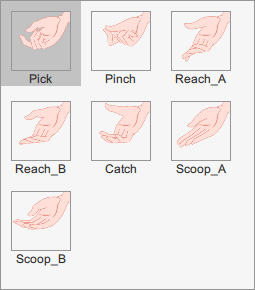
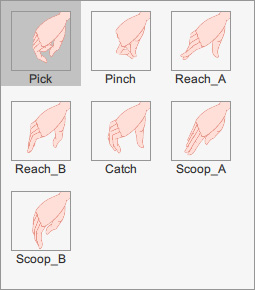
- Suitable Bone Hand angle: Palm down or Palm front.


Hand Facing: Down
A down angle for fingers with the hand flips down.Hand Facing: Down Flip
A down angle for fingers with the hand flips up.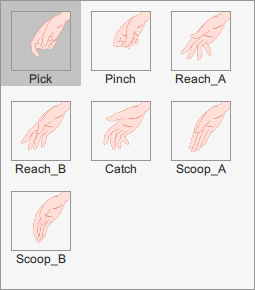
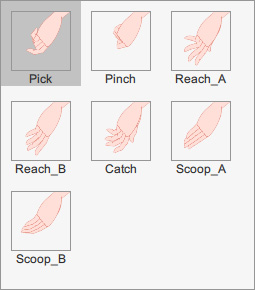
- Suitable Bone Hand angle: Palm up or Palm front.


Hand Facing: Up
An up angle for fingers with the hand flips up.Hand Facing: Up Flip
An up angle for fingers with the hand flips down.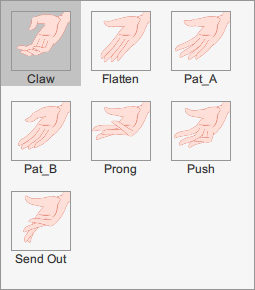
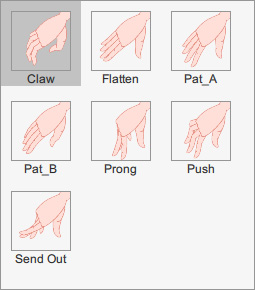
- Suitable Bone Hand angle: Palm down or Palm front.


Hand Facing: Down
A down angle for fingers with the hand flips down.Hand Facing: Down Flip
A down angle for fingers with the hand flips up.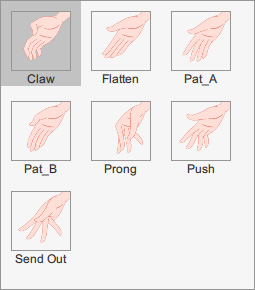
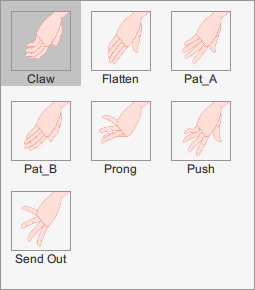
Follow the steps below to switch the hand gestures and alternate palm facing for smooth gesture animation.
-
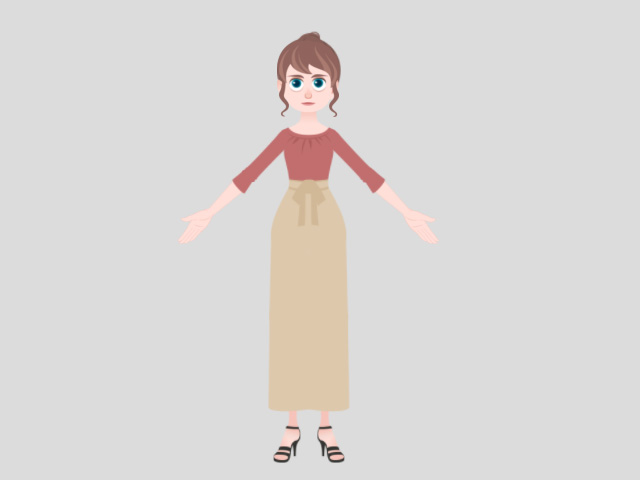
Select a character equipped with Bone Hand.
In this case, Martha_Palm down.
-
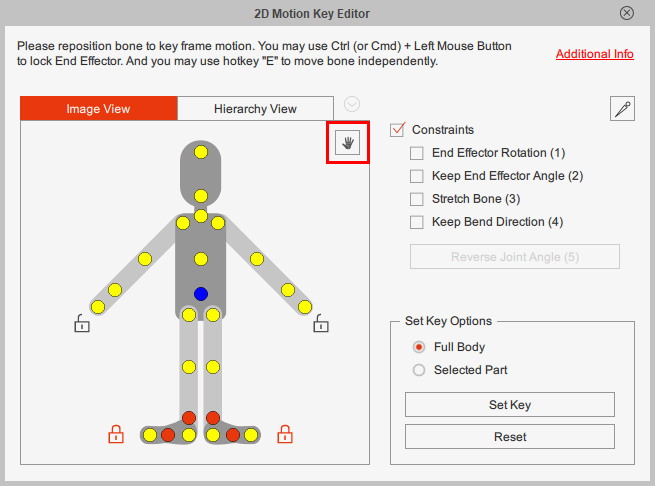
Open the 2D Motion Key Editor (Shortcut: K).
Click the Hand Pose Editor button at the upper right corner of the Image View tab.
-
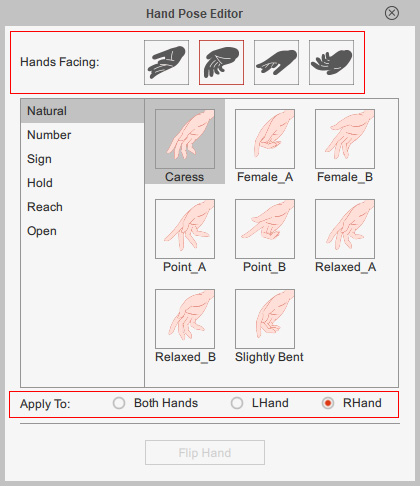
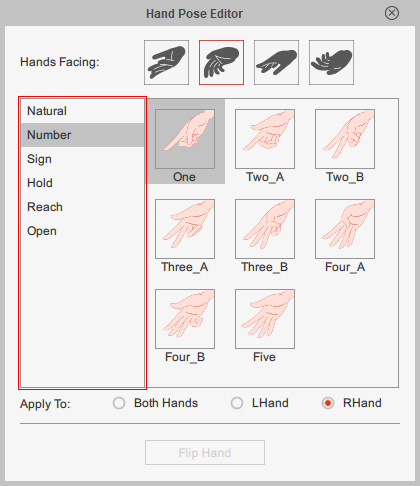
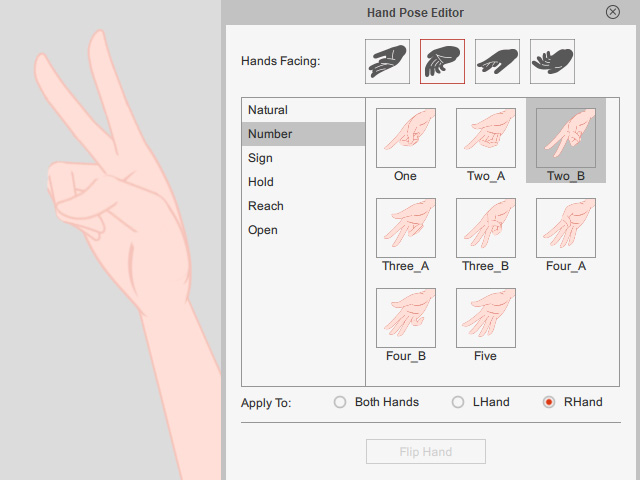
The Hand Pose Editor will display.
First select a suitable Hand Facing and the hand target to apply.
In this case, the hand facing Down and apply to the Right Hand.
-
Next, select one of the gesture styles from the left pane.
The right pane auto-refreshed as well.
- Go to a desired time frame.
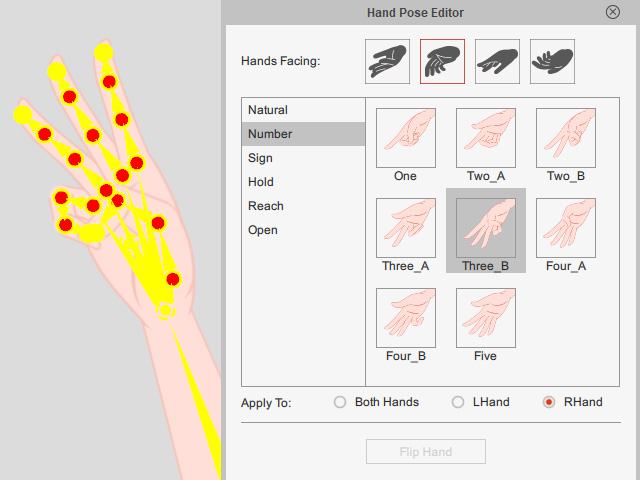
Click on the desired hand pose in the right pane.
The gesture will be applied to the character at once.
In this case, Three_B.
-
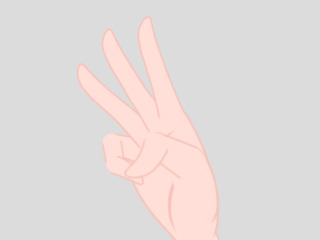
You can turn on Show Bone to adjust the hand bones or turn off Show Bone to better observe the hand poses.
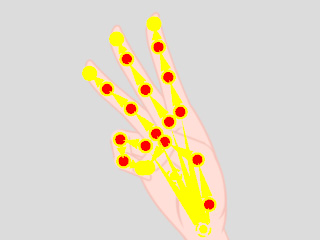
Show Bone = On
Show Bone = Off
The Show Bone option in the Bone Display dialog box.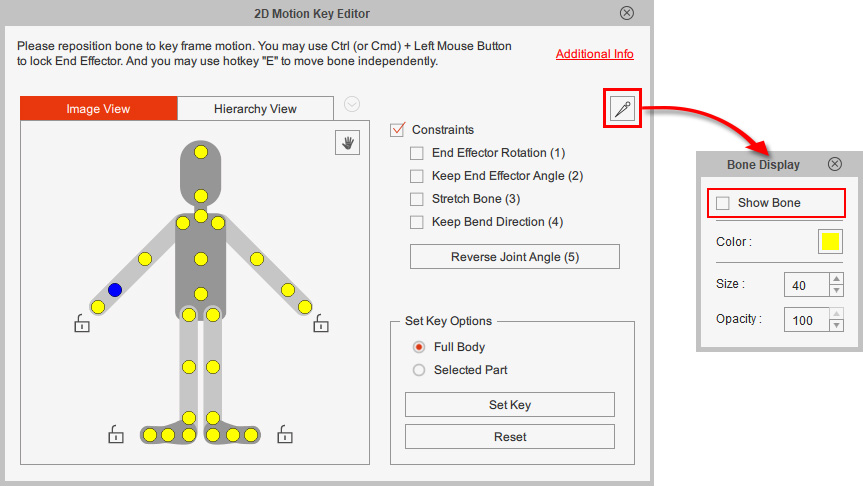
- Go to a latter time frame.
Click on another hand pose.
In this case, Two_B.
-
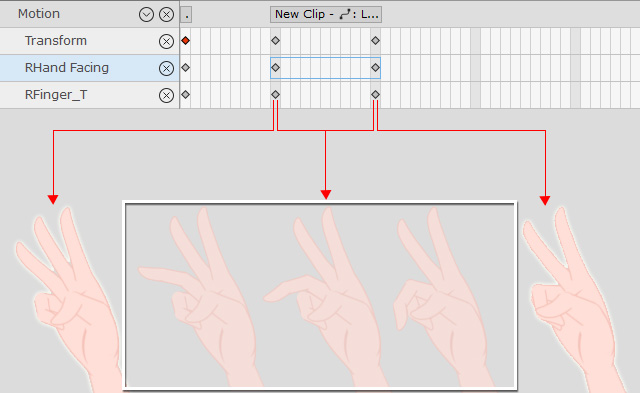
Open the Timeline (Shortcut: F3).
You will see the hand pose keys are stored in the RFinger_T track,
and the hand facing keys are stored in the RHand Facing track.
The blending effect between two hand poses will be generated automatically.
-
To change the palm facing of the hand pose set in Step 7,
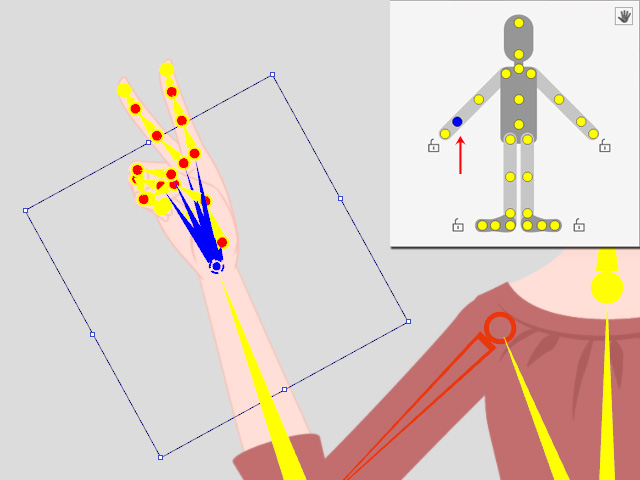
stay in the time frame and click the yellow circle on the right hand of the dummy in the 2D Motion Key Editor to pick the bone of the right hand.
Make sure you pick the second circle, not the first one.
You will see the selected bone is framed up and highlighted in blue.
The blue circle on the dummy indicates that the bone is selected.
- Click the Flip Hand button in the Hand Pose Editor to change the palm facing.
You will see the hand of the current pose is flipped.
Since the palm facing data is stored on the Hand Facing track, before you use the Flip Hand feature to change the palm facing, make sure the hand facing key and the hand bone are both selected. In this case, the RHand Facing key and the Right Hand bone.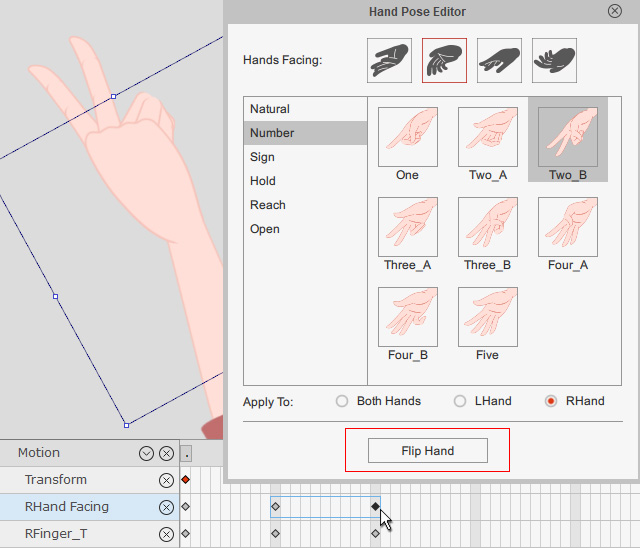
- Go to a latter time frame.
Click on another hand pose.
In this case, One.
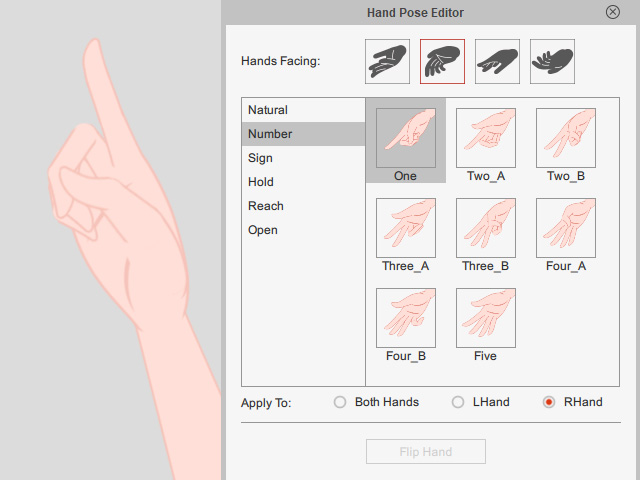
- Finally, right click on the newly created motion clip and select Flatten Motion Clip to the merge the layer keys (the hand pose keys on RFinger_T track) into the clip.
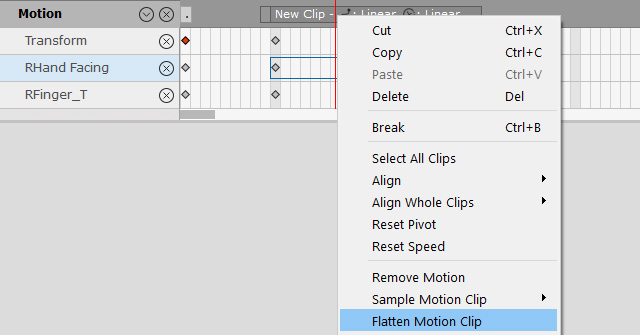
- Now you can collect and export the Bone Hand animation (in *.ctBMotion) to reuse it on different Bone Hand characters.


