Sampling and Flattening Keys
A Motion is the combination of the Motion Clip and the Layer Keys.
In order to edit the contents of the motion or merge the layer keys with the motion clip,
you must use the Sample and Flatten commands.
( Watch Tutorial - Optimizing Mocap Animation )

* The Sample and Flatten features are available for G3 360 or G3 characters (including Human, Animal, Spine, and Wings) only.
There should only be a single motion clip in the Motion track.
- If there are multiple motion clips on the Motion track, collect and export the clips then load the exported clip back for sampling.
-
If the motion clip does not start from Frame 0,
set a Reset key on the previous frame of the motion clip in order to counteract the transition effect of the default key.

Remember NOT set a Reset key with any IK lock.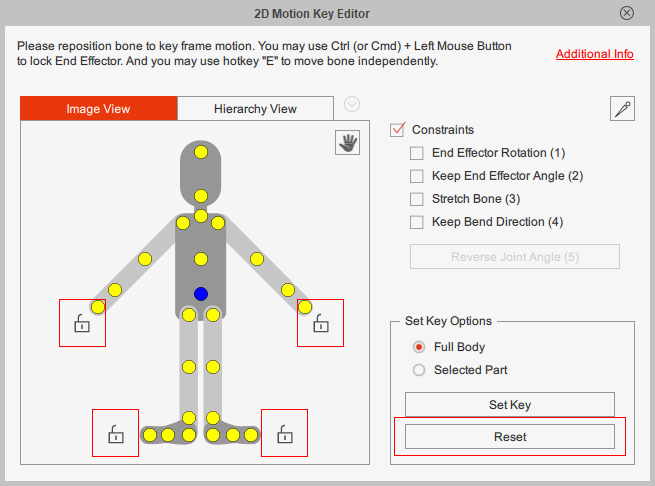
- If the layer keys are sampled, remember to flatten the motion clip before moving the motion clip on the timeline.
Referring to the following scenarios, set a Reset key to counteract the Motion Layer effect of the previous or next key.
Description: Starting from Frame 0, sequentially apply two motion clips.
Sampling the first motion clip leads to incorrect motion in the second motion clip.

Solution: Go to the start frame of the second motion clip.
Set a Reset key (without IK lock) by clicking the Reset button in the 2D Motion Key Editor.

Description: Starting from Frame 0, sequentially apply two motion clips.
Sampling the second motion clip leads to incorrect motion in the first motion clip.
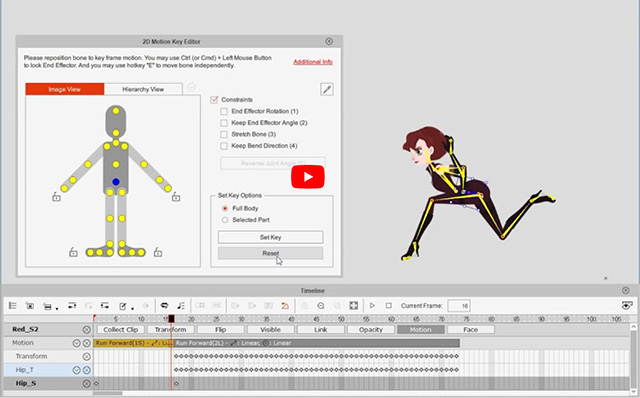
Solution: Go to the end frame of the first motion clip.
Set a Reset key (without IK lock) by clicking the Reset button in the 2D Motion Key Editor.

Description: Starting from Frame 0, sequentially apply three motion clips.
Sampling the second motion clip leads to incorrect motion in the first and third motion clips.

Solution:
Go to the end frame of the first motion clip.
Set a Reset key (without IK lock) by clicking the Reset button in the 2D Motion Key Editor.
Go to the start frame of the third motion clip.
Set a Reset key (without IK lock) by clicking the Reset button in the 2D Motion Key Editor.

Description: There is a default key on Frame 0. Apply a motion clip on another time frame.
Sampling the motion clip leads to incorrect motion in the motion clip.
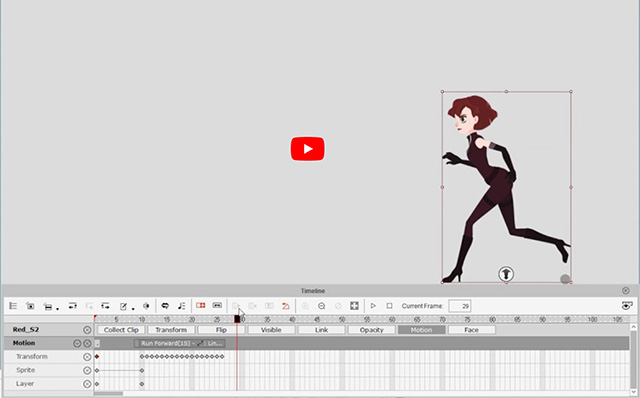
Solution: Go to the previous frame of the motion clip.
Set a Reset key (without IK lock) by clicking the Reset button in the 2D Motion Key Editor.

Description: There is a default key on Frame 0. Apply two motion clips sequentially on another time frame.
Sampling the second motion clip leads to incorrect motion in the two motion clips.

Solution:
Go to the previous frame of the first motion clip.
Set a Reset key (without IK lock) by clicking the Reset button in the 2D Motion Key Editor.
Go to the end frame of the first motion clip.
Set a Reset key (without IK lock) by clicking the Reset button in the 2D Motion Key Editor.

The Sample feature allows you to further optimize the applied, recorded or motion captured movements. You can add Bone Hand animation into a motion content, or modify motions from the selected body parts.
-
Apply any one motion template from library to a G3 character.
In this case, Martha with Bone Hand.

-
To modify the Bone Hand animation,
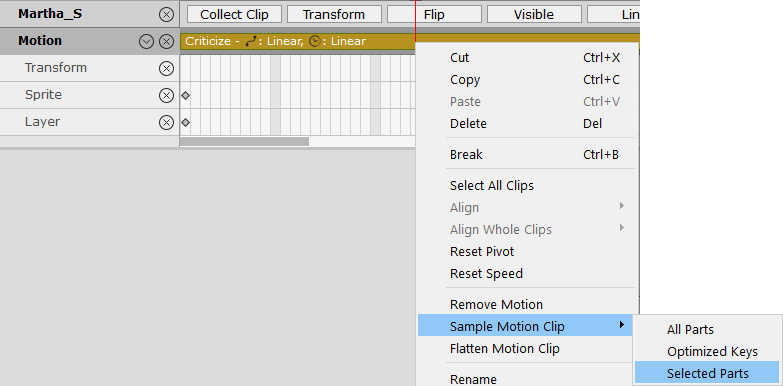
right click on the motion clip and select Sample Motion Clip >> Selected Parts to turn the keys of the clip into layer keys.
 Note:
Note:Refer to the Clip Sampling Options section for more information.
-
Inside the Sample Selected Parts dialog box,
select the parts wanted and click the Sample button to finish sampling.
In this case, LHand and RHand.

-
The motion clip will turn grey,
and the keys of the clip turn into layer keys stored on the LHand and RHand tracks.

-
To modify the hand gesture and flip the left hand,
double click on the first layer key of the LFinger_T track.
In the Hand Pose Editor, first select Up Flip for the Hand Facing and choose the applying target, LHand. Then click the hand pose Caress from the Natural style.
Go to the last layer key of the LFinger_T track and switch to the same hand pose (Caress). -
Double-click on a desired frame of the LHand_T track to adjust the hand position.
In this case, place the left hand to the waist.

-
To add a hand pose to the right hand,
double-click on a desired frame of the RFinger_T track.
In the Hand Pose Editor, first select Down for the Hand Facing and choose the applying target, RHand. Then click the hand pose One from the Number style.
-
Play back to view the bone hand animation.
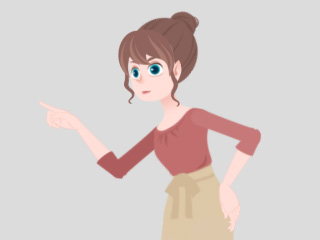
-
Repeat the Steps 2 and 3 to sample the keys of the right leg and right foot from the clip.
Modify the shank and foot layer keys.

-
Play back to view the new animation.

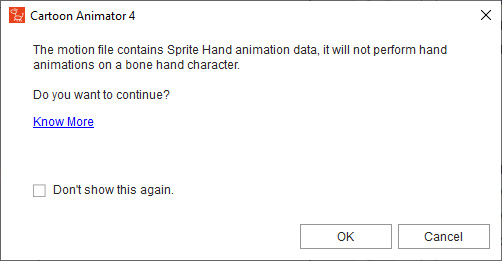
You will encounter a message says that the Sprite Hand animation data cannot show on a Bone Hand character.
Click OK.
By utilizing the Flatten feature, you can merge all of the Layer Keys from Bone Hand animation you created or body motions you modified into the motion clip. The motion clip can then be reused on different characters.
-
Right click on the target motion clip you want to flatten.
Select the Flatten Motion Clip.

-
All of the layer keys will be merged into the motion clip.

-
Export the motion clip (in *.ctBMotion) and apply it to the other character.


