Adding Sprite Element for SVG Props
For smooth transition between image creation and asset creation in Cartoon Animator, you can modify and add more sprite elements into the template with a vector editor.
The instruction below will describe how to edit a prop with a vector editor.
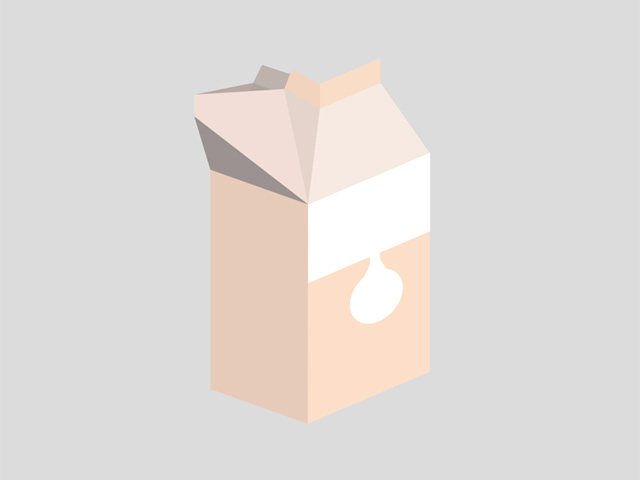
- Apply an SVG prop template to the scene.

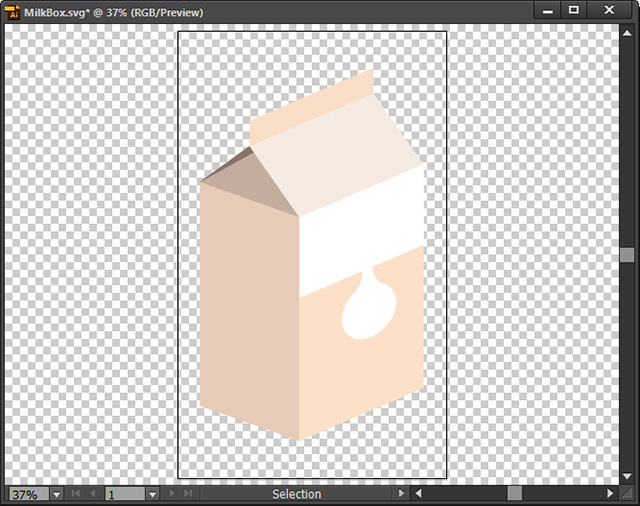
- Switch to the Compose mode and Launch the vector editor to edit the SVG graphics.
- The file of the object will be opened in your specified Vector Editor that supports files in SVG format.
 Note:
Note:Once an object is launched to the image editor, there will be a
 icon shown beside the object item in the SVG Sync column of the Scene Manager.
 - Within the "RL_Image" main layer, add a new group layer directly below the sprite layer. This new group layer will serve as an alternative sprite element to complement the original one.
 Note:
Note:The "Sprite" and "Element" string in the layer names are deliberately added in Cartoon Animator for instructional purposes.
- Continue adjusting the graphics within the new layer until you are satisfied with the results.

- If desired, you can repeat the same steps to add one or more graphic layers. Remember to save your changes after making the desired modifications.

- The new image layer will then become the default sprite element for the object in Cartoon Animator.
 Note:
Note:You can add the modified template into the custom Prop library of Content Manager for further usage.
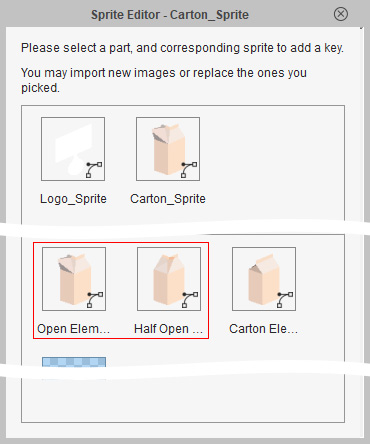
- Select the object and click the Sprite Editor
 button.
You can find the new sprite element under the original sprite.
button.
You can find the new sprite element under the original sprite.
- Apply FFD or Elastic motion clips to the prop.
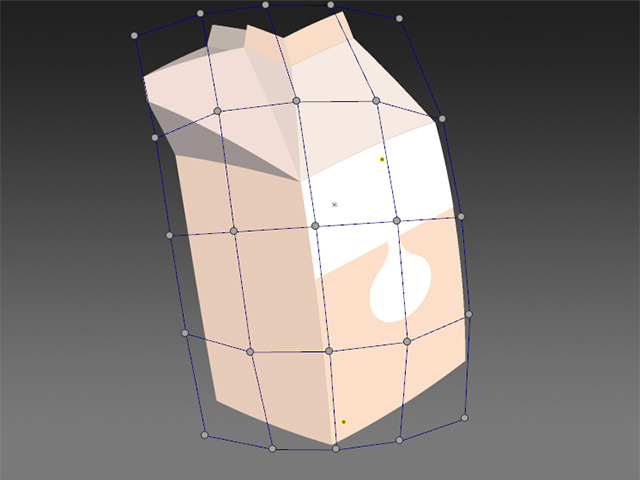
- Playback to view the animation for the new sprite.