Turning an Object During Puppetry
When the object is moving around the scene and you want it to head toward the mouse cursor, then using the Turn setting is the best strategy.
Turning Objects
- Create a new project and an object.

- Make sure the object is selected and start the Motion Pilot mode.
- Activate the Move checkbox and adjust the settings under this group.
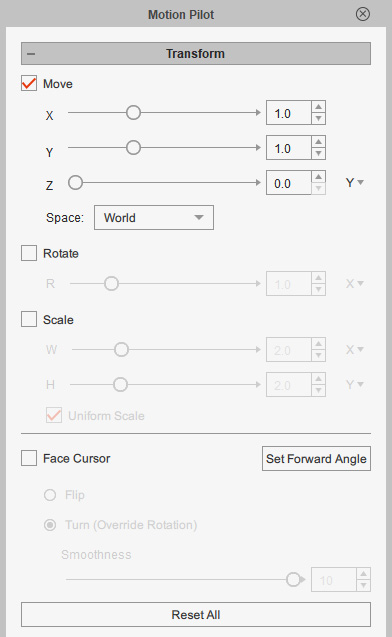
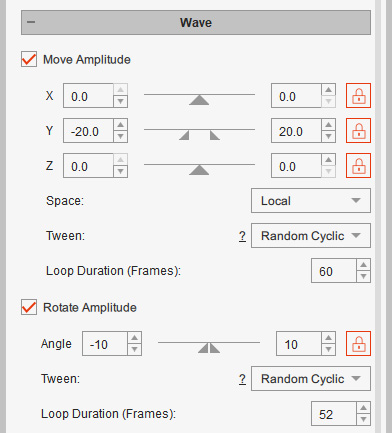
- In the Wave section, activate Move and
Rotate Amplitudes and increase the range by Y axis and
Angle to blend in a floating and swaying motion.
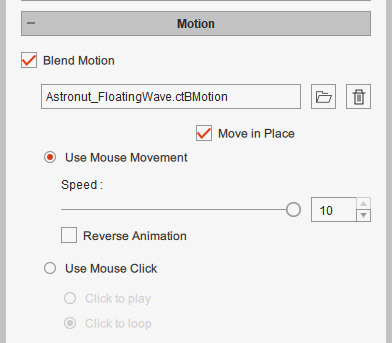
- Blend a custom puppet animation by
importing a
sequence image animation in the Motion section.
- Click the Preview button and press the
Spacebar to start previewing.
- Stop previewing and scroll back up to the Transform section and activate the Face Cursor checkbox. Choose the Flip radio button.
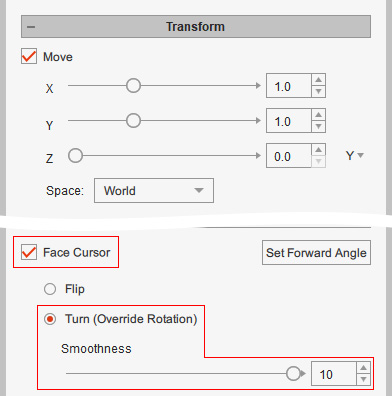
- Choose the Turn (Override Rotation) radio button will disable the Rotate feature in the Transform section because they are exclusive to each other.
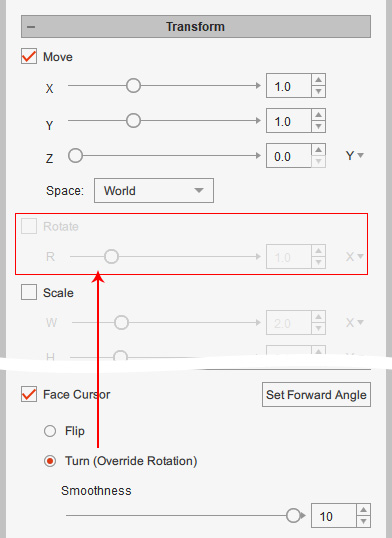
- The Smoothness can ease and optimize the turning animation.
- Choose the Turn (Override Rotation) radio button will disable the Rotate feature in the Transform section because they are exclusive to each other.
- Press down the Preview button and hit the space key to start previewing again.
- If you are satisfied with the moving result, then press the Preview button again to stop preview mode.
- Press down the Record button and hit the space key to start recording the driven movements.
- Press the space key again to stop recording.
- Open the timeline, click the Transform and Motion button. As you can see the Transform and Motion tracks are filled up with keys and clip.

Setting Forward Angle
In the previous example, the object (character) is always pointing to the cursor by the head. However, you are free to set and part of the object to point forward to the cursor.
- Create an object that faces to the right.
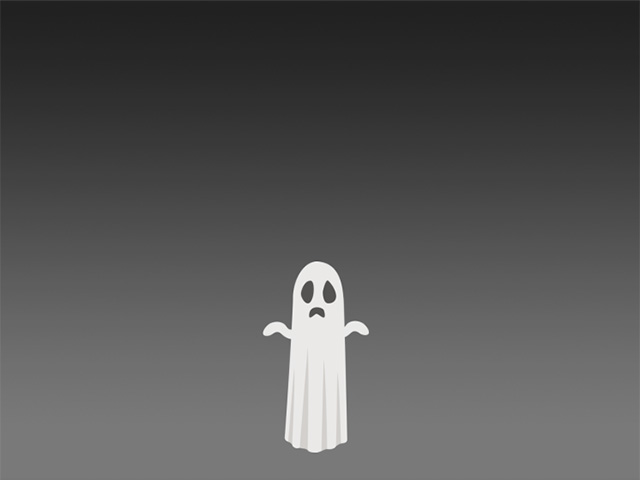
- Set the settings in the Transform section to have the object move and face forward the mouse cursor.
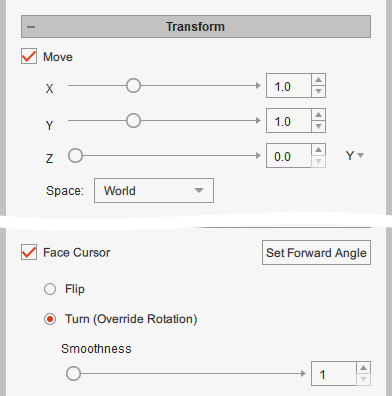
- Click the Set Forward Angle button.
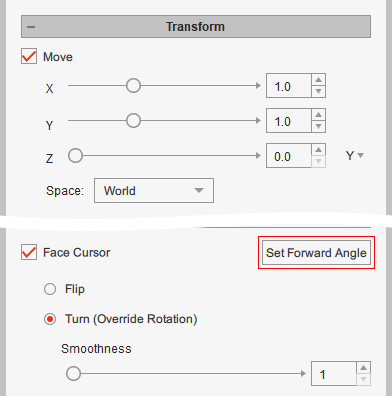
- The Set Forward Angle panel will shows, you can set the angel with three methods:
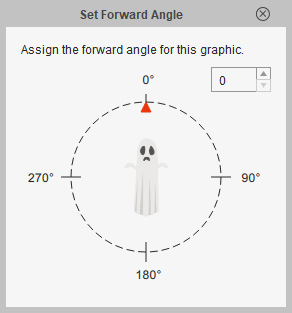
- Drag the red triangle around the circle.
- Type in the numeric field.
- Click on the numbers directly.
- Set the angle for the object. In this case, 0 degree (head faces to the cursor).
- Press down the Preview button and hit the space key to start previewing.
- Set the angle to 270 degrees (right hand faces to the cursor).
- Press down the Preview button and hit the space key to start previewing again.