Quick Guide for Generating Motion Path Animation
Motion Path animation involves manually creating a motion path and then moving objects, such as characters, props, text bubbles, or special effect elements, along that path.
- Click the Create Path button on the toolbar.

- Click on the viewport to draw a custom path; to finish the path, right-click on
the viewport (or press ESC key).

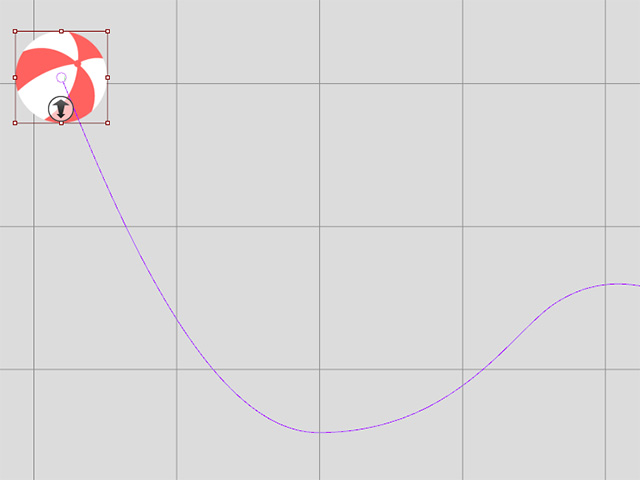
- Create an object (in this case, a ball with sequence animation).
- Go to the frame for the object to start move on the path. Right-click on the object and choose the Path > Pick Path command.
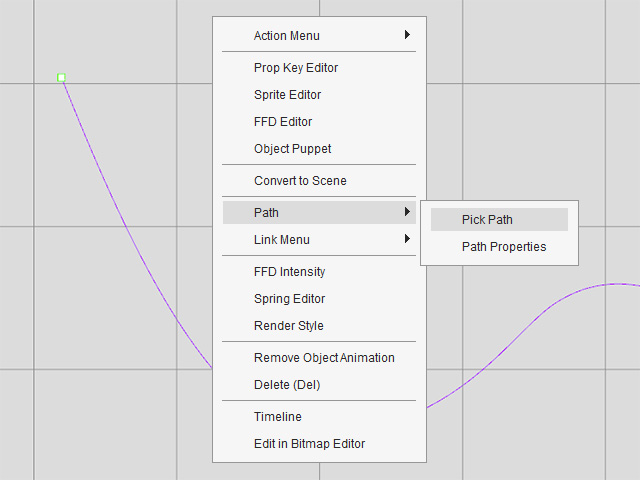
- Click on the starting anchor point on the path. The object will snap to the anchor point instantly.
- Go to another time frame.
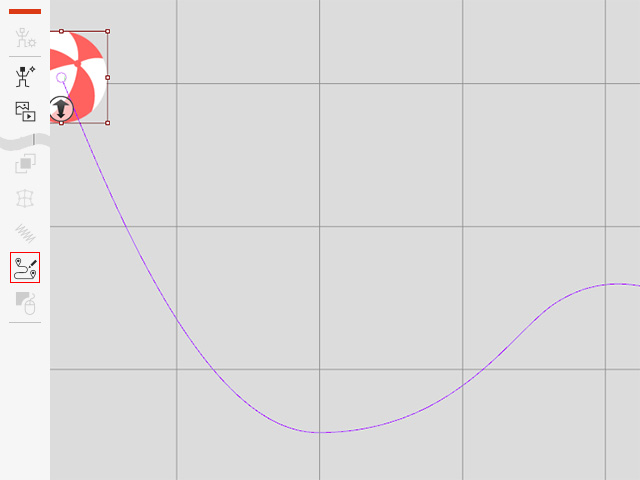
- Make sure the object is selected and click the Path Properties button on the toolbar.
- Drag the Progression slider to 100.
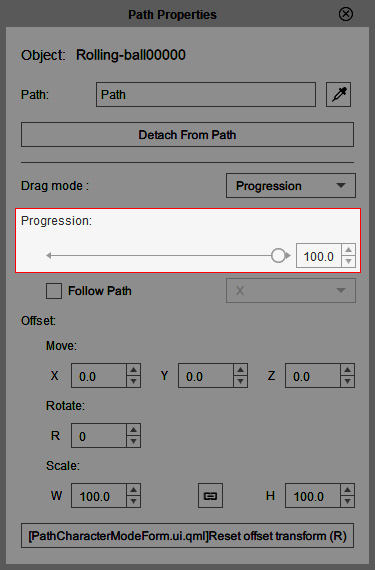
This step move the object to the 100% point of the path, which is the end of the path.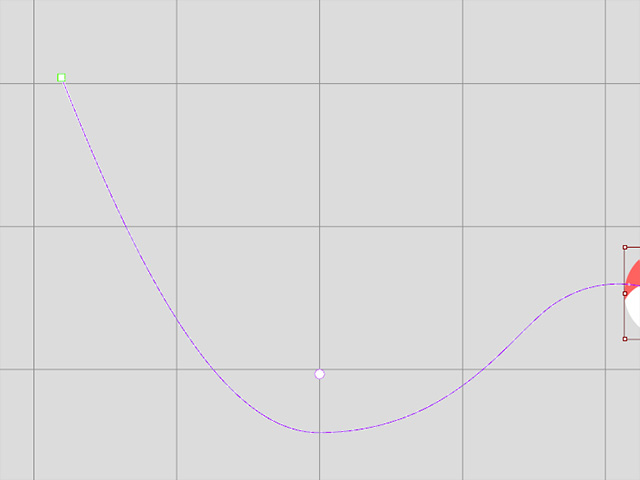
- Open the Timeline and the Path track of the object. As you can see the path keys are auto-added.

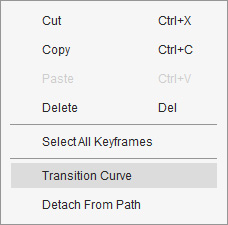
- Right-click on the latter key and choose the Transition Curve item in the right-click menu.
In this case, the Accelerate template is taken.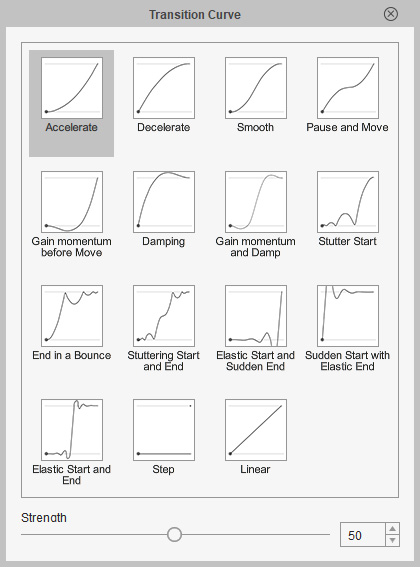
- Playback to view the result.