Creating a Custom G3 Head
If you want to create a custom G3 head, then you can start by using the embedded G3 head as a base, and then add facial features to the head.
( Watch Tutorial - Quick G3 Face Customization )
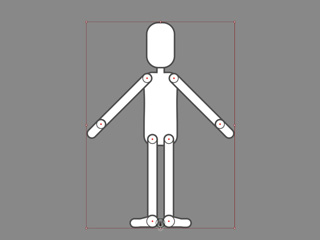
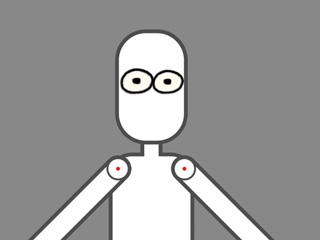
- Apply the Human Motion Bone_F template from the Actor > Human > G3 Human library to the stage and make sure that it is selected.
- Switch to the Composer mode by clicking the Composer
 button on the Functional Toolbar.
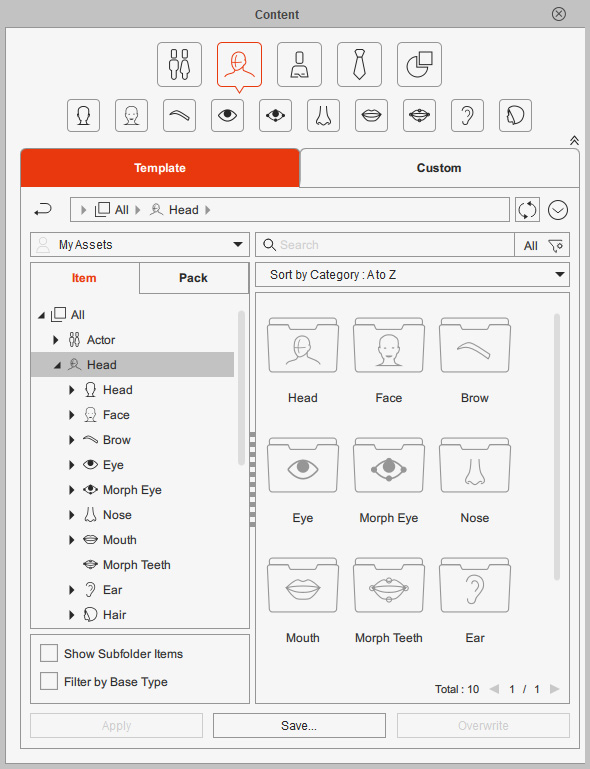
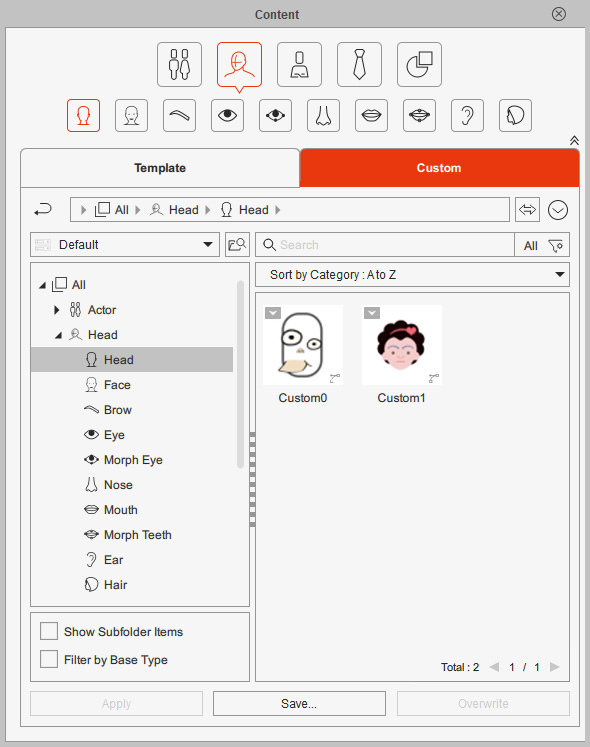
 - Open the Content Manager and switch to the Head library.
-
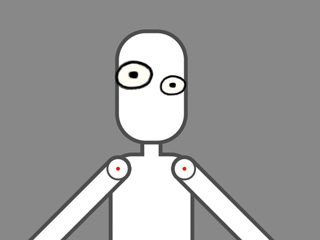
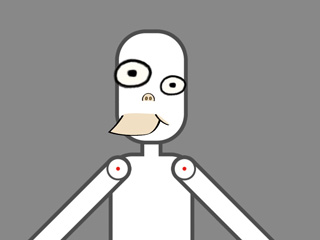
Apply facial feature templates in the corresponding library from the Eye library.
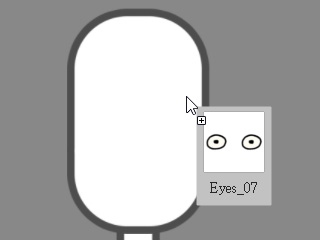 The facial feature will be instantly applied onto the empty face.
 Note:
Note:- You can apply the facial feature by double-clicking on the desired template or drag and dropping the template onto the head.
- Any facial feature template from the G1, G2 or G2+ libraries can be applied to the G3 head.
- You can optionally transform the facial feature.
-
Repeat the same steps until you are happy with a head.
- Make sure that the Content Manager is switched to the Head library.
- Click the Save button at the bottom of the Content Manager to add this new G3 head into your custom head library.

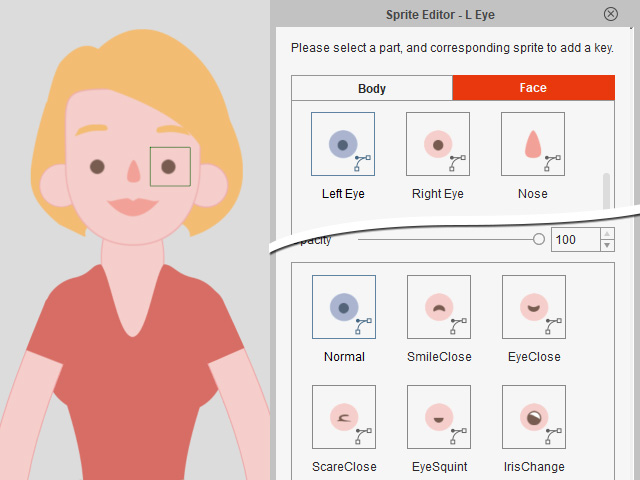
In addition to creating a new G3 head from scratch, you can replace the elements of an existing G3 head with the Sprite Editor to create a new one.
- Apply a G3 character template in the stage and make sure it is selected.
- Switch to the Composer mode by clicking the Composer button on the Functional Toolbar.
- Select one of the facial features.
-
Open the Sprite Editor.
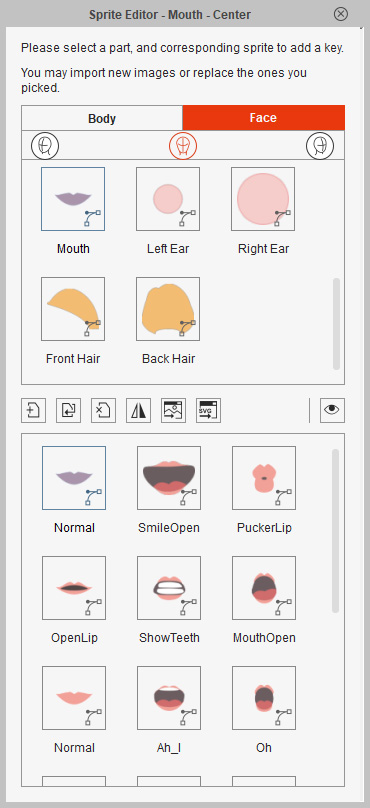
- Replace all the elements in this sprite.
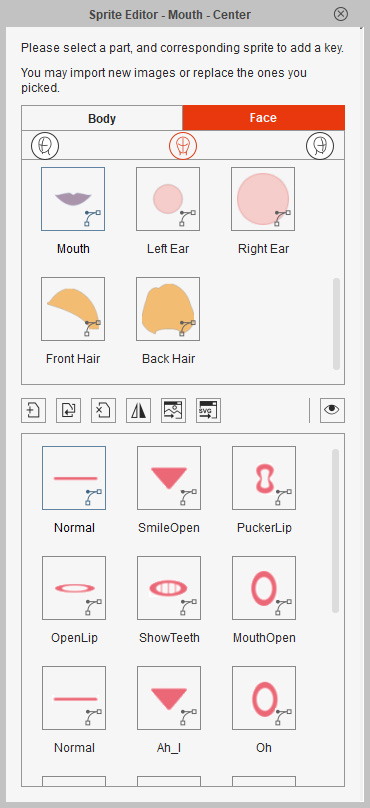
- Repeat the same step with other facial features, including the front and back hair, eyebrows, ears, nose and even the face.
 Note:
Note:The eye elements have a creation process. Please log into our website as a developer and read the whitepapers for more information on creating eye templates before you replace the eye elements.
However, if you wish to create eyes that cannot roll, then skip this section.
- Make sure that the Content Manager is switched to the Head library.
- Click the Save button at the bottom of the Content Manager to add this new G3 head into your custom head library.
After a G3 head is applied, you can use the calibration to view if the motion and expression is ideal, or if further adjustments are required.
- Apply or create a G3 character with a G3 morph-based or sprite-based head to the project.
- Switch to the Composer mode.
- Open the Calibration panel by Modify > Face Calibration commands.
Pick one of the calibration items from the sub-menu.
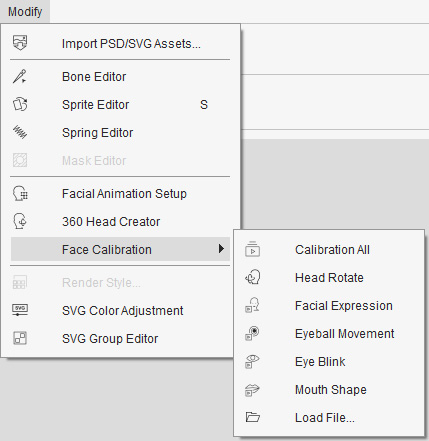
Alternatively, you can click the Calibration button on the Toolbar to show the panel.
- Click on either one of the buttons in the panel to observe the motion for certain facial features.
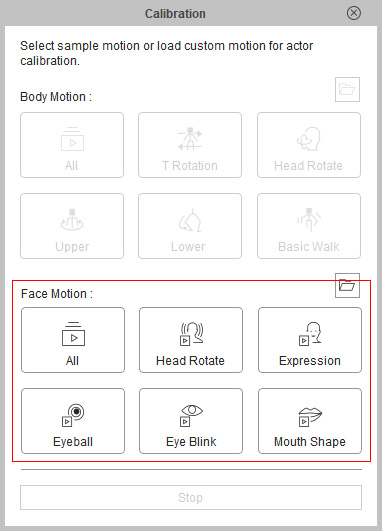
- The character will start to talk.
You can thus examine if the settings for the head are complete or need to be modified.

- Go back to the stage and you can use the Sprite Editor to switch facial expressions.