Facial expressions can be produced by two different data types:
Facial Expression Clips and Facial Expression Keys.
If you have already applied a facial expression clip to your character, Facial Expression Keys may override the expressions from the Facial Clip.
Refer to the Clip and Key Priority section.
-
Record a facial expression clip for a character by using the Face Puppet Editor.
The facial expression keys will be automatically generated on the relevant tracks:
Head, Face and Eye.
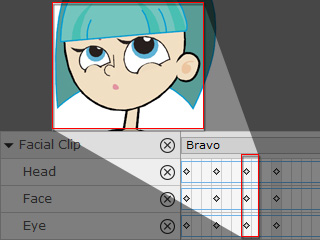
-
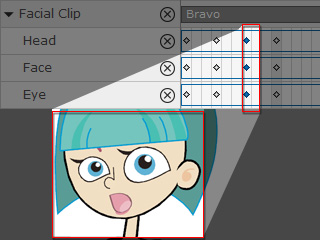
Double click on the time frame (with facial expression key) to add a special facial expression key by using the Face Key Editor.
The original expressions from the Facial Clip will be overridden by the subsequently added facial keys.


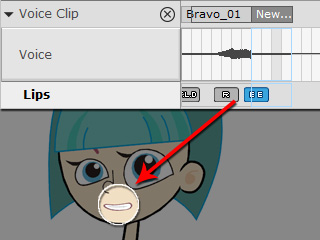
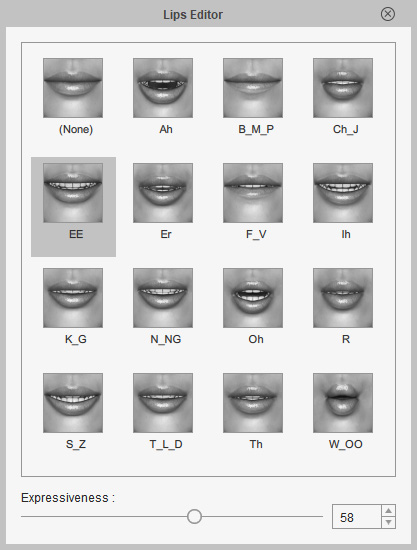
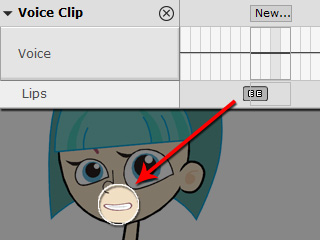
 button on the timeline to open the Lips Editor.
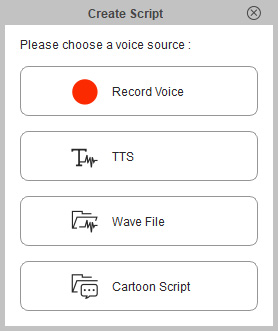
 Create Script button.
