Editing and Exporting with Isolate Selection
By utilizing the Isolate Selection, you can hide all objects except the current selection. It is especially useful when editing objects in a scene with multiple objects and rendering separate object groups with different layer depths.
The benefits of Isolate Selection are:
- Focus on editing a single object without visual distraction.
- Reduce the system consumption for displaying unselected objects.
- The isolated selection can be exported to image sequences or videos by object groups.
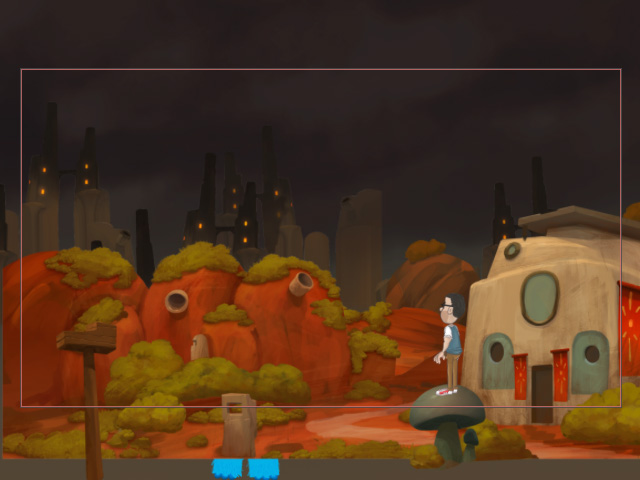
Taking the scene made by Anton Bakhmat as an example, we will show you how to isolate a selection to facilitate the CTA editing and export separate object groups for fast post-production.
When the Isolate Selection is toggled on, you can exclude unwanted objects and view one or multiple ones of selection only.
- Create a project with several objects at different layer depths, such as the front, middle and back layers.
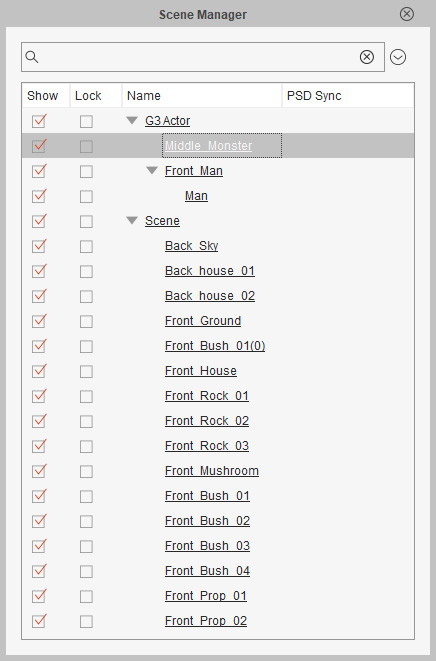
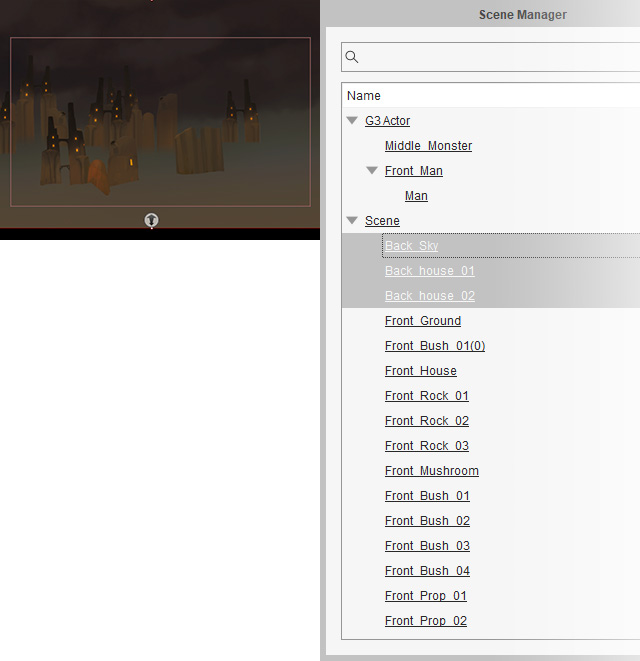
- Select an object in the Scene Manager.
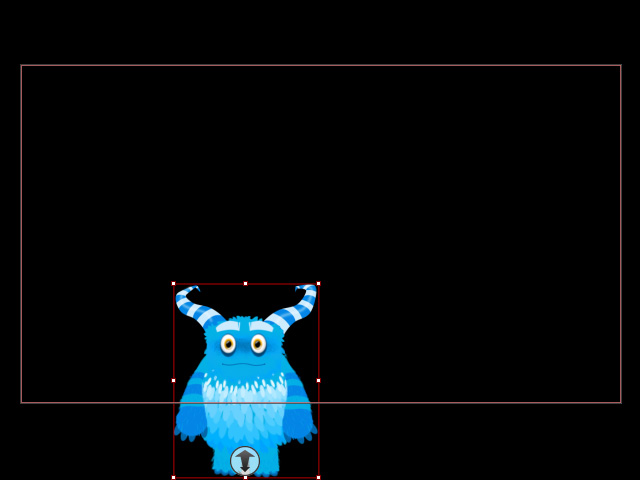
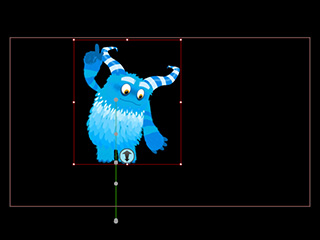
In this case, the standby Monster (made by ihmsp) hidden behind the rocks.
- Click the Isolate Selection button on the General Toolbar or press the hotkey I to toggle on the Isolate Selection.
- When the Isolate Selection is enabled , all objects are hidden except the selected one.
- Select another one or multi-select more objects to display the desired object(s) on the viewport.
You can disable the Isolate Selection any time by clicking the button or pressing the hotkey I again.
- Toggle the Isolate Selection On to transform an object or adjust its motion keys;
toggle the Isolate Selection Off to check the relationship between the surrounding objects.
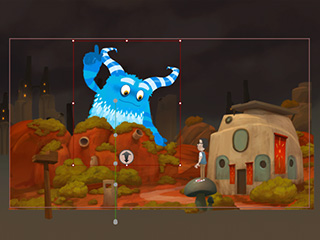
Isolate Selection ON to edit the selected object.
Isolate Selection Off to observe the object relationship.
By isolating a selection, you can group those objects from the same layer depth and then export them into one composite object for fast video montage.
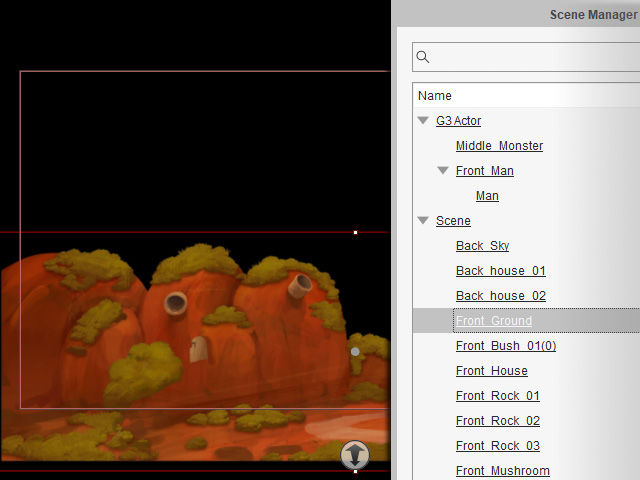
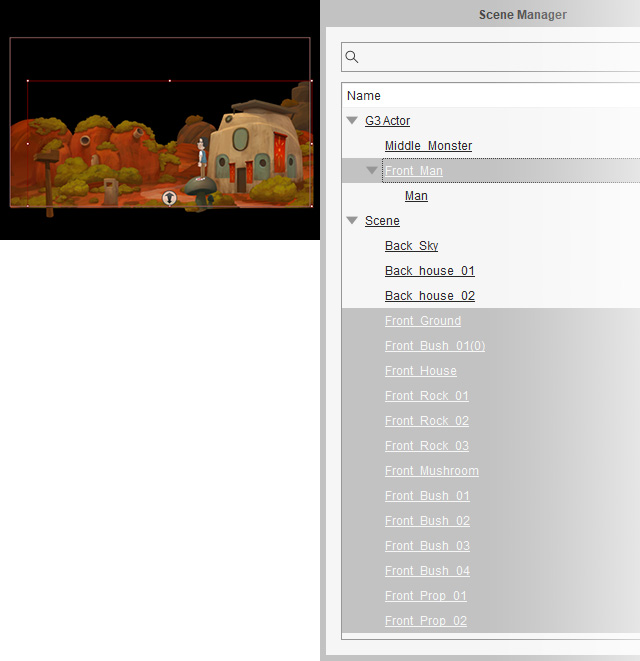
- In the Scene Manager, select objects at the same layer depth.
In this case, the Man (made by WTH animation) and scene elements at the front.
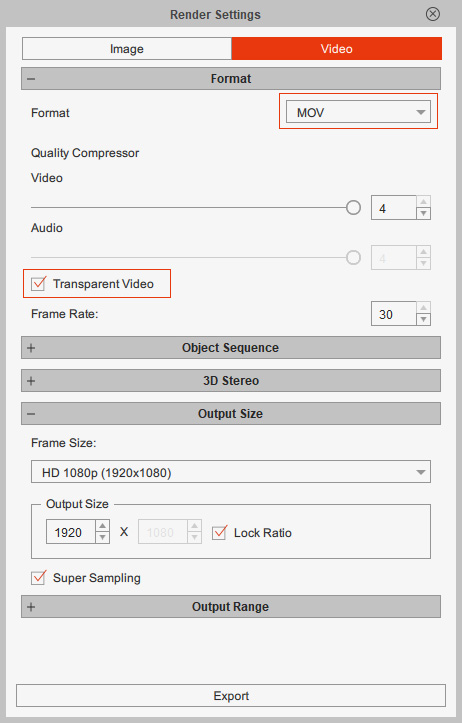
- Open the Render Settings panel.
Choose the media type and format for the export, MOV for this case.
Enable the Transparent Video option to export with alpha channel for transparency.
- Decide the output size and output range, and then click Export.
The selected objects will be rendered as one full-scene MOV video with transparent background.
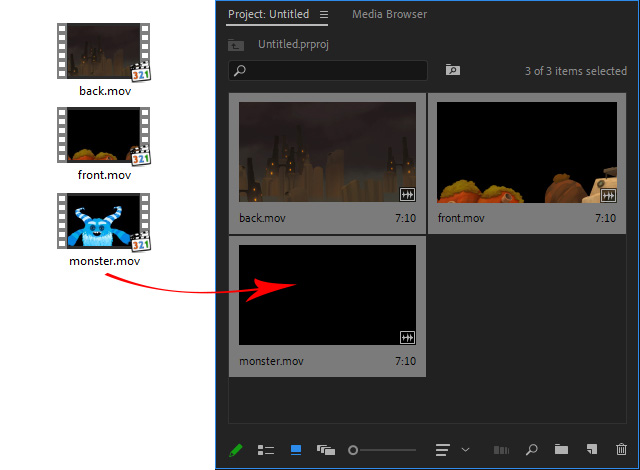
- Select objects at another layer depth, and then repeat Steps 2 to 3 to export one MOV video for the objects at the back (the scene elements), and another MOV video for the objects at the middle (the Monster).
- Now you can import the object videos of different layers to a video editor for visual enhancement.
You can manage, transform and enhance visuals of separate object groups from different layers in a video editor with ease.
Original CTA animation scene. | Enhanced with layer effects. (Adobe Premiere) |
- Open a video editor, Adobe Premiere for example.
Drag the object groups of different layers in.
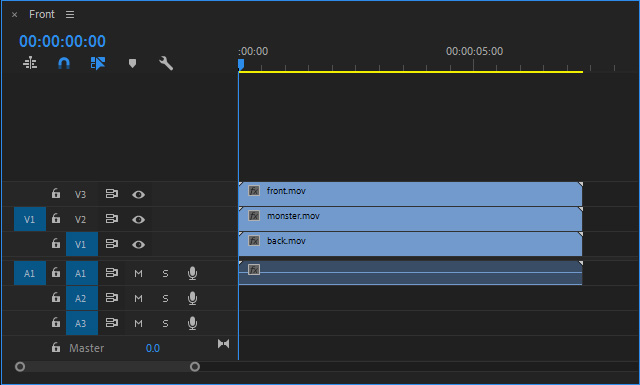
- Drag the object groups to Timeline by their layer order to represent the CTA animation.
Now you can add layer effects to an object group.
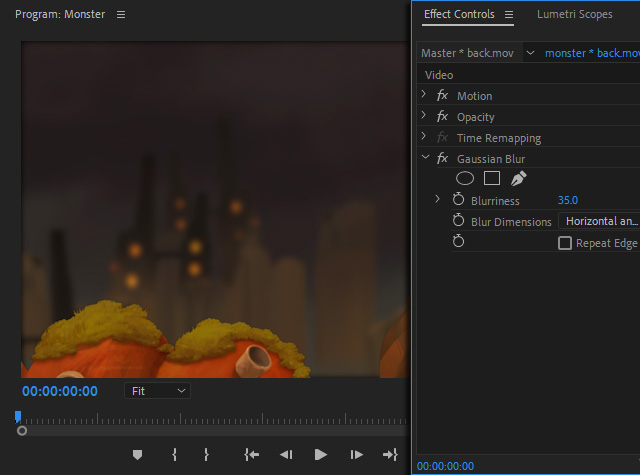
You can apply blur effects to increase realism.
- Select the layer track of the background.
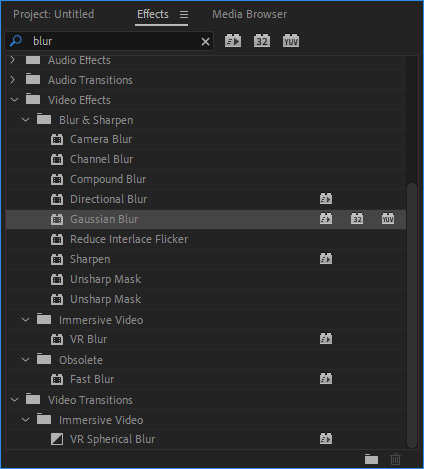
- Type in the keyword, blur, in the Search field of Effects panel.
Double-click the Gaussian Blur.
- Find the inserted effect in Effect Controls panel for the layer. Adjust the strength of blur.
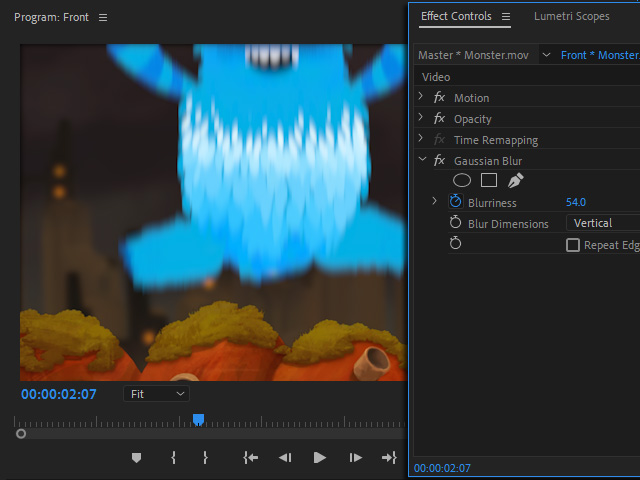
You can apply different blur effects on the start / end time frames to get a Motion Blur.
- Select the layer track of the Monster.
- Type in the keyword, blur, in the Search field of Effects panel.
Double-click the Gaussian Blur.
- Find the inserted effect in Effect Controls panel for the layer.
Set different blur strength on the time frames for Monster jump and fall off.
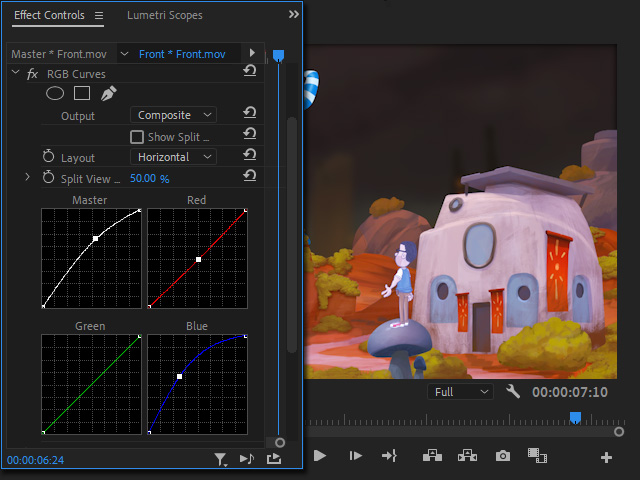
Object colors can be changed for better composition.
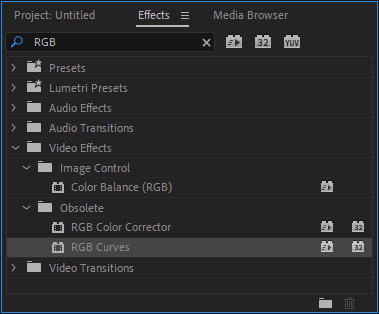
- Select the layer track of the House.
- Type in the keyword, RGB, in the Search field of Effects panel.
Double-click the RGB Curves.
- Find the inserted effect in Effect Controls panel for the layer.
Drag the curves to adjust the layer color.