Optimizing the Converted Motions (New for v4.4) 

After applying the converted 3D motions to timeline tracks, you can fine-tune the motion result with embedded functions to improve the visuals. For example, you can switch a character's body sprites with Sprite Editor, modify its z-axis distance in 3D View, edit the bones with 2D Motion Key Editor, or adjust the layer order of body parts with Layer Editor.
We recommned checking out the 3D Motion Sampler motion pack in the Reallusion Content Store. You can learn more about optimizing the converted 3D motions for 2D characters from various practical applications.
Follow the steps below to manually switch the sprite images to a correct angle sutiable for the motion.
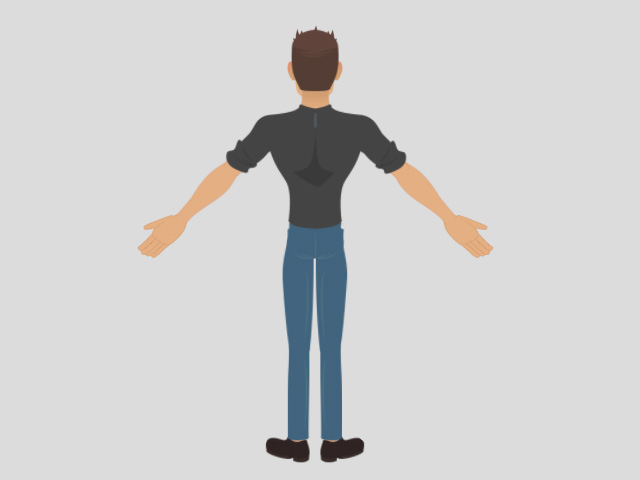
- Apply a G3 character, like "Roger Back".
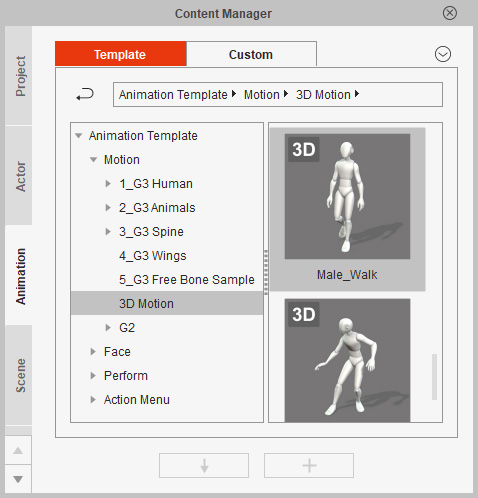
- Apply a 3D Motion template, "Male_Walk" in this case.
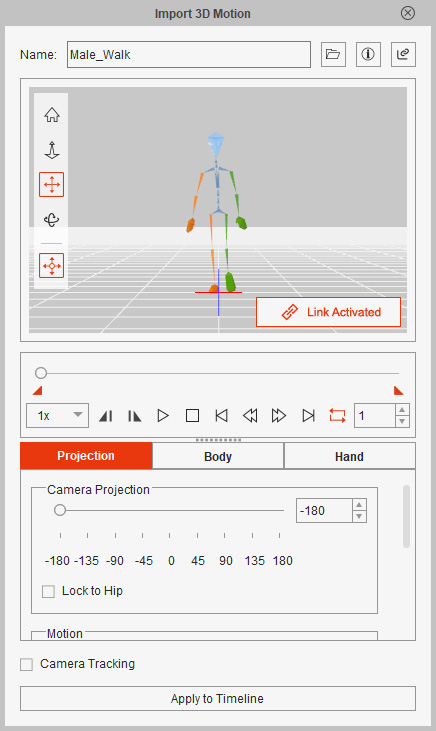
- Convert the 3D motion to a suitable one for the character with the Import 3D Motion panel.
In this case, set the projection angle to -180 and ignore the foot rotation.
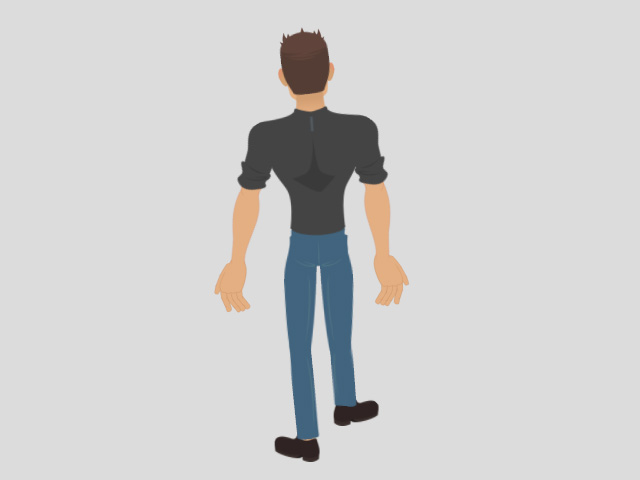
- If you find the angles of the character's feet are incorrect during preview,
apply the motion to timeline first.
- Go to the start frame of the motion clip.
Press S key to open the 2D Motion Key Editor.
Replace the sprite images of the right foot and left foot with the ones in a frontal angle.
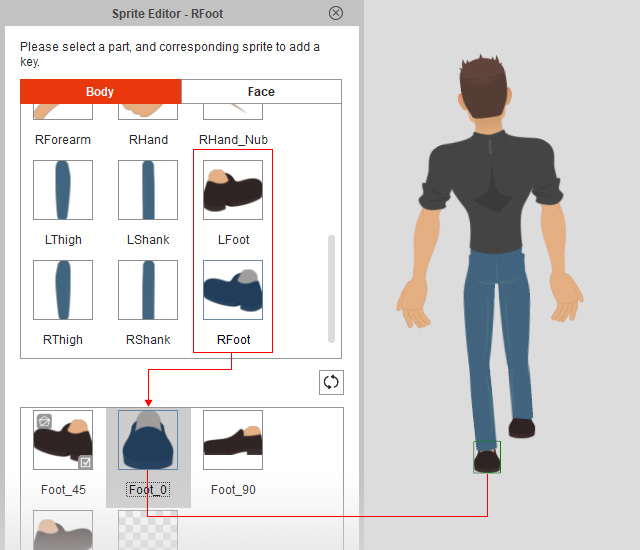
- Close the 2D Motion Key Editor.
Playback and you will see the character walks with correct foot sprites.
Follow the steps below to manually adjust the Z axis movements in the motion.
- Apply a G3 character, Roger Back in this case.
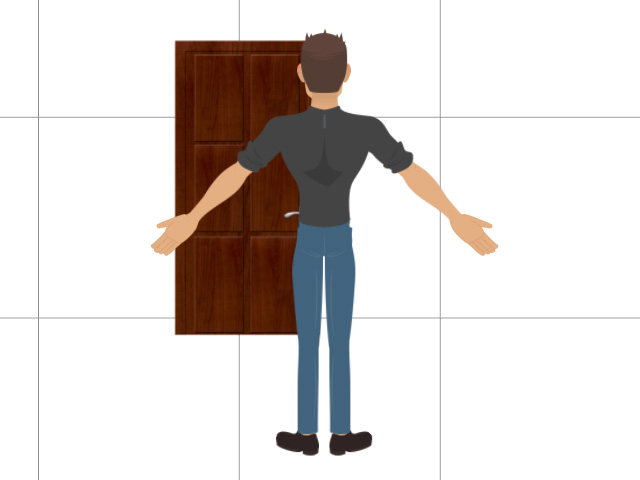
- Apply a 3D Motion template, Male_Walk in this case.

- Convert the 3D motion to a suitable one for the character with the Import 3D Motion panel.
In this case, set the projection angle to -180 and ignore the foot rotation.

- If you find the character is blocked off by other objects in the scene during preview,
apply the motion to timeline first.
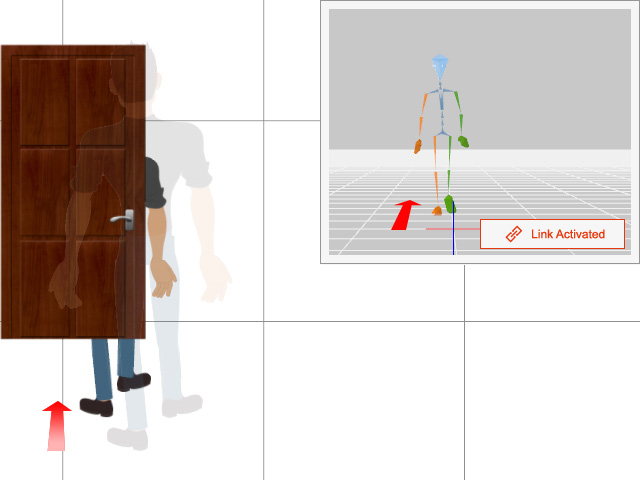
- Click the 3D View button on the Camera Toolbar to switch the camera to the 3D top view.

Go to the start frame of the motion. Drag the blue handle of the character to adjust the Z distance between the two object layers.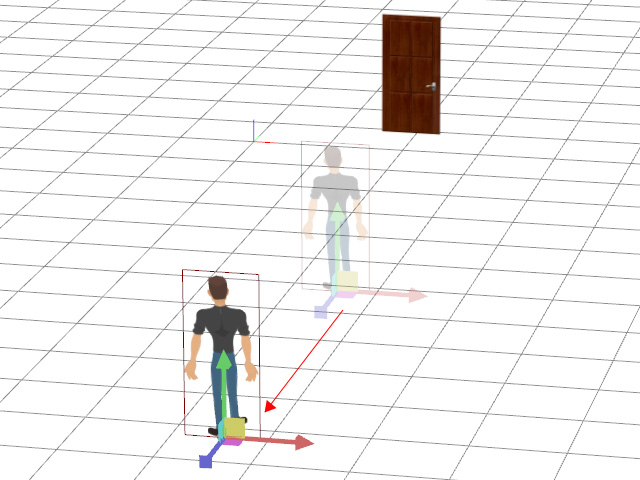
- Playback to see the modification result in 3D view.
When you are done, click the 3D View button again to exit the 3D view.
Follow the steps below to remove visual flaws in the motion by editing the bones.
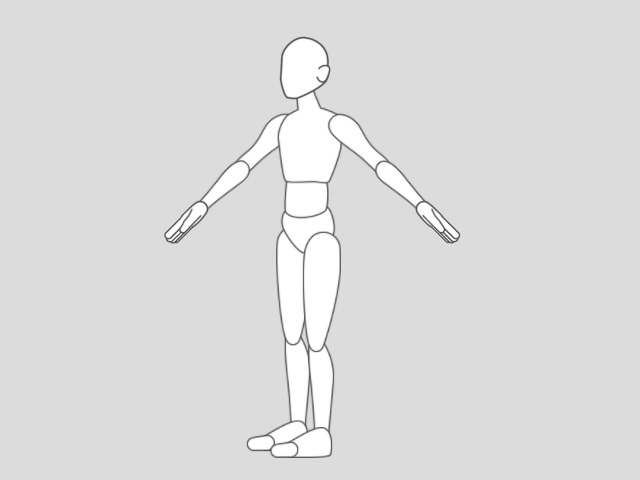
- Apply a G3 character, Front Side Dummy for 3D Motion in this case.
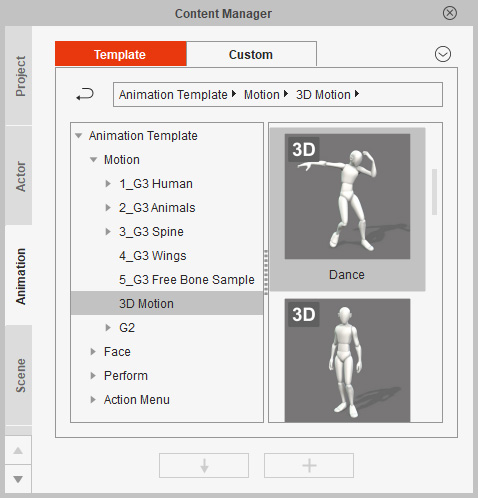
- Apply a 3D Motion template, Dance in this case.
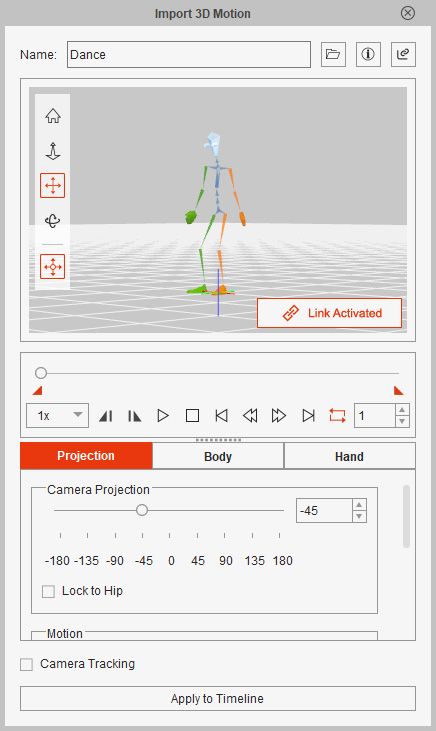
- Convert the 3D motion to a suitable one for the character with the Import 3D Motion panel.
In this case, switch the projection angle to -45.
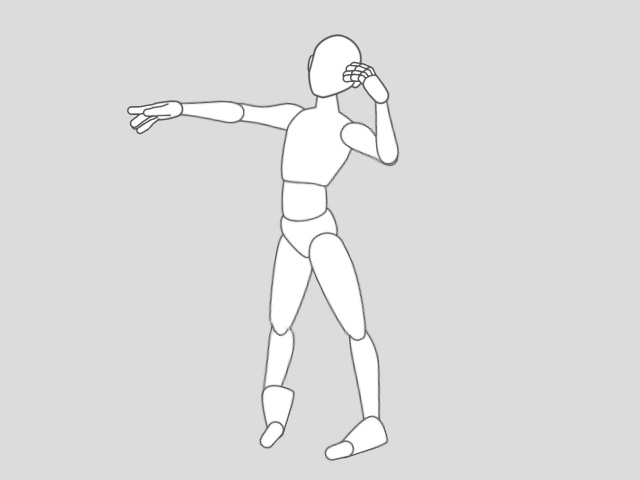
- If you find the character's body parts distort during preview,
apply the motion to the timeline first.
- Press K key to open the 2D Motion Key Editor.
Click the Set Key button to set a neural key on several frames before and behind the motion range meant for modification.
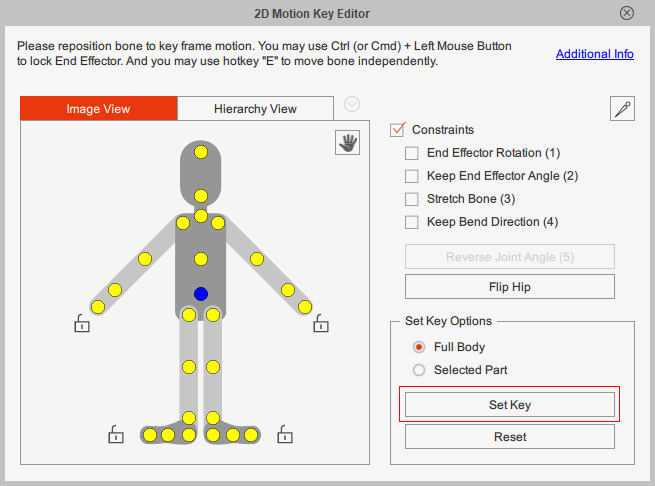
- Go to the frame with the bone you want to edit.
Choose the Selected Part option and select the bone, right shin in this case.
Hold the E key to move the selected bone to a desired position.
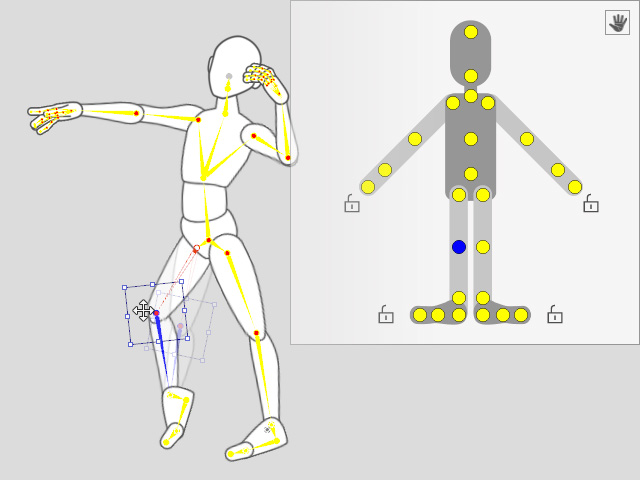
- Close the 2D Motion Key Editor.
Playback and you will see the distortion disappear.
Follow the steps below to move the body parts up or down in the motion.
- Apply a G3 character, Front Side Dummy for 3D Motion in this case.

- Apply a 3D Motion template, "Dance" in this case.

- Convert the 3D motion to a suitable one for the character with the Import 3D Motion panel.
Like switching the projection angle to -45.

- If you find the character's limbs are behind other body parts during preview,
apply the motion to the timeline first.
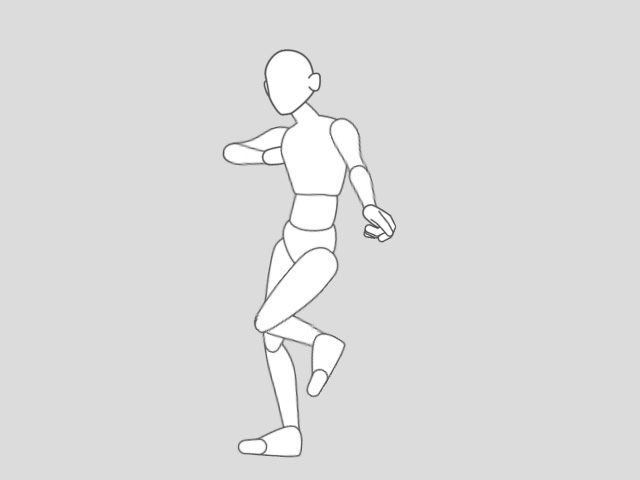
- Go to the frame where you want to adjust the layer order.
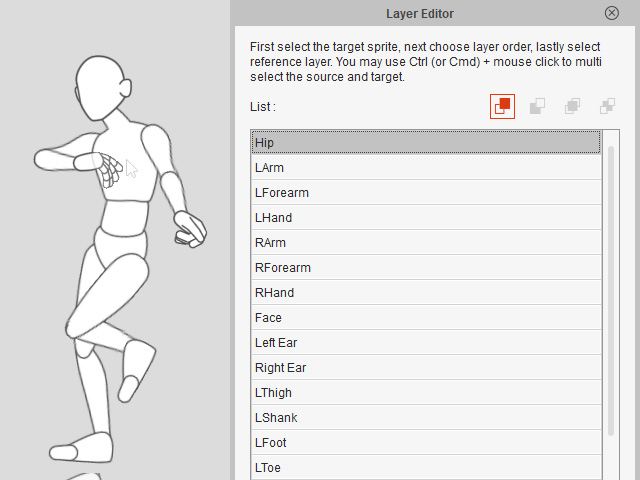
Press L key to open the Layer Editor.
Select the right hand layer in this case,
and then click the Send to Front button to
send the selected body part one layer above the target one.
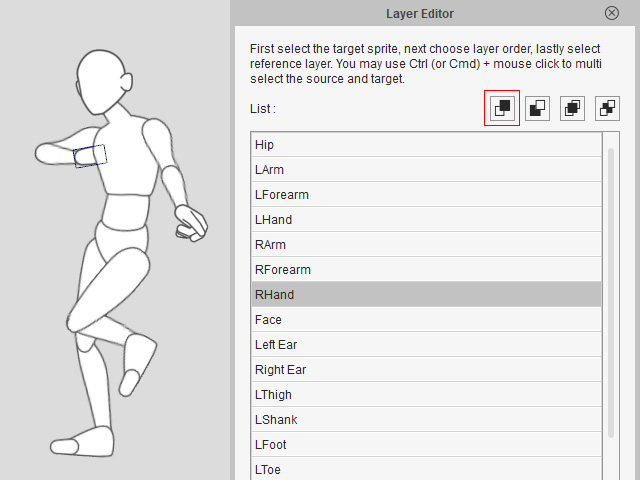
- Select the target body part, the Hip in this case.
You will see the right hand appears.
- Playback to see the modification result.
You can drag the layer keys you have set on the Layer track to proper time frames where you wish to make them work.