Creating Morphing Slider for External Characters
In this section, you can create a slider without even opening the source or target morphs, as they are both external files.
-
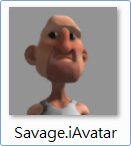
Prepare a source character file iAvatar format.

-
Prepare a target character file in OBJ or
iAvatar format.
 Note:
Note:To keep DRM protection, the OBJ file for the target character must be prepared with its corresponding checksum data file.
-
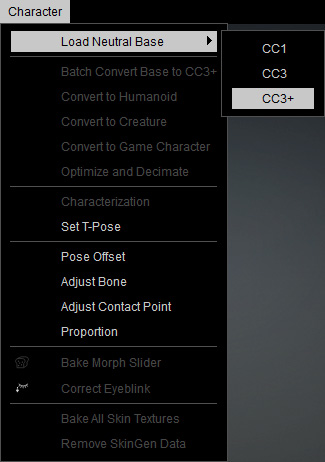
Launch Character Creator. Execute Character > Load Neutral Base > CC3+ to load a neutral character.
-
Perform Create menu > Morph Slider Editor to open the
Morph Slider Editor.

-
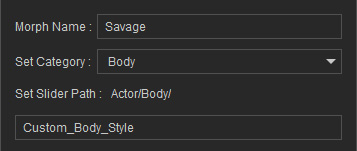
Name the slider and add a path.
 Note:
Note:Please refer to the point 1 in the User Interface Introduction for Morph Slider Editor section for more information.
-
Set the Morph Value > Minimum to 0 and the Maximum to 100, so that when the custom slider is set to maximum,
the character retains its original look.

-
To create a thumbnail, click the
 button and
load
an existing image.
-
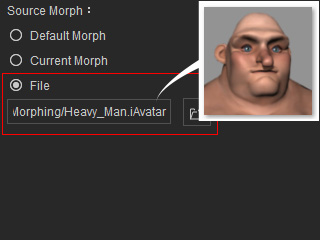
In the Source Morph radio button group, choose the File radio button to load the
source character prepared in step 1 by clicking the
 button.
-
In the Target Morph radio button group, choose the File
radio button and load the character prepared in
step 2 by clicking the
 button.
-
Click the OK button to add your custom morph slider into
the designated node
and path.

 Note:
Note:Now, if you drag the slider, you will see the female character gradually deform because the source character is not loaded.
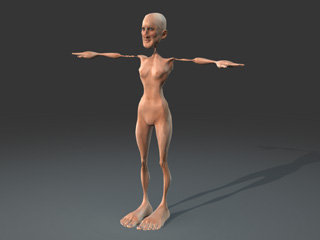

Value = 50
Value = 100
-
In order to view the correct result, you need to first load the source character into
Character Creator.
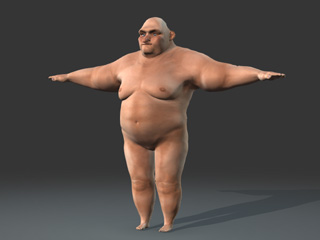
-
Drag the newly created slider to see the morph in action.

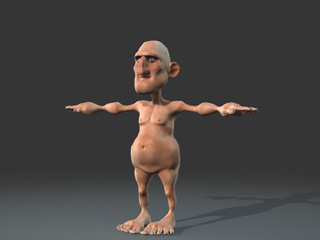
Value = 50
Value = 100
