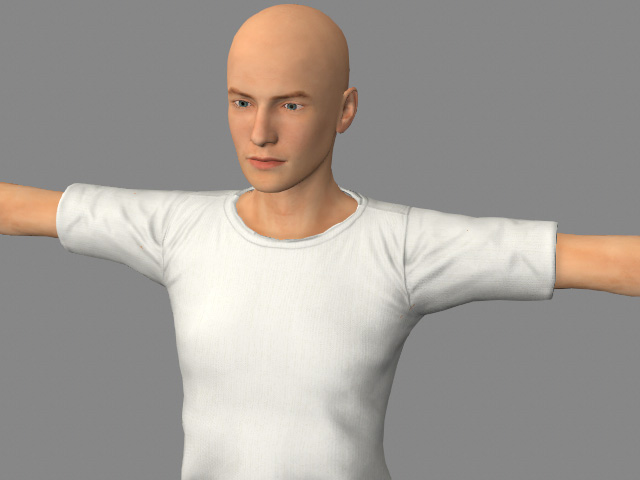
Showing or Hiding Meshes with Brush
Mesh penetration can occur as a result of dressing up a character,
especially if done through various means.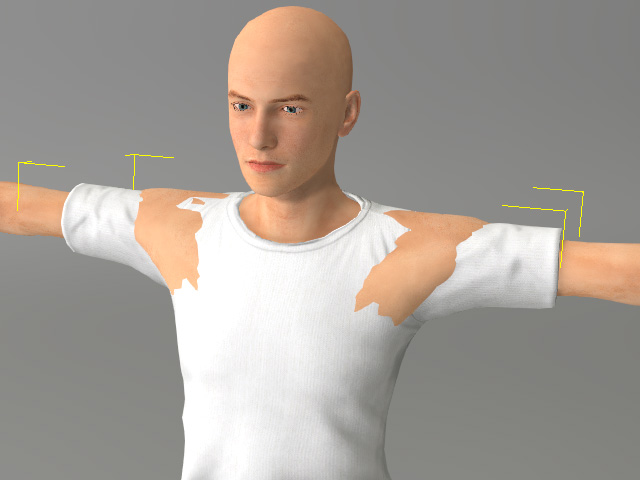
In addition to selecting and showing or hiding, you can also paint directly onto the mesh surface to show and hide mesh faces.
Opening the Edit Mesh Panel
- Select an object with mesh penetration (e.g. the character above).
-
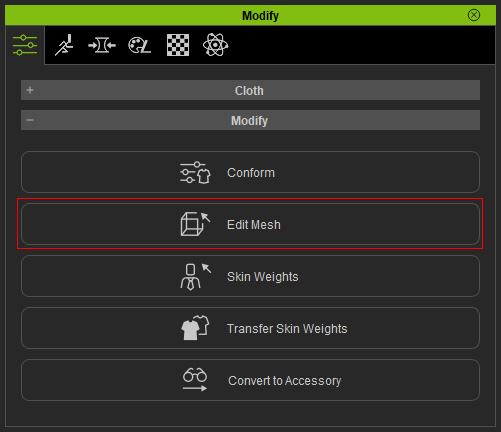
Go to the Modify > Attribute > Modify section.
-
Press down the Edit Mesh button and switch to the Sculpt mode.
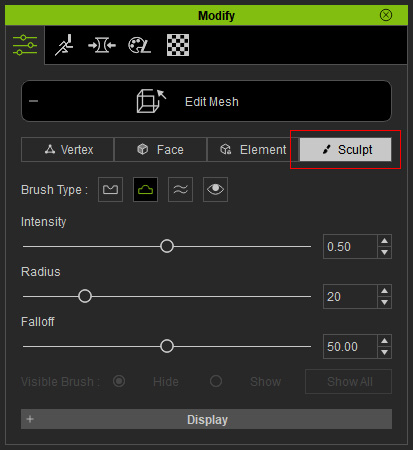
- Press down the Show Mesh Brush button. When the Show Mesh Brush is activated, the Intensity and Falloff sliders will be disabled.
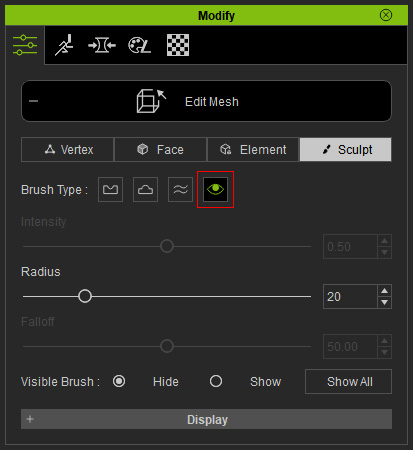
Show Mesh Brush Settings (Sculpt Mode)
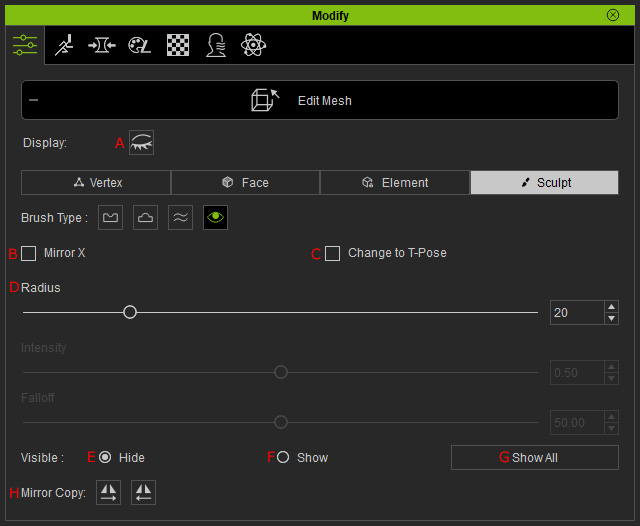
|
A |
Eyelash Display |
Show/Hide the eyelashes’ mesh. |
|
B |
Mirror X |
Enable before painting to mirror your brush strokes on both sides of the mesh. |
|
C |
Change to T-Pose |
Temporarily switch the character to a T-pose for better visibility, without altering the actual pose. |
|
D |
Radius Slider |
Adjust the size of the brush. |
|
E |
Hide Radio Button |
Select to paint and hide the visible mesh faces. |
|
F |
Show Radio Button |
Select to paint and reveal hidden mesh faces. |
|
G |
Show All |
Click to reveal all hidden faces at once. |
|
H |
Mirror Copy |
Click to mirror the current mesh visibility state from left to right or right to left. |
Paint Hiding the Mesh
- Select the Hide radio button and adjust the Radius value to change the size of the brush.
-
Paint on the surface to hide the meshes that poke through the other layers.
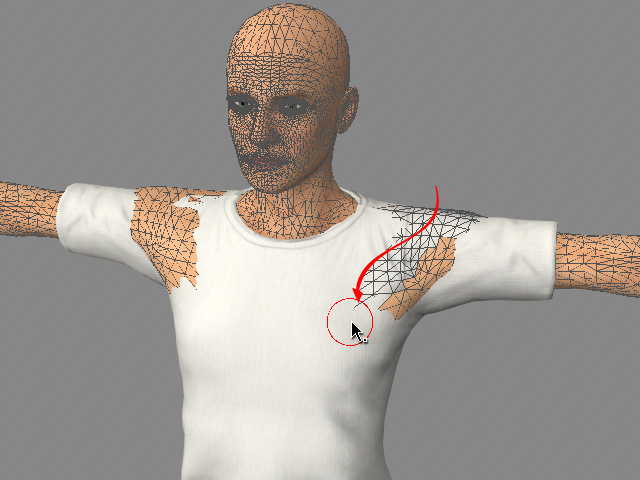
-
Repeat painting strokes on the mesh faces until the poking-throughs
are resolved.
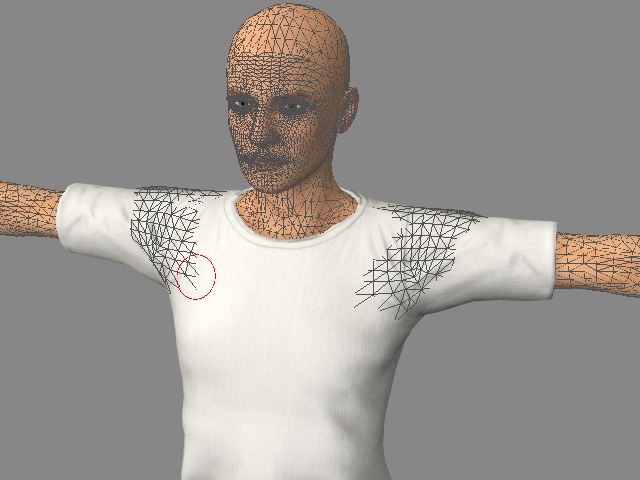
- Leave the Edit Mesh mode.