Auto T-Pose and Bone-Mapping Method
In the Characterization mode , you will need to set T-pose and map at least 15 bones from the custom character to the Rl bone structure. If the character contains fingers, neck or spine bones, then you may even need go to the advanced mode for mapping these bones. Furthermore, if you know which 3D tool exported the original character, then you do not need to manually set the T-pose and mapping. Instead, you can apply a ready-to-use mapping profile for the bones. If you do not know where the character was made, then you need to manually map the bones.
Mapping Bones - Using Mapping Presets
- Import for creating a Humanoid character.
-
Enter the Characterization mode.
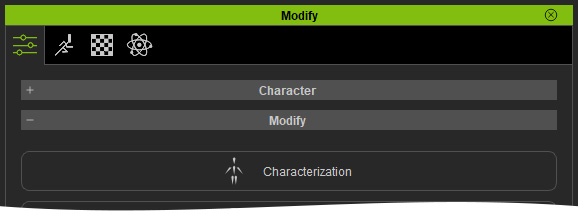
- Click the Load HIK Profile button.

-
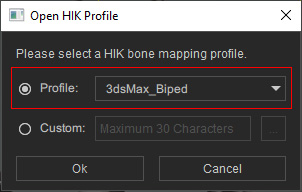
Expand the Profile drop-down menu.
Select a preset from the list according to the source 3D tool of the loaded character. Click the OK button.
If you want to use a previously saved 3dxprofile, then choose the Custom radio button and click the ... button to load in the file.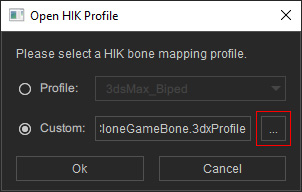
- You will be asked to choose the T-pose or Mapping method. Activate both checkboxes and click the OK button.
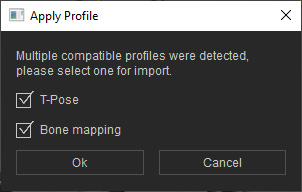
-
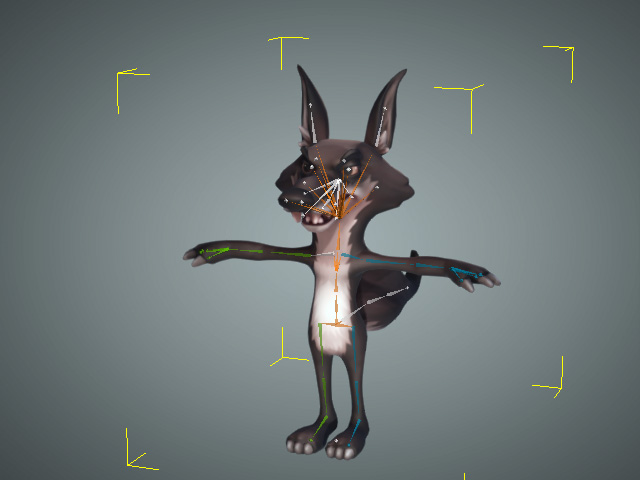
The bones will be set to T-pose and instantly mapped
(Please note that if the selected preset does not match the bone structure of the character, then you will
only get a partial-mapping or no mapping result).
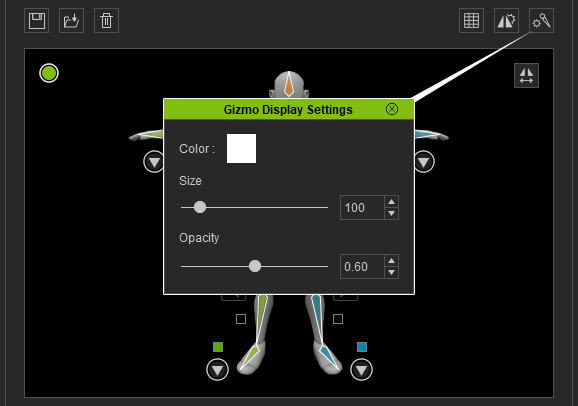
 Note
Note- Click the
Bone Settings button to adjust the bone color and size.
- You can right-click on the black area of the pictogram to clear all mapping result.
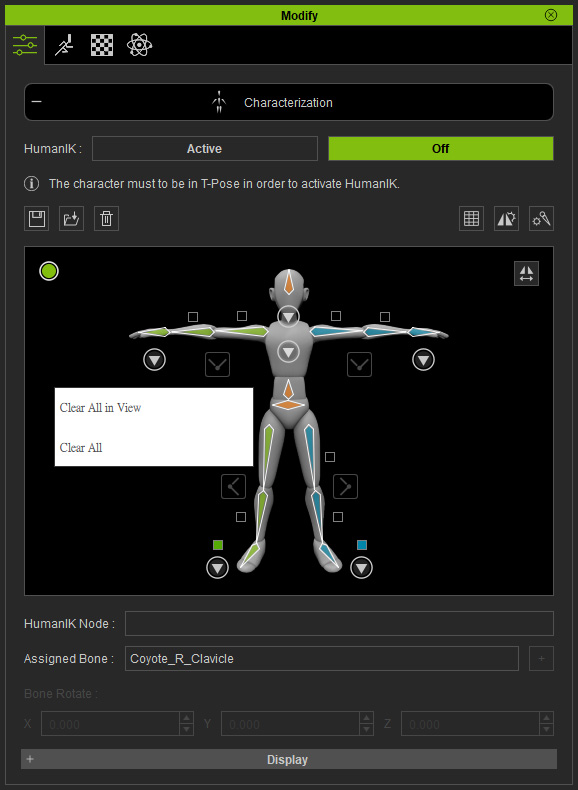
- Clear All in View: Only clear all mapping results in current view (in this case, 15 bones in the pictogram).
- Clear All: Clear all mapping results in different view, including the spine, neck, fingers, and toes bones.
- Click the
Bone Settings button to adjust the bone color and size.
