Batch Load Textures
Exported Daz 3D characters in FBX format are not equipped with a complete set of textures for skin, oral cavity, fingers, and eyes. For example, the G3 and G8 default characters do not export with Bump and Specular maps. Some packs do not even export the Normal map, needing additional steps to find the said texture. Character Creator's new Batch Load and Save Textures uses designated texture naming conventions to efficiently fulfill this need.
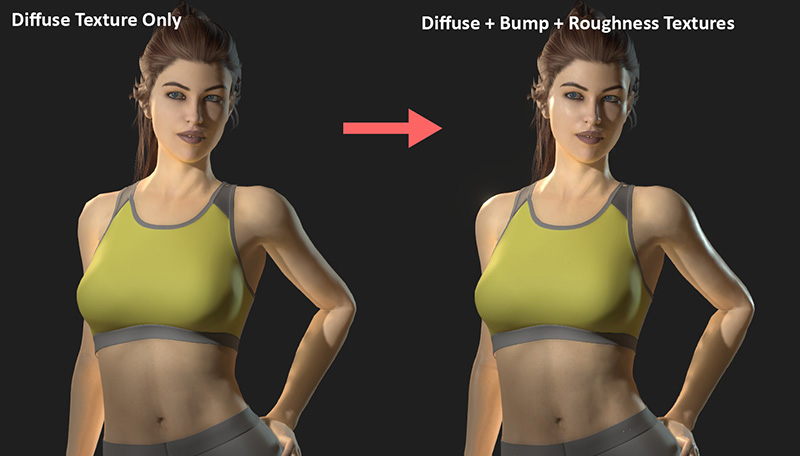
Comparison
|
Diffuse Texture only |
Diffuse, Bump and Roughness Textures |
|
|

|
|
Please follow the steps below for completely convert DAZ G8 character into iClone Humanoid characters in Character Creator
- Output the other missing textures such as the bump, glossiness, roughness, and specular maps from Daz 3D.
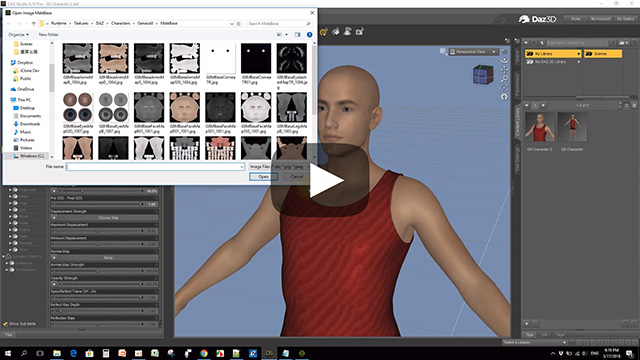
 Note
Note- Daz Genesis' highly detailed textures can be as large as 4K. Shrinking this size first according to your needs will also make it faster to load the textures into iClone.
- First examine the texture file formats. If the format is (*.tif) then save it in an iClone compatible format like (*.jpg) to make the entire process go faster. One 4k (*.tif) image is usually around 40 mb, which if not converted to another format can cause the application to hang and the final avatar size to increase substantially.
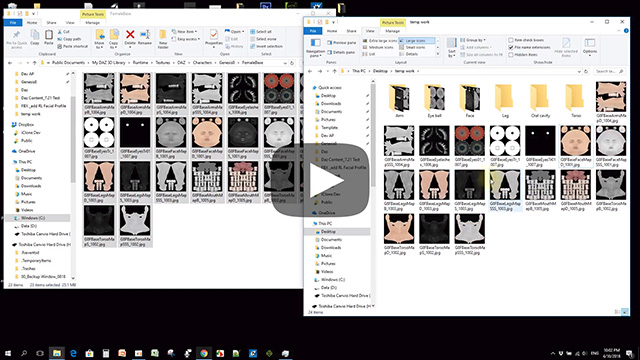
- Classify the exported texture maps into separate folders. Take Genesis 8 as an example, you would classify the missing bump and specular maps into the "Arm", "Face", "Leg", "Torso," "Eye ball", and "Oral cavity" categories by using folders with corresponding names.
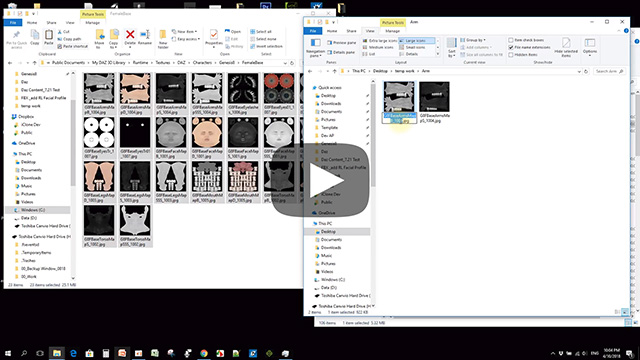
- Change the texture names by following the texture naming rules set by iClone with key DAZ suffixes (for example, "TextureName__DazSpecular"). Watch the following video and know how to process other Daz specific texture names not mentioned in the online manual.
 Note
NoteiClone applies special treatment to texture named with key Daz suffixes.
- Deploy the standard texture folder structure with iClone Save All Object Textures and assign Daz Genesis textures to the appropriate folder (see the illustration below). It is best practice to remove any unnecessary textures and folders to keep everything organized.
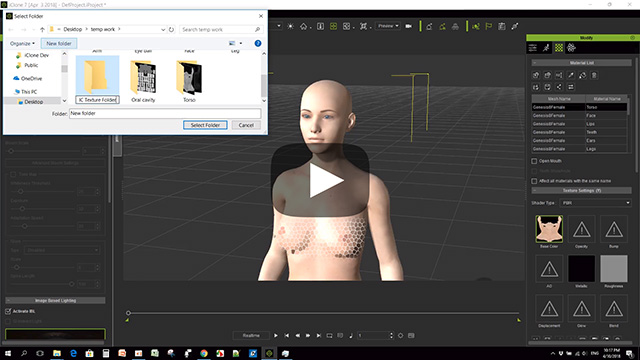
Take Daz Genesis material and texture relation using Genesis 8 as an example: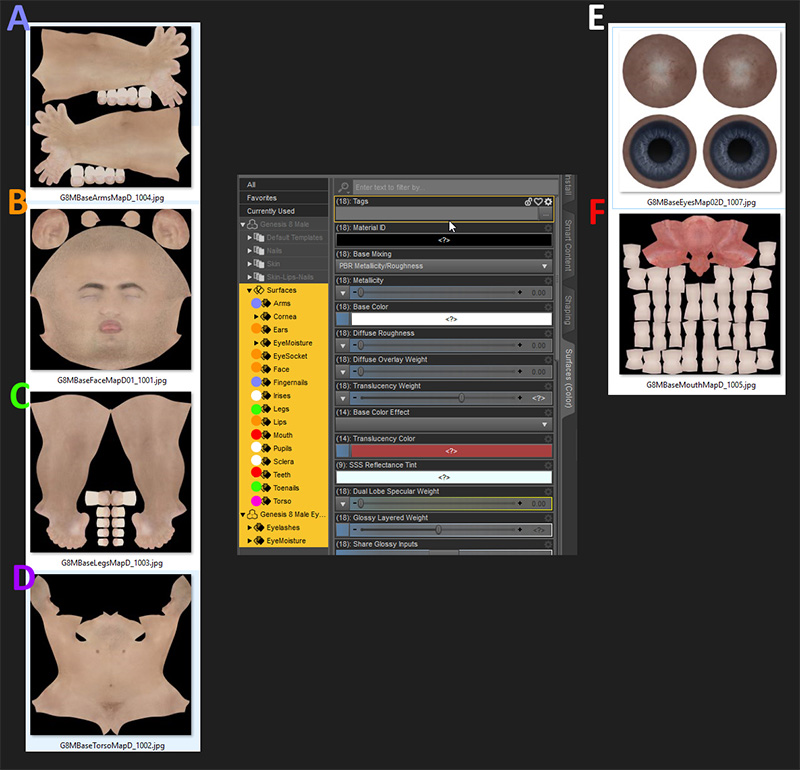
- A - "Arm" texture map: used for Arm and Fingernail materials.
- B - "Face" texture map: used for Ears, EyeSocket, Face, and Lips materials.
- C - "Leg" texture map: used for Legs and Toenail materials.
- D - "Torso" texture map: used only for the Torso material.
- E - "Eyeball" texture map: used for Irises, Pupils, and Sclera materials.
- F - "Oral cavity" texture map: used for Mouth and Teeth materials.
- Use Load All Object Textures and execute Auto-Link Texture, then finish by saving the iAvatar.
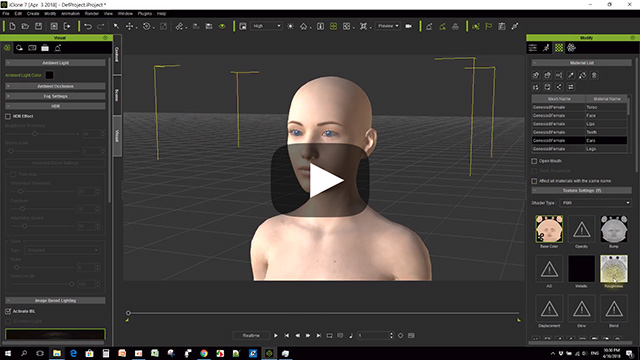
If the texture sizes were not reduced in the prior step, then re-export the iAvatar and clamp down the texture size with Max. Texture Size.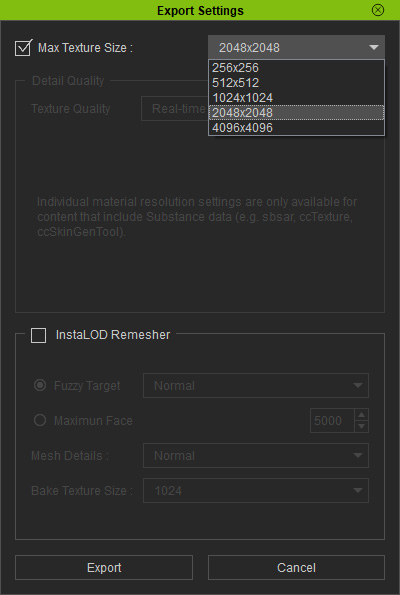
Check out the file sizes with different Max. Texture Size settings.
